7
Parts & Service: 020 8988 7400 / E-mail: [email protected] or [email protected]
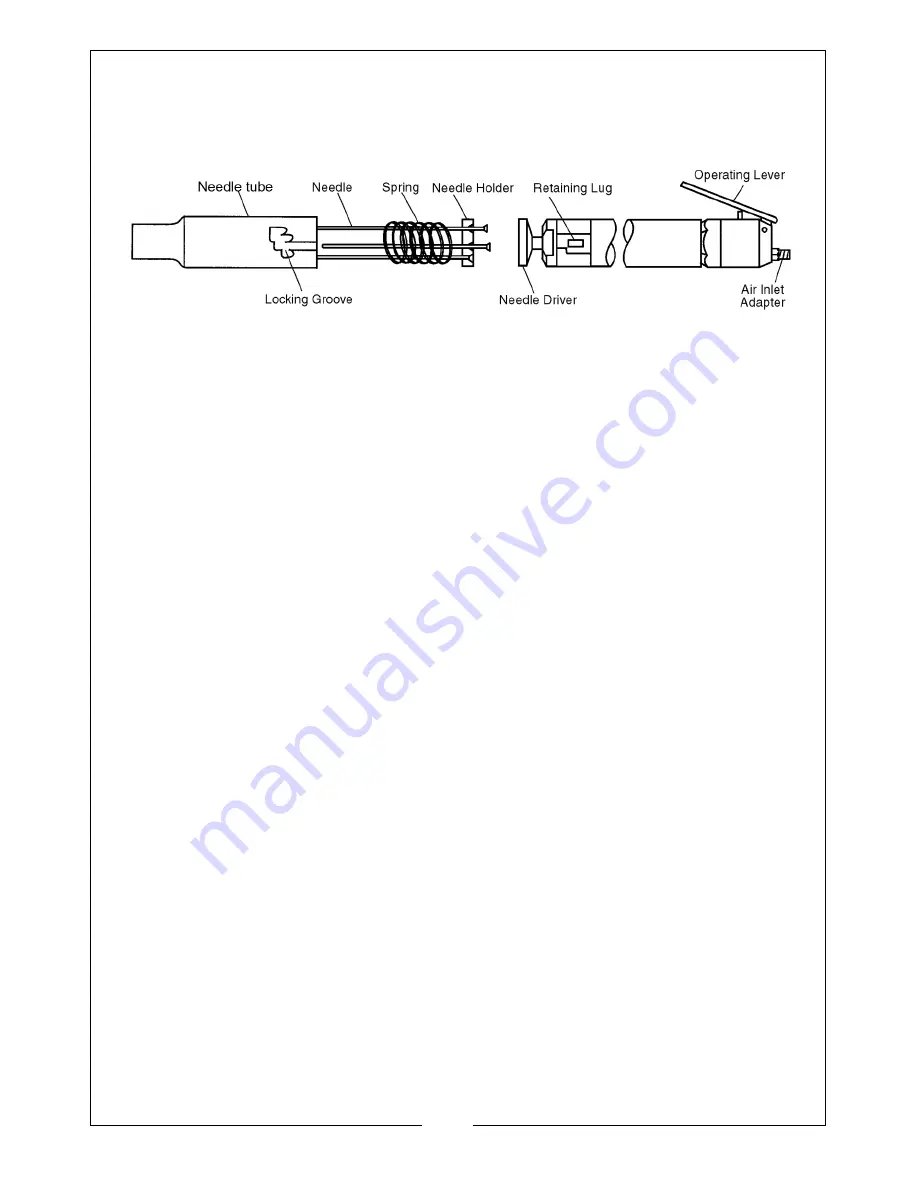
The first position, achieved by turning the body and the retaining lug
anticlockwise, creates the greatest needle force, the second position,
achieved by pushing harder against spring pressure and turning the body
clockwise, creates a slightly lesser
force, and the third position, achieved in a similar
manner, creates even less. A position should be selected depending upon your
requirements, dictated by the finish required and the type of material being worked.
A gauze filter is fitted within the air inlet adapter. Ensure this filter is always in
place and clean. An air line is connected to the adapter, preferably via a
quick release coupling (not supplied).
Ensure the operating lever is NOT depressed when connecting the air line.
USING THE TOOL
Hold the tool with the fingers of one hand wrapped around the operating
lever, and bring towards the work at an angle of approx.60-70
o
. With the
airline pressure set to 90 lbf/in
2
(6.1bar), pull the operating lever and allow the
needles to come into contact with the work.
Moving slowly across the work surface, proceed to remove scale, rust or other
contaminants.
Release the trigger to stop operation, noting that the tool may impact briefly
after the trigger is released.
DISCONNECTING THE AIR SUPPLY
1. Do not disconnect the air supply hose until the compressor has been shut
down and the compressed air released.
2. Refer to the compressor instruction manual for the procedure to shut down
and vent the compressed air.
3. Once the pressure has been released, disconnect the air supply hose from
the air tool.


