background image

15

English

Owner

’s Man

ual

TVX5653

TV Mode Operations

Manual memory function
1) Press the joystick 

#

up (

w

) or down (

z

) to

select TV1 or TV2.

2) Press the joystick 

#

to the left (

Å

) or right

(

Î

) to select the channel to be preset.

3) Hold down for about 2 seconds the preset

channel button (

4

to 

9

) in which the station

is to be stored.  The new channel now being
received is stored in the memory.

*

Upon completion of the memory operation, the
channel display at the top left of the screen
turns red.

Note:

The memory contents are returned to the
default settings when the battery is replaced or
the power supply is otherwise suspended.

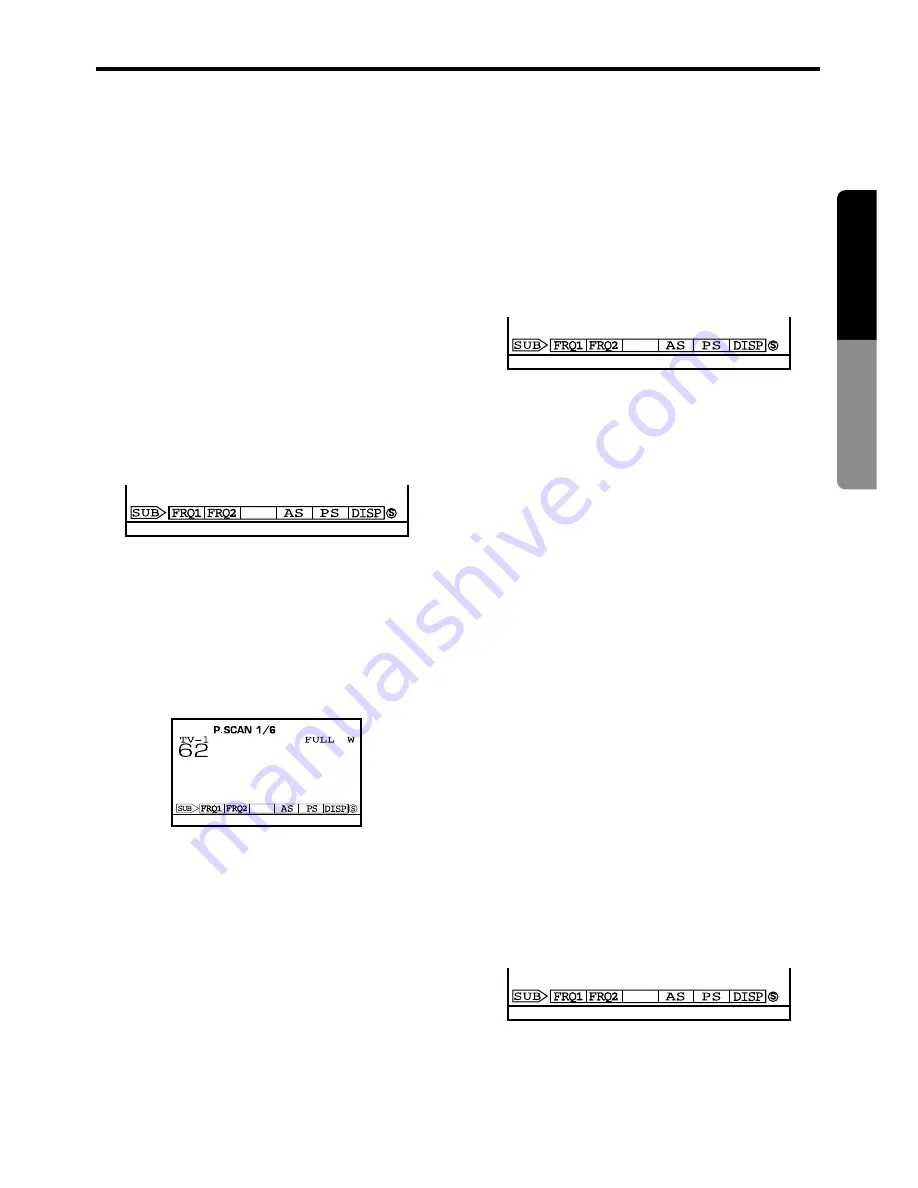
Preset scanning

1) Press the SHIFT button 

3

to display the

menu screen.

Checking out the channels

1) Press the CH (channel) button 

0

.

The channel currently being received will be
displayed for about 5 seconds, together with
the number of the preset button and the
screen display mode.

Permanently displaying the channel

1) Press the SHIFT button 

3

to display the

menu screen.

*

The menu screen remains displayed for about
5 seconds.

*

Perform the next operation while the menu
screen is displayed.

2) Press the DISP (display) button 

4

.

The current channel is now permanently dis-
played on the screen.

*

The menu screen’s  “DISP” indicator will
change to red.

Note:

When the “channel non-permanent display
mode” has been set, the reception channel is
displayed for about 5 seconds when the TV
band is changed and when tuning.

3) To clear the channel display, first display the

menu screen again, and then press the DISP
(display) button 

4

.

*

The menu screen’s  “DISP” indicator will
change to white.

Selecting the FM modulator fre-
quency

The FM modulator frequency can be set only in
the TV mode.

The factory setting is 88.3 MHz.

1) Press the TV/CD button 

2

to select the TV

mode.

2) Press the SHIFT button 

3

to display the

menu screen.

*

The menu screen remains displayed for about
5 seconds.

*

Perform the next operation while the menu
screen is displayed.

2) Press the PS (preset scan) button 

5

.

The stations stored in the preset channels are
received in sequence at intervals of about 5
seconds per station.

3) To release the preset scanning, display the

menu screen, and press the PS button 

5

.

Preset selection

1) Press the joystick 

#

up (

w

) or down (

z

) to

select TV1 or TV2.

2) Press one of the preset channel buttons (

4

to 

9

).

The station in the channel which is stored in
the memory is now tuned in.

*

The menu screen remains displayed for about
5 seconds.

*

Perform the next operation while the menu
screen is displayed.

Summary of Contents for TVX5653

Page 1: ...ON CONTROL DE CAMBIADOR DE DISCOS COMPACTOS TVX5653 Owner s Manual Installation Mode d emploi et manuel d installation Manual de instrucciones y de instalaci n Thank you for purchasing the Clarion TVX...

Page 2: ...manuel La section Fonctionnement du mode changeur de CD de ce mode d emploi explique le fonctionnement d un changeur CD connect au TVX5653 par un c ble C BUS Si vous achetez le changeur de CD ind pend...

Page 3: ...RDM disk random button Joystick A Magazine selection w z B Program search C Play pause button 5 8 Wide 16 9 TFT Active Matrix Drive Type Color LCD Panel 4 Modes Supported Cinema Wide Full Wide and No...

Page 4: ...e countries Also while driving keep the volume to a level at which external sounds can be heard WARNING TVX5653 MODEL 12V GROUND SERIAL No QZ 6012B 286 9013 20 Clarion Co Ltd MADE IN JAPAN MANUFACTURE...

Page 5: ...2 seconds for auto store Receiving band selection and switching to VTR mode Track UP DOWN Hold down for about 1 second for Fast forward fast backward Play pause Switching of disc inside magazine Magaz...

Page 6: ...he set in any way Doing so may result in damage Do not draw the LCD panel out and use it as a tray Also subjecting the LCD panel to shocks may result in breakage deformation or other damage Do not let...

Page 7: ...LCD panel stops when it is partially extended press the OPEN button 1 to retract it and then press the OPEN button 1 again so that it is fully extended Adjusting the LCD panel angle 1 Turn the LCD pa...

Page 8: ...IDE button to select the screen display mode Each time this button is pressed the display mode is changed in the sequence shown below For normal 4 3 picture reception Depending on which mode is set th...

Page 9: ...od of time or when you are leaving the vehicle When the LCD panel is turned until it locks into its horizontal position it will be retracted auto matically Retracting the LCD panel When the LCD panel...

Page 10: ...out 5 seconds To ensure that the channel number is displayed all the time refer to the section on permanently dis playing the channel page 15 and perform the necessary settings Preset memory function...

Page 11: ...current channel is now permanently dis played on the screen The menu screen s DISP indicator will change to red Note When the channel non permanent display mode has been set the reception channel is d...

Page 12: ...proceeding with the connections make absolutely sure that the power of the unit and VTR or video camera has been turned off Before proceeding with the connections refer to the Instruction Manual of th...

Page 13: ...rns red PLAY PAUSE TRACK UP TRACK DN TRACK FF TRACK FB MAG UP MAG LOCK EJECT CHECK NO DISC HI TEMP ERROR D RDM D SCN D RPT T RDM T SCN T RPT When disc random play is performed When disc scan play is p...

Page 14: ...al play speed Pausing playback 1 Press the center of the joystick The disc play pauses 2 When the center of the joystick is pressed again the pause is released Random Scan Repeat play 1 Press the SHIF...

Page 15: ...ear on the screen while the vehicle is mov ing Park the vehicle and then watch Engage the parking brake To watch the TV use the function button to check whether the TV screen has been selected You may...

Page 16: ...nsert the empty magazine and press the eject key to return to the first disc This error occurs if there is a problem with the mechanism and the eject or disc selection operation is not completed in th...

Page 17: ...1 25 MHz for audio Antenna input 75 unbalanced Input Output Video input 1 0 0 2 Vp p input impedance 75 VTR video input 3 5 mini jack Audio input 130 60 mVrms input impedance 45 k or greater VTR audio...

Page 18: ...22 TVX5653...

Reviews: