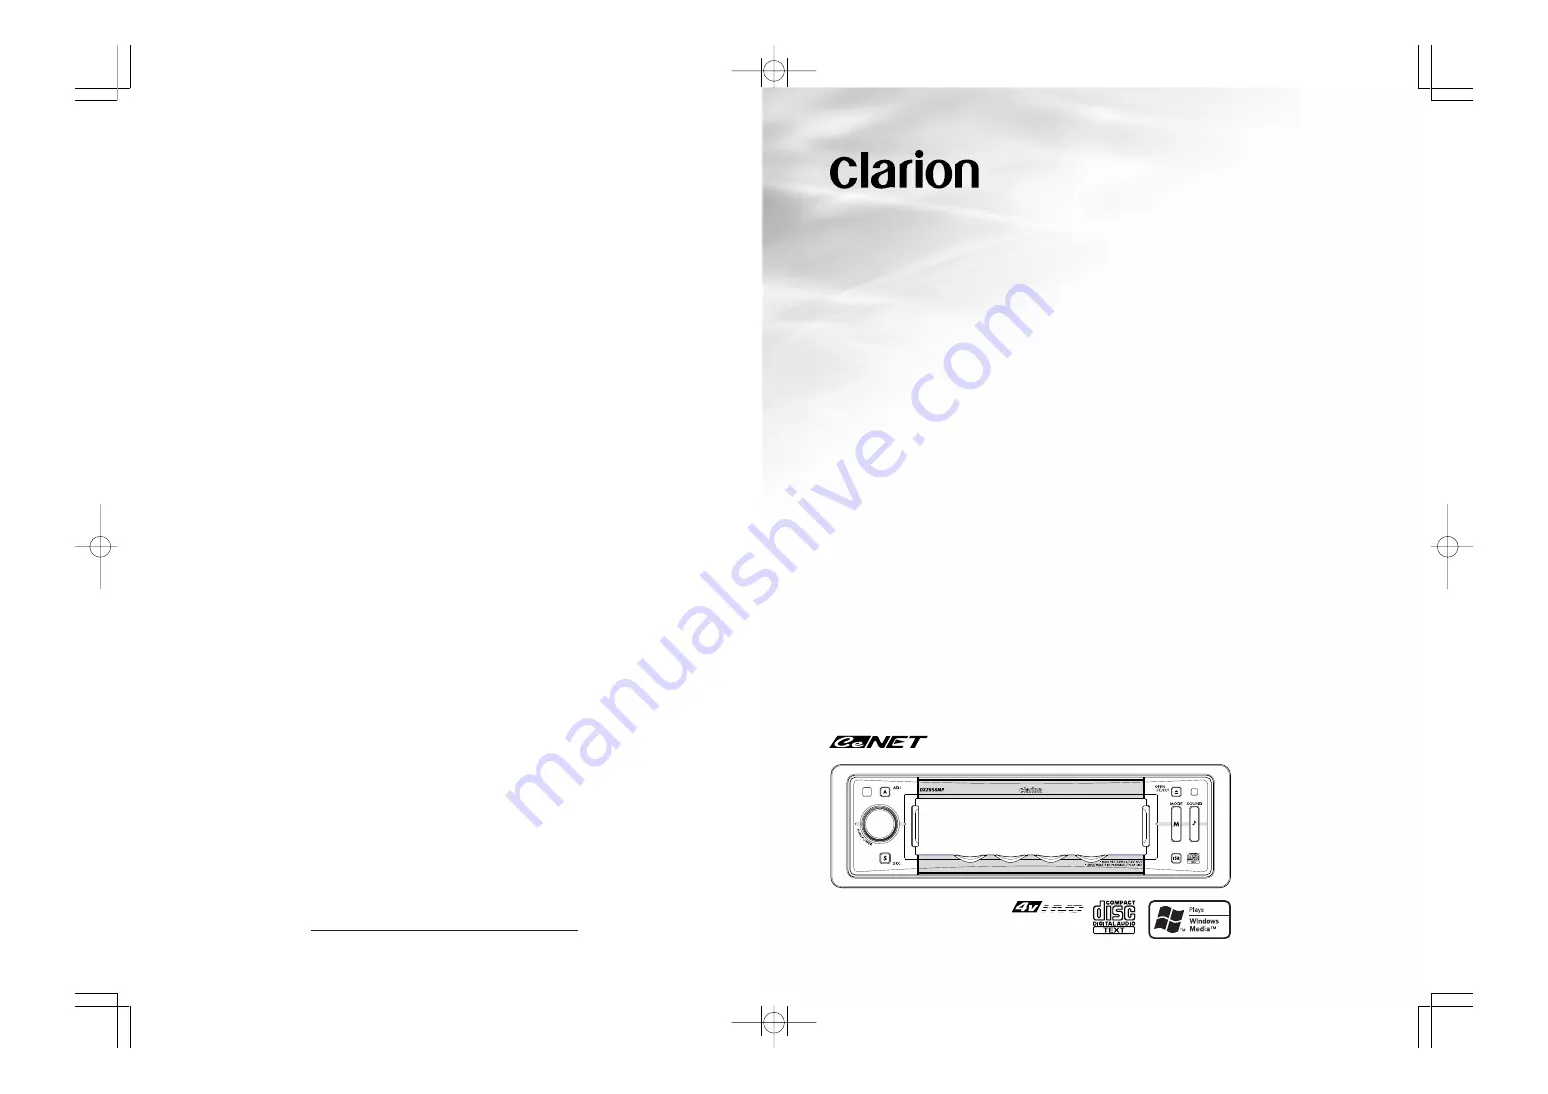
background image

CD/MP3/WMA Receiver /
CeNET & Touch Panel Control

CD/MP3/WMA


 / CeNET

 !" #

 !" #

 !" #

 !" #

 !" #

CD/MP3/WMA 

리시버

리시버

리시버

리시버

리시버

 / CeNET & 

터치패널

터치패널

터치패널

터치패널

터치패널


컨트롤

컨트롤

컨트롤

컨트롤

컨트롤

Owner’s manual

    ! "

    ! "

    ! "

    ! "

    ! "

사용

사용

사용

사용

사용


설명서

설명서

설명서

설명서

설명서

DXZ856MP

Clarion Co., Ltd.

All Rights Reserved. Copyright © 2005: Clarion Co., Ltd.

2005/2 (Abe·Abe)

PE-2749K

280-8224-00

+DXZ856MP̲00-Cover-ECK.p65

05.2.17, 2:28 PM

Page 1

Adobe PageMaker 6.5J/PPC

Summary of Contents for DXZ856MP

Page 1: ...버 리시버 CeNET 터치패널 터치패널 터치패널 터치패널 터치패널 컨트롤 컨트롤 컨트롤 컨트롤 컨트롤 Owner s manual 사용 사용 사용 사용 사용 설명서 설명서 설명서 설명서 설명서 DXZ856MP Clarion Co Ltd All Rights Reserved Copyright 2005 Clarion Co Ltd 2005 2 Abe Abe PE 2749K 280 8224 00 DXZ856MP 00 Cover ECK p65 05 2 17 2 28 PM Page 1 Adobe PageMaker 6 5J PPC ...

Page 2: ...h 24 Bit D A Conversion and 4 Volt 6 Channel RCA Outputs Auxiliary Input for External Device Connection 2 Band Parametric EQ and ADF Compressed Audio Enhancer High Quality Stainless Steel Faceplate Contents 1 FEATURES 2 2 PRECAUTIONS 3 Sloping Console 4 Handling Compact Discs 4 3 CONTROLS 5 4 NOMENCLATURE 6 Names of the Buttons and their Functions 6 Operations when External Equipment is Connected ...

Page 3: ...ecision mechanism Even in the event that trouble arises never open the case disassemble the unit or lubricate the rotating parts WARNING For your safety do not watch or operate the touch panel while driving CAUTION USE OF CONTROLS ADJUSTMENTS OR PERFORMANCE OF PROCEDURES OTHER THAN THOSE SPECIFIED HEREIN MAY RESULT IN HAZARDOUS RADIATION EXPOSURE THE COMPACT DISC PLAYER AND MINI DISC PLAYER SHOULD...

Page 4: ...ture and humidity and some CD R and CD RW discs may not be playable Therefore do not leave them for a long time in the car New discs may have some roughness around the edges If such discs are used the player may not work or the sound may skip Use a ball point pen or the like to remove any roughness from the edge of the disc Never stick labels on the surface of the compact disc or mark the surface ...

Page 5: ...4 00 DXZ856MP 5 3 CONTROLS ISR SRC Display MODE SOUND ADJ IR Receiver ROTARY Q OPEN EJECT Photo Sensor DCP Detaching Slider CD SLOT Source unit With the SLOPING CONSOLE opened DXZ856MP_01 03 Eng p65 1 27 05 6 56 PM 5 ...

Page 6: ...tion displays SOUND button Use this button for setting or adjusting various settings such as ADF ISR Instant Station Recall button Immediately calls up a favorite radio station regardless of the current mode This is the ISR function You can store radio stations to the ISR button by holding this button down for 2 seconds or longer in the radio mode SRC button Switches among sound sources as shown b...

Page 7: ...When the CD DVD changer is connected For details see the section CD changer operations cf page 35 For the DVD changer refer to the Owner s Manual provided with the DVD changer When the TV is connected For details see the section TV operations cf page 38 DXZ856MP_01 03 Eng p65 1 27 05 6 56 PM 7 ...

Page 8: ... in a certain context Simple operation display To switch to the simple operation display press and hold the MODE button for 2 seconds or longer 98 10 FM1 2 45 SEEK PRESET BAND DISP PS AS P3 P CH pm Left button Touch this button for seek down or track down operations Touch and hold this button for fast rewind operation Right button Touch this button for seek up or track up operations Touch and hold...

Page 9: ...are touching the display Touch Touch the display with your fingertip and move your finger to the up or down with your fingertip still touching the display and take your fingertip away within 1 second This operation is used for example selecting tracks or discs 98 10 MANU Touch Panel Operations Touch Touch the display with your fingertip and move your finger to the up or down with your fingertip st...

Page 10: ...t DCP an electrical adjustment is necessary This adjustment requires technical knowledge Please consult Clarion service or a Clarion service station Attaching the DCP 1 Place the DCP to the SLOPING CONSOLE adjusting the metal connecters on DCP and the SLOPING CONSOLE 2 Press the DCP until it clicks into the SLOPING CONSOLE The DCP display lights and is ready to use CAUTION If the slider is on the ...

Page 11: ...icated by the arrow so that it slides into the compartment 4 Replace the cover and slide in until it clicks into place Notes Misuse may result in rupture of the battery producing leakage of fluid and resulting in personal injury or damage to surrounding materials Always follow these safety precautions Use only the designated battery When replacing the battery insert properly with polarities orient...

Page 12: ...station into ISR memory radio mode only Switches between the title display and the spectrum analyzer display Preset scan When pressed and held for 2 seconds or longer Auto store No function No function Scan play When pressed and held for 1 second or longer Folder scan play MP3 WMA disc Repeat play When pressed and held for 1 second or longer Folder repeat play MP3 WMA disc Random play When pressed...

Page 13: ...TN CODEMATIC OFF For details on the CODEMATIC function see Using the security function cf page 34 7 OPERATIONS Basic Operations Selecting a mode 1 Press the SRC button to change the operation mode 2 Each time you press the SRC button the operation mode changes in the following order Radio CD MP3 CD changer DVD changer TV AUX Radio External equipment not connected with CeNET is not displayed Adjust...

Page 14: ...an choose from HIGH MID or LOW 5 Touch RTN Switching the background 1 Touch DISP 98 10 FM1 SEEK PRESET BAND DISP PS AS P3 P CH 2 45 pm DISPLAY EDIT screen displays 2 Touch on the left of the display to choose the background BGV SP ANA DISPLAY EDIT RTN P 02 The background includes 12 wallpaper images and 2 motion pictures Choose SCAN to automatically display all the wallpaper Background M01 WRC M02...

Page 15: ...TO SCROLL TRACK The title you have chosen is displayed If it is too long to fit into the display it automatically scrolls 4 Touch SCROLL Select AUTO to scroll the title repeatedly Select ONCE to scroll the title only once Notes You cannot set the scroll options in User title mode 5 Touch RTN CD mode MP3 WMA Folder title when using a folder Play list when using a play list Track title Album TAG Art...

Page 16: ...es the reception band Touching and holding this for 1 second or longer switches between the manual tuning mode and the seek tuning mode PS AS Touching this starts a preset scan Touching and holding this for 2 seconds or longer starts an auto store Touching this during the preset scan auto scan ends the operation DISP The display contents can be changed a d only in the simple operation display Touc...

Page 17: ...perations Preset memory A total of 24 preset positions 6 FM1 6 FM2 6 FM3 6 AM exists to store individual radio stations in memory 1 Touch BAND to switch the reception band 2 Operate the frequency display to tune to a frequency to store 3 Touch PRESET The preset memory No list is displayed 4 Touch and hold the preset No to store the station to for 2 seconds or longer You will hear a long beep and t...

Page 18: ...f a button The ISR function even operates with the unit in other modes The factory default setting is FM87 9MHz 1 Press the ISR button ISR appears on the display To return to the previous mode Press the ISR button again or press the SRC button To store the station to ISR In the radio mode tune the station to store and press and hold the ISR button for 2 seconds or longer You will hear a long beep ...

Page 19: ... audio compression method and classified into audio layer 3 of MPEG standards This audio compression method has penetrated into PC users and become a standard format This MP3 features the original audio data compression to about 10 percent of its initial size with a high sound quality This means about 10 music CDs can be recorded on a CD R disc or CD RW disc to allow a long listening time without ...

Page 20: ...type of encoder software used while recording Multisession function When a disc contains both CD DA and MP3 WMA type tracks mixedly you can select which type of the recorded tracks to play Default value is CD 1 Press the MODE button 2 Touch Å Î to go to the next page 3 Touch MULTI SESS Each touch of MULTI SESS toggles the MULTI SESS display between CD play CD DA or MP3 WMA play MP3 WMA The multi s...

Page 21: ... with an MP3 file or a WMA file is loaded you can select only tracks recorded to the same folder by touching on the track display 1 To listen to the next track touch on the track display 2 To listen to the previous track touch twice on the track display Touching plays the next track If you touch more times the track advances ahead to the track for the number of times you touched and that track is ...

Page 22: ...1 Scan play This function allows you to locate and play the first 10 seconds of all the tracks recorded on a disc 1 Press the MODE button 2 Touch TRACK SCAN Scan play starts from the next track after the track currently being played To cancel scan play 1 Press the MODE button Folder scan play This function allows you to locate and play the first 10 seconds of the first track of all the folders rec...

Page 23: ... the MODE button Folder random play This function allows you to play all folders on the disc at random 1 Press the MODE button 2 Touch FOLDER RDM To cancel folder random play 1 Press the MODE button CD MP3 WMA Operations DXZ856MP_01 19 Eng p65 1 27 05 7 08 PM 23 ...

Page 24: ...ossible 1 Press the SOUND button 2 Touch ADF SOUND ADF OFF M BASS EX BASS TREBLE 1 1 RTN OFF 0 BALANCE 0 FADER 3 Touch on the right of the display to select the ADF mode ADF MODE 1 RTN ADF 1 Select one of USER 1 2 3 or OFF 4 To change the details of the ADF setting press the ADJ button 5 Touch on the left of the display to select the desired item Each touch of switches the adjustment item display ...

Page 25: ... When the adjustment is complete press the SOUND button to return to the original mode Adjusting the treble Gain Frequency This adjustment can only be performed when the ADF Anti Distortion Filter is set to OFF 1 Press the SOUND button 2 Touch TREBLE 3 Touch on the left of the display to select the item Each touch of switches the adjustment items as follows GAIN FREQUENCY GAIN 4 Touch on the right...

Page 26: ...er adjustment This filter cuts the signals above the selected frequency value Each touch switches the frequency value as follows THROUGH 50Hz 80Hz 120Hz THROUGH Select the frequency that suits your subwoofer Set to THROUGH if you use powered subwoofers with built in low pass filters 1 Press the SOUND button 2 Touch FILTER 3 Touch on the right of the display to select the frequency value Select fro...

Page 27: ...tation or play a CD for which you want to enter the title 2 Touch DISP 3 Touch INPUT 05 DISPLAY EDIT L BLUE BGV TITLE SP ANA COLOR P RTN INPUT ABCDE The TITLE INPUT screen appears 4 Touch to move the cursor to indicate the input position TITLE INPUT MEMO FONT A A Z RTN TEXT Up to ten characters can be input CAUTION Pressing the reset button clears all user memories such as titles stored on this un...

Page 28: ...ute for cellular telephones This unit requires special wiring to mute the audio signal automatically when a cellular telephone rings in the car This function is not compatible with all cellular telephones Contact your local authorized Clarion dealer for information on proper installation and compatibility Changing settings Selecting setting items 1 Press the ADJ button The mode changes to the adju...

Page 29: ...cf page 32 SCROLL SPD Adjusting the scroll speed cf page 32 SRC ICON Setting the source icon display cf page 32 SOUND SUB WOOFER Setting sub woofer speaker ON OFF cf page 32 AMP CANCEL Setting internal amplifier use ON OFF cf page 32 TUNER TV AREA Setting the TV area cf page 40 TV DIVER Setting TV diversity cf page 40 SETTING AUX SENS Setting the portable audio AUX input level cf page 33 SYSTEM CH...

Page 30: ...formed for more than 30 seconds The factory default setting is OFF 1 Press the ADJ button to set to the adjust mode 2 Touch APPEARANCE 3 Touch on the left of the display to select MSG INFO ADJ APPEARANCE RTN MSG I N F O OFF 4 Touch on the right of the display to select ON or OFF 5 Press the ADJ button to return to the original mode Entering messages to display in message information MSG INPUT Up t...

Page 31: ...elect DMR LEVEL RTN DMR LEVEL 3 ADJ APPEARANCE 4 Touch on the right of the display to set the dimmer level Select one of OFF dimming OFF bright 1 slightly dimmed to 5 dark 5 Press the ADJ button to return to the original mode Adjusting the brightness of the display BRIGHT You can adjust the brightness of the display to match the mounting angle of the unit The factory default setting is 5 1 Press t...

Page 32: ... mode Setting the source icon SRC ICON You can change the source icon on the display The factory default setting is ICON 1 Press the ADJ button to set to the adjust mode 2 Touch APPEARANCE 3 Touch on the left of the display to select SRC ICON RTN SRC I CON I CON ADJ APPEARANCE 4 Touch on the right of the display to select ICON or SPE ANA 5 Press the ADJ button to return to the original mode Settin...

Page 33: ... the left of the display to select AUX SENS RTN AUX SENS MID ADJ SETTING 4 Touch on the right of the display to set the input level Select LOW MID or HIGH Notes When the input level is overloaded OVERLOAD appears Adjust AUX SENS or the input level so that OVERLOAD disappears 5 Press the ADJ button to return to the original mode Performing a system check SYSTEM CHECK This function allows you to per...

Page 34: ...splay 4 Touch on the right of the display to select ON or OFF 5 Touch on the left of the display to select CODEMATIC CODEMATIC RTN ADJ SETTING INPUT Here select the item for which INPUT is displayed at the right of the display 6 Touch INPUT The Touch Code display appears 7 Enter the touch code Touch 1 to 4 at the bottom of the display at random You can also repeatedly touch the same number CODE MA...

Page 35: ...ng and holding MODE button for 2 seconds or longer switches the simple operation display 01 TRACK DISC DISP 03 29 TELL ME 2 45 pm 1 Playing time display Î00 01 The playing time is displayed Track No display Touching or allows you to select the track to play or fast forward fast rewind tracks Title display The selected title is displayed Disc No display Touching selects discs s Touching this pauses...

Page 36: ... of the track is being played the track 2 tracks back is sometimes played CD Changer Operations Fast forward fast rewind 1 To fast forward touch on the track display 2 To fast rewind touch on the track display Scan play Scan play locates and plays the first 10 seconds of each track on a disc automatically This function continues on the disc until it is canceled The scan play function is useful whe...

Page 37: ...tton Random play Random play selects and plays individual tracks on the disc in no particular order This function continues automatically until it is canceled 1 Press the MODE button 2 Touch TRACK RDM To cancel random play 1 Press the MODE button Disc random play The disc random play selects and plays individual tracks or discs automatically in no particular order This function continues automatic...

Page 38: ... of equipment that is not connected is not displayed Switching the reception band 1 Touch BAND to switch the reception band Each touch of BAND switches the reception band TV1 TV2 TV1 TV tuner function When an optional TV tuner is connected through the CeNET cable this unit controls all TV tuner functions To watch TV you need a TV tuner and a monitor Screen displays in the TV mode Standard operatio...

Page 39: ...tions can be stored 6 TV1 and 6 TV2 This allows you to select your favorite TV stations and store them in memory for later recall 1 Touch BAND to switch the reception band 2 Operate the channel display to select the station to store to 3 Touch PRESET The preset memory No list is displayed 4 Touch and hold the preset No to store for 2 seconds or longer You will hear a long beep and the station is s...

Page 40: ... the ADJ button to set the adjust mode 2 Touch TUNER 3 Touch on the left of the display to select TV AREA RTN TV AREA ADJ TUNER 4 Touch on the right of the display to select the area 5 Press the ADJ button to return to the previous mode The above operations are required when a TV tuner other than TTX7501z is connected Setting the TV Diver You can change the reception setting for the TV antenna con...

Page 41: ... of the same amperage If the fuse blows again consult your store of purchase Consult your store of purchase Turn the unit off and check each wire for a possible short If the amplifier turn on lead shorts out cover it with insulation such as tape Turn off the power then remove the DCP by referencing Removing the DCP cf page 10 Press the reset button for about 2 seconds with a thin rod Wipe the dirt...

Page 42: ...ect File name or extension is not correct Let dry for about 1 hour with the power on Use ISO9660 level 1 2 or JOLIET or Romeo file system Use alphanumeric ASCII characters for MP3 WMA file name Use M3U for the file extension of a play list Sound is bad directly after power is turned on Wrong filename Play list play is not performed DXZ856MP_01 35 Eng p65 1 27 05 7 20 PM 42 ...

Page 43: ...d the display shows AMP GUARD AMP GUARD sometimes functions when special test signals are used This is a failure of CD deck s mechanism and consult your store of purchase Replace with a non scratched non warped disc Eject the disc then reload it properly This is a failure of CD changer s mechanism and consult your store of purchase Replace with a non scratched non warped disc Eject the disc then r...

Page 44: ...unit 7 Width 2 Height 6 5 16 Depth 178 W 50 H 160 D mm Dimensions Remote control unit 1 3 4 Width 4 7 16 Height 1 2 Depth 44 W 113 H 13 D mm Note Specifications and design are subject to change without notice for further improvement FM Tuner Frequency Range 87 0 MHz to 108 0 MHz Usable Sensitivity 9 dBf 50dB Quieting Sensitivity 15 dBf Alternate Channel Selectivity 70 dB Stereo Separation 1 kHz 32...

Page 45: ...English 280 8224 00 DXZ856MP 45 DXZ856MP_01 35 Eng p65 1 27 05 7 20 PM 45 ...

Page 46: ...버 리시버 CeNET 터치패널 터치패널 터치패널 터치패널 터치패널 컨트롤 컨트롤 컨트롤 컨트롤 컨트롤 Owner s manual 사용 사용 사용 사용 사용 설명서 설명서 설명서 설명서 설명서 DXZ856MP Clarion Co Ltd All Rights Reserved Copyright 2005 Clarion Co Ltd 2005 2 Abe Abe PE 2749K 280 8224 00 DXZ856MP 00 Cover ECK p65 05 2 17 2 28 PM Page 1 Adobe PageMaker 6 5J PPC ...

Reviews: