22
Hardware Installation Guide for Cisco UCS E-Series Servers
OL-26447-03
Installing the E-Series Servers
Installing the Blank Faceplates
All empty chassis slots on the router must be covered with blank faceplates to ensure proper cooling and
airflow and to prevent electromagnetic interference.
Use this procedure to install a blank faceplate on a router’s service module (SM) slot.
Procedure
Step 1
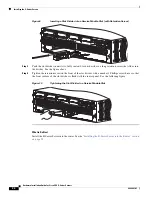
For a single-wide E-Series Server—Install a slot divider in the SM slot. See the
“Installing Slot
Dividers” section on page 23
.
Step 2
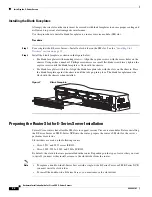
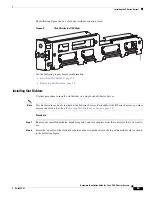
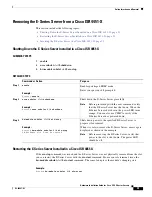
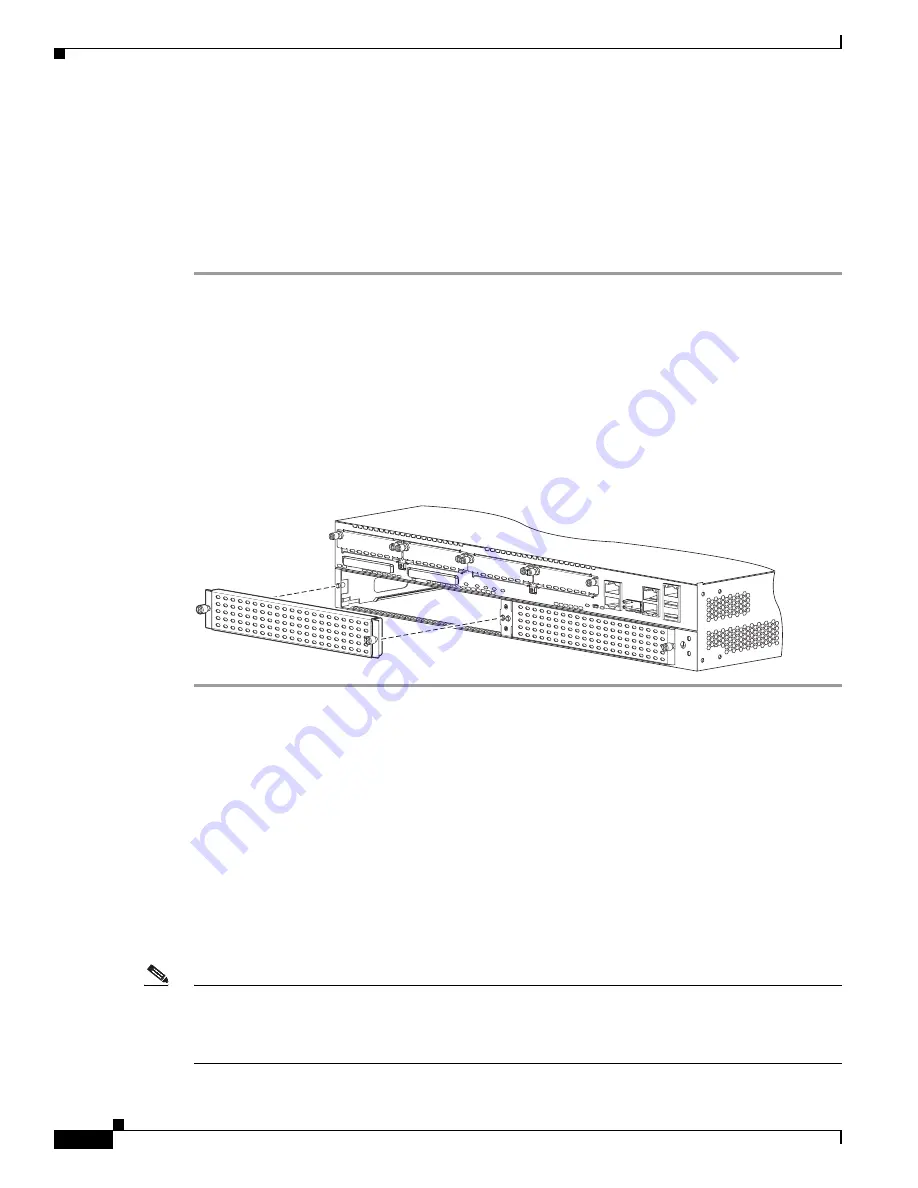
Install the blank faceplate as shown in the figure below.
•
For blank faceplates with mounting screws—Align the captive screws with the screw holes on the
chassis. Using either a number 1 Phillips screwdriver or a small flat-blade screwdriver, tighten the
captive screws until the blank faceplate is flush with the chassis.
•
For blank faceplates with tabs—Align the blank faceplate tabs with the slots on the chassis. Press
the blank faceplate against the chassis until the tabs pop into place. The blank faceplate must be
flush with the chassis when installed.
Figure 7
Blank Faceplate
Preparing the Router Slot for E-Series Server Installation
Several Cisco routers have flexible SM slots to support various Cisco server modules. Before installing
the E-Series Server or SM E-Series NCE into the router, prepare the router’s SM slot for the server’s
particular form factor.
Slot dividers are used on the following routers:
•
Cisco 2921, and 2951 series ISR G2
•
Cisco 3925, 3925e, 3945, and 3945e ISR G2
By default, the slot dividers are preinstalled in the router. Depending on the type of server that you want
to install, you must either install or remove the slot divider from the router.
Note
•
To replace a double-wide E-Series Server with a single-wide E-Series Server or SM E-Series NCE,
you must install a slot divider.
•
To install the double-wide E-Series Server, you must remove the slot divider.
DO NO
T REMO
VE DURING
NETWORK OPERA
TION
DO NO
T REMO
VE DURING
NETWORK OPERA
TION
2509
3
7


