7
Chapter 3: Getting to Know the Wireless-G ADSL Gateway with SpeedBooster
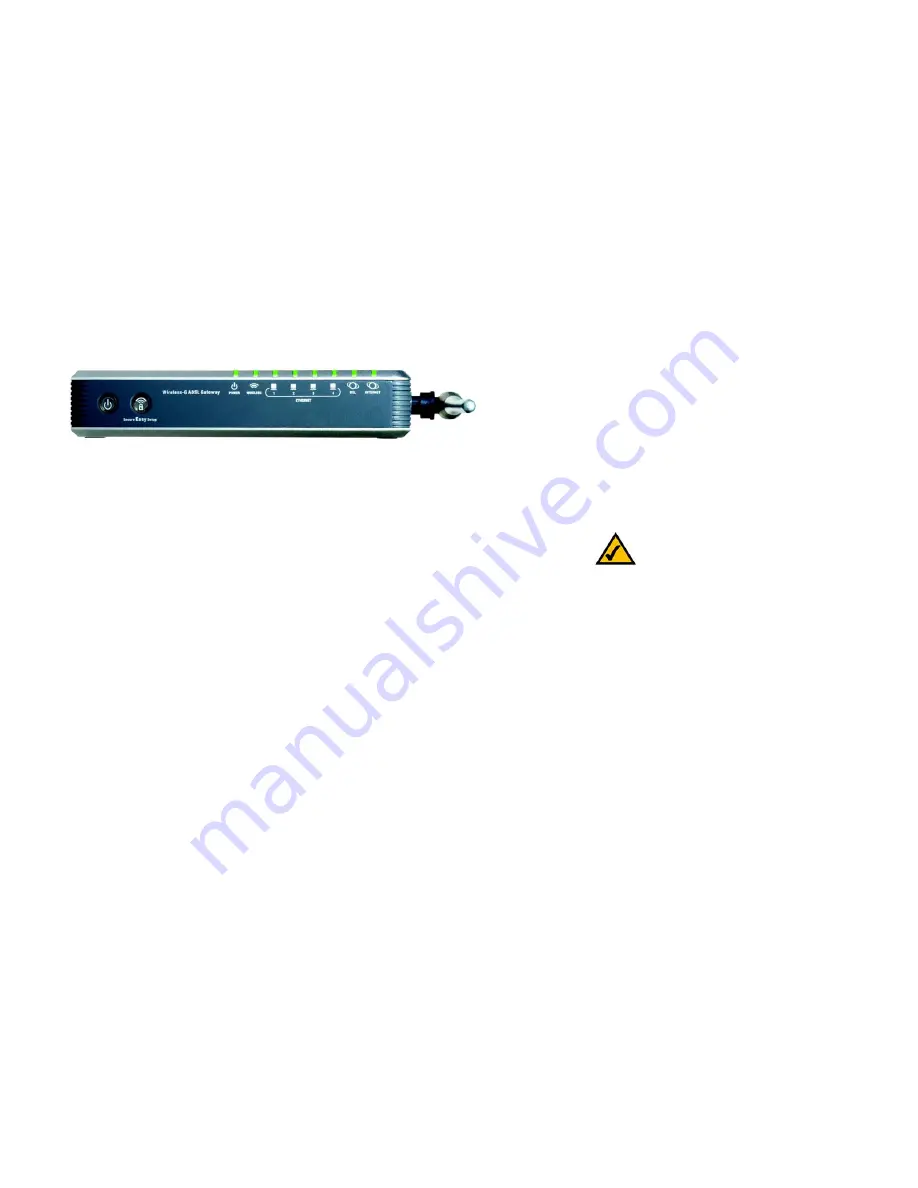
LEDs on Side Panel
Wireless-G ADSL Gateway with SpeedBooster
LEDs on Side Panel
The Gateway's LEDs, which indicate network activity, are located on the other side panel.
(POWER) button
When you want to power the Gateway on or off, push this button.
SecureEasySetup
button
Orange/White. This button lights up orange when the Gateway is powered on. The color
orange indicates that SecureEasySetup mode is disabled, while the color white indicates
that SecureEasySetup mode is enabled. When the Gateway enters SecureEasySetup mode,
this button will turn white and start flashing. After the Gateway has generated the SSID and
WPA-PSK (also called WPA-Personal) key, the LED will stop flashing and stay white.
To clear the SSID and WPA-PSK key, press and hold down the button for five seconds. The
SecureEasySetup button will flash slowly as the Gateway resets itself. The SecureEasySetup
button will turn orange to indicate a successful reset.
POWER
Green. The
POWER
LED lights up when the Gateway is powered on.
WIRELESS
Green. The
WIRELESS
LED lights up whenever there is a successful wireless connection. If
the LED is flashing, the Gateway is actively sending or receiving data to or from one of the
devices on the network.
ETHERNET (1-4)
Green. The
ETHERNET
LED serves two purposes. If the LED is continuously lit, the Gateway
is successfully connected to a device through the Ethernet port. If the LED is flashing, it is an
indication of any network activity.
DSL
Green. The
DSL
LED lights up whenever there is a successful DSL connection. The LED
flashes while the Gateway is establishing the ADSL connection.
INTERNET
Green. The
INTERNET
LED lights up green when an Internet connection to the Internet
Service Provider (ISP) is established. The INTERNET LED lights up red when the connection
to the ISP fails.
Figure 3-2: LEDs on Side Panel
NOTE:
SecureEasySetup is a feature that
makes it easy to set up your wireless network.
If you have SecureEasySetup devices, run the
Router’s Setup Wizard CD-ROM and follow the
on-screen instructions to use SecureEasySetup.


