The screen has a nine-foot power cable permanently attached to the left side of the screen as seen from the
viewing area. Install or locate a receptacle close enough to plug the screen in prior to installation.
Step 1:
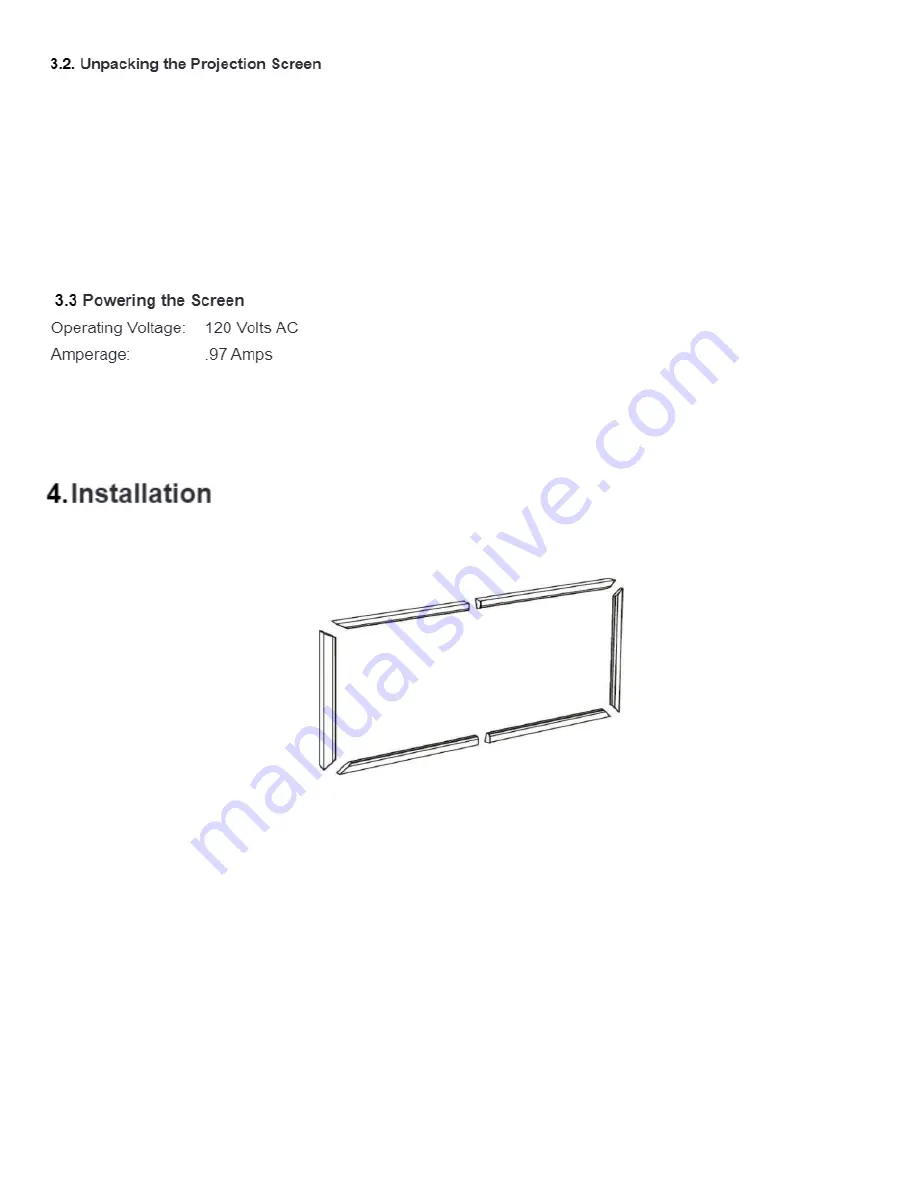
Locate top, bottom, and side frames and lay them on a clean, flat surface.
Step 2:
Lay out the frame rails aligned with the corner brackets. Slide a bracket into the slot at each angled
end of the side frame rails and the centre bracket between the halves of the upper and lower rails. Secure in
place with bracket screws, but do not tighten the screws all the way down. Join the side frame rails to the
upper and lower frame rails, allowing the exposed bracket to slide into the track at the angled end of the
upper and lower frame rails. Secure the brackets in place with the remaining bracket screws and fully tighten
all bracket screws. The frame should now be square at all four corners with no gaps.
As you unpack the projection screen:
•
Remove all accessories from the box before discarding any packaging. Use the Package Contents section to
verify that everything has been removed.
•
After the screen is removed from the package, please check for transport screws which may be present
holding the batten bar to the casing. Be sure to remove the screws holding the bottom rail of the screen in
the housing.
Summary of Contents for Startus G3
Page 1: ...Fixed Frame Screen ...
Page 10: ......


