KONAVI
®
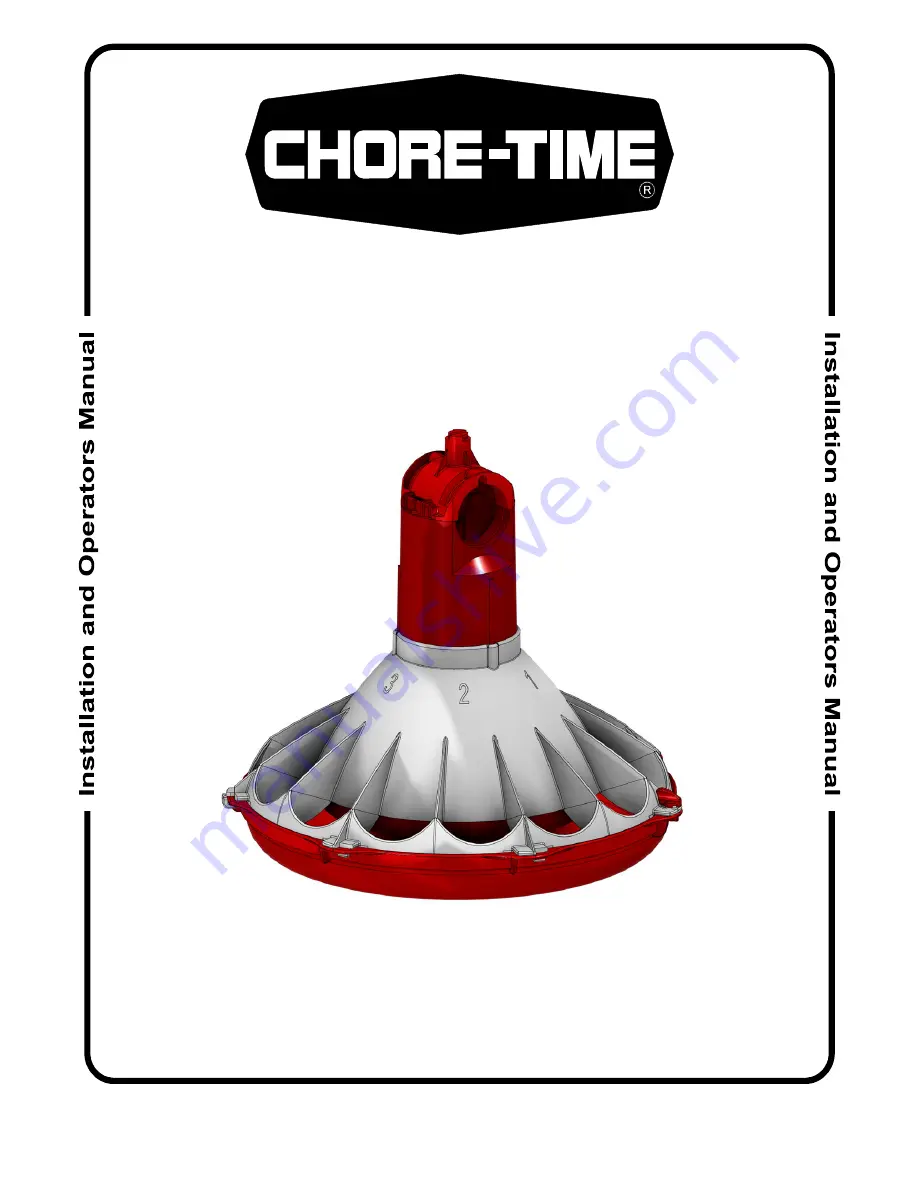
Feeding System
Installation and Operators Manual
MF2464C
August 2020
For additional parts and information, contact your nearest Chore-Time distributor or representative.
Find your nearest distributor at: www.choretime.com/contacts
Page 1: ...stem Installation and Operators Manual MF2464C August 2020 For additional parts and information contact your nearest Chore Time distributor or representative Find your nearest distributor at www chore...
Page 2: ...Pan and Tube Assembly Process 22 Assemble and Suspend the Feeder Line 22 Installing the End Control and Boot Assembly 25 Auger End Control Installation 26 Mid Line Control 30 Location Planning 30 Inst...
Page 3: ...rolling the Feeders optional equipment 47 Electro guard Operation 47 Parts List 48 150 Plastic Hopper 48 200 Hopper Components 49 100 Hopper Components 50 Hopper Mount Bracket 51 Single Boot Component...
Page 4: ...ur specific jurisdiction Compliance with federal state and local rules which apply to the location installation and use of the Product are the responsibility of the original purchaser and CHORE TIME s...
Page 5: ...nt that is different from the authoritative CTB published English version of the manual For current product installation and operation information please contact the customer service and or technical...
Page 6: ...ical wiring must be done by a qualified electrician in accordance with local and national electric codes Ground all non current carrying metal parts to guard against electrical shock With the exceptio...
Page 7: ...llation operation and maintenance of the Chore Time feeding equipment you have purchased The KONAVI Control Units 348 RPM Gearhead Delivering 17 lbs 7 7 kg per minute if density of 40 lbs per cubic fo...
Page 8: ...Liberty C2 PLUS S C KONAVI H2 H2 PLUS 60 90 Broiler 6 lbs 2 7 kg Revolution 8 12 C2 PLUS C2 PLUS S G PLUS G PLUS S C Liberty KONAVI H2 H2 PLUS 55 80 Broiler 7 lbs 3 1 kg KONAVI Revolution 8 12 C2 PLU...
Page 9: ...ooding Suspension System Figure 1 Component location diagram for systems up to 400 feet 122 m Top View 10 3m Minimum 1 Item Description 1 Brood Curtain 2 Control Tube 3 Mid Line Control 3 2 2 10 3m Mi...
Page 10: ...C Detail D Maximum Distance of Travel 2 61cm 8 2 4m 11 279mm Item Description 1 Full Line Suspension Kit 2 Swivel Pulley 3 3 5 8 9 cm Pulley 4 Power Winch 5 Drop Line 6 Hopper Support 1 Detail A Detai...
Page 11: ...ion for systems up to 350 107 m Item Description 1 Swivel Pulley 2 Hopper Support 3 Winch Support 4 Roof Truss 5 Winch 6 Power Unit 1 30cm 3 1m 1 3 4 5 6 1 2 Wood Framed House Requires Support Spannin...
Page 12: ...t 2 x 8 50 x 200 mm board spanning at least 3 trusses 2 Power Lift Winch 3 Truss 4 Cable Hook Install as shown 5 5 16 18 Bolt Washer and Locknut In parts package 6 Angle Iron Long enough to span 2 Tru...
Page 13: ...Item Description 1 Feeder Line 2 Winch Winch Support 3 Winch Centered on Feeder line unless Feed Hopper is centered 4 Winch Centered directly over Feeder Line 5 Hopper End of Feed line option 6 Hoppe...
Page 14: ...ine 3 Metal Hopper 4 Plastic Hopper 5 2 x 8 50x200mm Board Spanning 3 Trusses 6 Heavy Duty Pulley Assembly Part No 2014 22 0 559mm 11 0 279mm 2 Figure 7 Cable Installations at Hopper Locations Wood Co...
Page 15: ...Power Unit Drop Pulley 2 1st Feed Line Drop Pulley 3 2 x 8 50x200mm Board long enough to Span 2 Trusses and support 75 lbs 34kg 4 Angle Iron Long enough to span 2 Trusses and Support 75 lbs 34kg 1 2 3...
Page 16: ...y Installations Feed Lines over 350 107m Figure 10 Temporarily Attaching Main Winch Cable to Ceiling Item Description 1 Direction of Rotation Clockwise 2 Winch Drum Relief with Setscrew 3 Route 3 16 M...
Page 17: ...ed 10 3m 3 Distance Feeder is to be raised 4 Screw Hook Stagger as shown if 3 is greater than 2 5 Screw in Screw Hook full length of threads 2041 6 3 32 2mm Drop Cable 7 Screw Hook Opening facing oppo...
Page 18: ...or 1 8 3 18 mm Cable 3 Pull Direction Toward Winch 4 3 16 Cable Clamp 732 5 6 150 mm 6 Cable Lock Adjustment Leveler See Figure 28 on page 24 14337 7 1 4 20 Lag bolt 8 Ceiling Hook 28550 Figure 15 Sta...
Page 19: ...over the Feed Cone 55822 or 55823 w feed shutoff 4 Line up the Feed Cone Quarter Turn Key with the Key hole See Figure in the Feed Pan Insert the Hook into the Feed Pan and rotate down as shown Assemb...
Page 20: ...h Slide Shutoff 1 Locate the hole in the Auger Tube and position a Slide Shutoff 55817 as shown with the Crimp in the Feed Tube engaged in the Slot of the Slide Shutoff 2 Hold the Slide Shutoff in pla...
Page 21: ...he Auger Tube and with the Tabs of the Cone Cap captured by the Cone Slide it past the Locking Tabs so it locks into place as shown Note The Cone Cap is made to slide on one direction The open end of...
Page 22: ...tion of the line The belled end of each tube should be toward the Hopper end of the line See Figure 23 2 Connect the individual feeder tubes together by inserting the straight end of one tube as far a...
Page 23: ...uire a Clamp Anti Roost Bracket at every fifth joint Systems using 12 tubes require a Clamp Anti Roost Bracket at every fourth joint All other joints in the system use the standard Tube Clamp Assembly...
Page 24: ...nvenient working height 9 With the feeder line suspended measure from the floor or ceiling to the auger tubes to level the system 10 Before tightening each clamp make sure each tube is level not saggi...
Page 25: ...TIME 2 Install the Feeder Boot by sliding the straight end of the Feeder Boot into the belled end of the Feeder Tube Install a clamp anti roost bracket on the bell and tighten The Feeder Boot must be...
Page 26: ...e auger into the Auger Tubes Keep your hand away form the end of the auger tube to avoid injury With the auger coiled about 6 feet 1 8 m from the end of the boot uncoil the auger from the outside and...
Page 27: ...e the Driver Block to secure the auger to the Output Shaft 7 Attach the Anchor Plate and Gearhead Assembly to the Control Unit Body using the included hardware shown in Figure 33 Item Description Part...
Page 28: ...the end of the boot See Figure 35 12 Auger stretch The auger needs to be stretched 7 180 mm per 100 30 m Example A 300 90 m feeder line requires 21 500 mm of stretch Beginning at the relaxed position...
Page 29: ...ner flush with the end of the anchor for safety 15 Place the cannonball in the boot Auger Brazing The auger should be brazed if it is necessary to splice or lengthen it A bronze flux coated rod is rec...
Page 30: ...er control tube at the point where the Mid Line Control needs to be placed The feeder line can be assembled and suspended before attaching the Mid Line Control or the Mid Line Control may be attached...
Page 31: ...e Control Mid Line Control with Mechanical Switch 1 Remove the two hex head screws on the control top 2 Lift off the control top 3 Cradle the feeder tube in the control housing The feeder tube may hav...
Page 32: ...ggle switch out of reach of the birds to disconnect power to the Mid Line Control This allows the Mid Line Control to serve as standard feeder when not used as a control feeder 4 Wire the Mid Line Con...
Page 33: ...he cable at this point See Figure 45 5 Thread the ends of the cable through the end of the spring Pull the cable tight so that there is 3 4 to 1 20 to 25 mm of stretch in the spring Clamp the cable to...
Page 34: ...oultry Trainer is used to power all Anti Roost lines in a house The Line Charger is used to power individual Anti Roost lines in a house See Figure 47 Route the charger wire from the Poultry Trainer o...
Page 35: ...Feed Line Control Tube Tube Clamp Power Cord Ground Green Black White Green White Brown Blue From Sensor To Motor Anti Roost White L2 L1 Ground Green Black Ground L2 L1 230 VAC Supply 60 HZ Intermedia...
Page 36: ...ram Mechanical Switch Single Phase Wiring Diagram with Motor Starter Mid Line Control Unit End Control Unit L1 L2 Single Phase Single throw Switch 15 amp Not Supplied From disconnect or Control discon...
Page 37: ...d Line Control Unit Control Bypass Switch Not Supplied End Control 95 96 K1 K1 C1 To additional Feeder Lines C1 3 PH Feeder Line Motor 220 230 Volts 50 HZ Three Phase Phase Phase Phase Neutral From di...
Page 38: ...220 380 Volts 50 HZ Three Phase Phase Phase Phase Neutral Set of Fuses short circuit protection Not Supplied Contactor L1 L2 L3 T1 T2 T3 Feeder Line Motor 220 380 Volts 50 HZ Three Phase M1 3 PH K1 C1...
Page 39: ...Motor Wiring 3259 85 Power Unit 5703 Motor Wiring 3259 98 Power Unit 5977 Motor Wiring T1 or Blue T8 or Red J9 or Black J12 or Purple T4 or Yellow Line Line 5 1 4 2 A Blue Red Black Purple Yellow Gre...
Page 40: ...U2 V2 W2 U2 V2 U1 V1 W1 L1 L2 L3 U1 V1 W1 L1 L2 L3 L1 U1 L2 V1 L3 W1 L2 V1 L1 V1 L3 W1 Green Grd If req d 208 230V 380 460V P6 ORN P4 Blue P5 Tan T9 Brn T7 Pnk T8 Red T6 PRP T4 Yel T5 Blk T3 Orn T1 Bl...
Page 41: ...s motor excessively when feed is carried for first time Polish auger by running 50 lb 20 kg increments of feed out to pans Inadequate power reaching motors Check line voltage at the motors Check start...
Page 42: ...any debris off the magnet on the bottom Pipe Plug and reinstall Remove the side Pipe Plug and top Vent Plug 3 Set the power unit in the horizontal position 4 2 Stage Gearheads Add approximately 9 oz...
Page 43: ...n Do not Adjust Time Delay The Delay Time is Factory Set to 3 Minutes See Figure 50 To adjust the Time Delay For less time turn Time Delay Selector counter clockwise For more time turn Time Delay Sele...
Page 44: ...ger boot 5 Loosen the setscrew in the bearing assembly shaft and remove the Anchor and Bearing Assembly from the auger To reinstall the Anchor and Bearing Assembly 1 Insert the Anchor Assembly into th...
Page 45: ...53 For buildings under 400 122 m the hopper is placed at one end and the control pan power unit at the other end See Figure 53 It is common practice to use partial house brooding during the early days...
Page 46: ...s are the guideline to aid producers with the use of the feeding system With experience a feeding program will be developed to enhance the feeding systems performance Several factors such as feed cont...
Page 47: ...be consumed in the Control Pan calling for feed to the rest of the Feed Line Mid Line Control Pan The Mid Line Control is placed on the feeder line when partial house brooding is desired It is importa...
Page 48: ...cable assembly 2809 3 2809 3 5 Clevis pin 2797 1 2797 1 6 Boot adjuster bracket 2706 2706 7 Suspension angles 48679 48679 8 Suspension brace 48680 48680 9 Twist lock collar 49041 49041 10 Hair pin 26...
Page 49: ...y 28358 Hopper Ass y with cover Item Description Part No 1 Hopper Cover 28206 2 Tube Support Assembly 14367 14367 3 Hopper Side 2680 2680 4 Boot Hanger 2671 2671 5 Hanger Bracket Assembly 2681 2681 6...
Page 50: ...t No 1 Hopper Cover w o hole 28211 2 Hopper Cover w hole 28212 3 Hopper Hanger 28165 4 Adjustment Bracket 2706 5 Clevis Pin 5 16 x 1 2797 1 6 Hair Pin 2664 7 H L C Mounting Bracket 28267 8 Hopper Side...
Page 51: ...64 2664 4 Suspension Brace 48680 48680 5 Suspension Angle 48679 48679 6 Cable Guide 34573 34573 5 3 4 1 2 6 Item Description Part No Item Description Part No 1 Boot Weldment 3760 9 Anchor 38540 2 Tube...
Page 52: ...0 2 Tube Clamp 24063 10 5 16 18x7 8 Sock Hd Screw 47867 3 Cap 29373 11 Anchor and Bearing Ass y 39372 4 Outlet Tube 4556 12 Cannonball 3531 5 Sleeve 5648 13 Latch Pin Assembly 2683 6 3 16 x 1 Pin 2960...
Page 53: ...5 Hole Tube 6854 1 6854 5 6854 4 6854 23 6854 24 6854 8 6854 7 6854 6 10 Standard Feeder Tube 1 3 4 with Chick Holes EZ Holes 9 4 Hole 2 EZ Holes 9 4 Hole 4 EZ Holes 10 4 Hole 2 EZ Holes 10 3 Hole 3...
Page 54: ...C KONAVI Pan Assembly All KONAVI Pan Assemblies come with a Two Piece Top KONAVI Broiler Pan Part No 55825 KONAVI Broiler Pan With Slide Shutoff Part No 55826 KONAVI Colony Pan Part No 55827 KONAVI Co...
Page 55: ...rhead 3261 5 3261 5 3261 11 3261 11 3261 5 8 1 4 20x1 1 2 Socket Hd Screw 5083 8 5083 8 5083 8 5083 8 5083 8 9 Vent Plug 3516 3516 3516 3516 3516 10 Flat Washer 1484 1484 1484 1484 1484 11 S Hook 2805...
Page 56: ...Parts List KONAVI Feeding System 56 MF2464C KONAVI Mechanical End Control 56070...
Page 57: ...Paddle Retainer 34 4402 3 6 32 Screw 35 771 6 32 Nut 36 24702 Switch Box 37 46091 Actuator Switch Item Part No Description 38 46122 Switch Bracket 39 1907 5 Switch Insulation 40 25495 Control Cord As...
Page 58: ...Parts List KONAVI Feeding System 58 MF2464C KONAVI Proximity Sensor End Control 56123...
Page 59: ...ew 19 2529 1181 End Control Decal 20 2526 377 Date of Manufacture Decal 21 28075 10 x 5 Screw 22 55818 Quarter Turn Screw 23 26980 Liquid Tight Fitting Item Part No Description 24 43662 50 Conduit Loc...
Page 60: ...Terminal Cover 9 2529 1187 Control Decal 10 6776 Terminal Box Cover 11 6777 Switch Box Gasket 12 43662 50 Conduit Lock Nut 13 52316 2 Control Panel Relay Mount 14 28904 Relay 15 42627 12 General Purp...
Page 61: ...Switch Box Cover 11 6777 Switch Box Gasket 12 6968 1 Gasket 13 6972 Spring 14 6963 10 32 Lock Nut 15 4297 10 32 Hex Nut 16 2529 248 Control Decal 17 34842 Switch Box 18 46091 Actuator Switch 19 46122...
Page 62: ...967 2 16 Woodruff Key 2959 3 Drive Stud 4128 1 17 1 Bearing 4937 4 Shoulder Bolt 4022 2 18 Spacer 4936 5 Pawl 6672 19 Retaining Ring 3556 6 5 16 Flat Washer 2255 44 20 Washer 2955 2 7 Spring 1543 21 W...
Page 63: ...sembly 28429 10 Ceiling Hook 28550 11 Handle Shank 3148 12 Drill Adapter Shaft 2886 13 Winch Handle Pin 3761 14 Winch Drive Tube 4 2884 1 Winch Drive Tube 8 2884 2 Winch Drive Tube 2 2884 4 Full Line...
Page 64: ...83 For additional parts and information contact your nearest Chore Time distributor or representative Find your nearest distributor at www choretime com contacts CTB Inc PO Box 2000 Milford Indiana 46...