SKU 66745
For technical questions, please call 1-800-444-3353.
Page 19
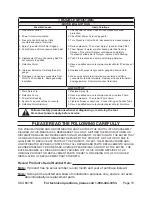
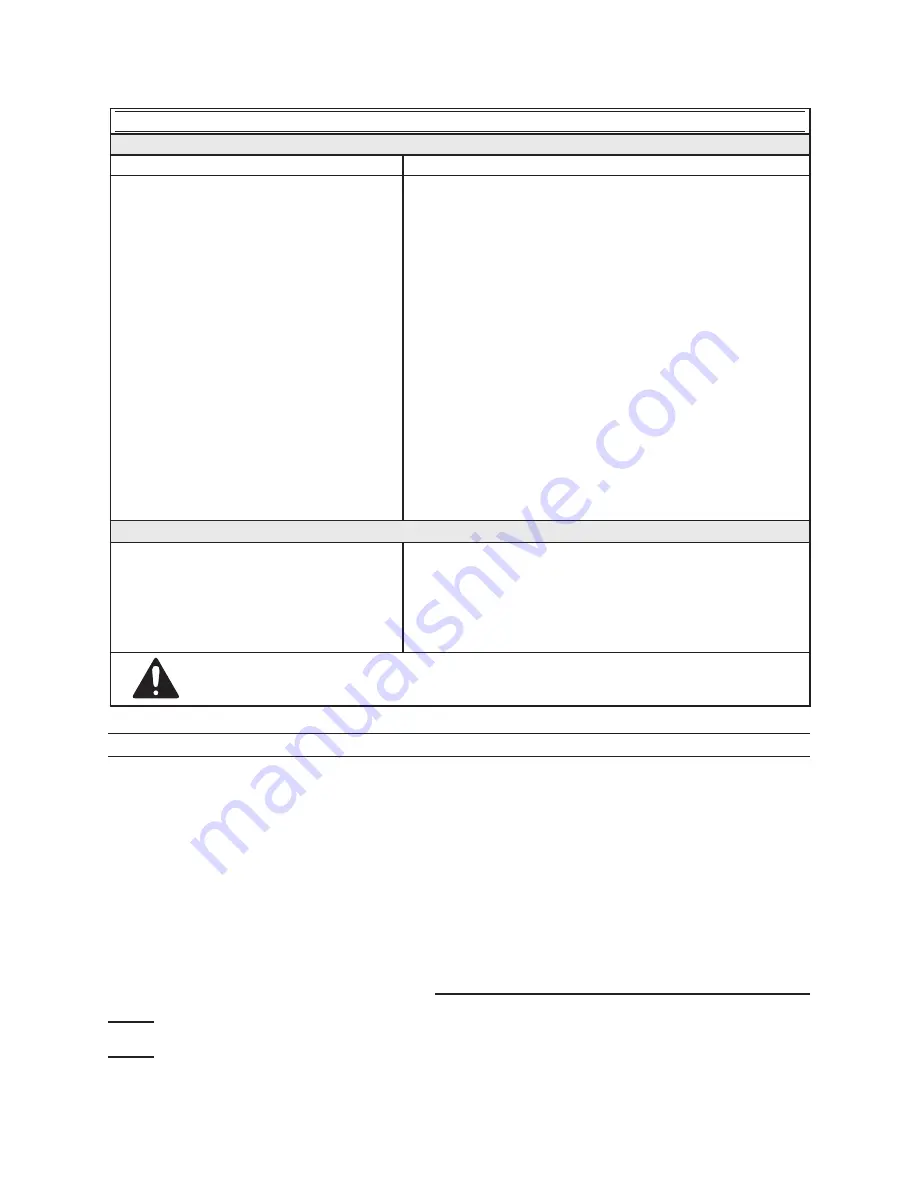
trOuBle shOOting
mOtOr Will nOt run.
possible causes
likely solutions
No power at outlet.
1.
Power Cord not connected.
2.
Pressure Control Knob set (fully
3.
counterclockwise) at minimum.
Spray Tip and/or Fluid Filter clogged.
4.
Pump frozen and/or excessive dried paint.
5.
Displacement Pump Connecting Rod Pin
6.
not securely in position.
Defective Motor.
7.
Improper Extension Cord length and/or
8.
gauge.
Damaged or loose wire connectors from
9.
Motor to Circuit Board. Damaged wiring
insulation.
Check power at outlet. Check circuit breaker/overload
1.
protection.
Check that Power Cord is plugged in.
2.
Turn Pressure Control Knob (clockwise) to increase pressure.
3.
Relieve pressure. Then, clear Spray Tip and/or Fluid Filter.
4.
Thaw Sprayer if water or water-based paint has frozen in
5.
Sprayer. Do not start Sprayer until thawed completely.
If excessive dried paint in Sprayer, replace Pump Packing.
Push Pin into place and secure with Spring Retainer.
6.
Have a qualified service technician replace Motor if Fan doesn’t
7.
turn.
Replace with proper length and/or gauge Extension Cord.
8.
Make sure all male terminal pins are centered and firmly
9.
connected to female terminals. Replace all loose terminals or
damaged wiring. Securely reconnect terminals.
lOW Output.
Worn Spray Tip.
1.
Defective Pump.
2.
Prime Valve leaking.
3.
Suction Tube connections not secure.
4.
Defective Motor Armature.
5.
Replace Spray Tip.
1.
Have a qualified service technician repair or replace Pump.
2.
Relieve pressure. Then repair Prime Valve.
3.
Tighten all loose connections. Check O-Ring on Suction Tube.
4.
Have a qualified service technician replace Motor Armature.
5.
Follow all safety precautions whenever diagnosing or servicing the tool.
disconnect power supply before service.
record product’s serial number here:
note:
If product has no serial number, record month and year of purchase instead.
note:
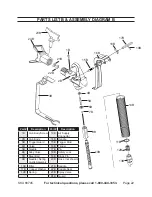
Some parts are listed and shown for illustration purposes only, and are not avail-
able individually as replacement parts.
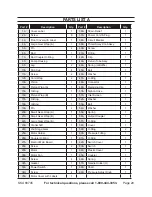
please read the FOllOWing careFully
THE MANUFACTURER AND/OR DISTRIbUTOR HAS PROVIDED THE PARTS LIST AND ASSEMbLy
DIAGRAM IN THIS MANUAL AS A REFERENCE TOOL ONLY. NEITHER THE MANUFACTURER OR
DISTRIBUTOR MAKES ANY REPRESENTATION OR WARRANTY OF ANY KIND TO THE BUYER THAT
HE OR SHE IS qUALIFIED TO MAKE ANY REPAIRS TO THE PRODUCT, OR THAT HE OR SHE IS
qUALIFIED TO REPLACE ANy PARTS OF THE PRODUCT. IN FACT, THE MANUFACTURER AND/
OR DISTRIBUTOR ExPRESSLY STATES THAT ALL REPAIRS AND PARTS REPLACEMENTS SHOULD
BE UNDERTAKEN BY CERTIFIED AND LICENSED TECHNICIANS, AND NOT BY THE BUYER. THE
BUYER ASSUMES ALL RISK AND LIABILITY ARISING OUT OF HIS OR HER REPAIRS TO THE
ORIGINAL PRODUCT OR REPLACEMENT PARTS THERETO, OR ARISING OUT OF HIS OR HER
INSTALLATION OF REPLACEMENT PARTS THERETO.

