3.0 GETTING STARTED
Cheetah Xi Programming Manual
3-13
P/N: 06-651
Rev 1, 09/2013
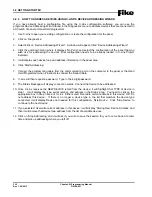
3.4.6 HOW TO ADDRESS DEVICES USING C-LINX’S ASSIGN DEVICE ADDRESS FUNCTION
Use this software diagnostic for simple loop-address change when the panel configuration is not available.
1. Open
C-Linx
software.
2. Connect to panel.
3. Click on ‘Diagnostics’.
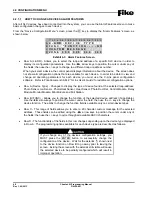
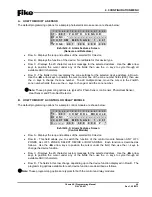
4. Select/click on ‘Assign Device Address’. A window will appear, titled ‘Assign Device Address’.
5. Click ‘Diagnostics’ AGAIN.
6. Click ‘Connect to Panel’.
7. Connect the communication cable on the computer to the computer jack on the panel or Hand Held
Programmer when it instructs to connect the Serial Cable.
8. C-Linx will then request a password. Type in the 4 digit password.
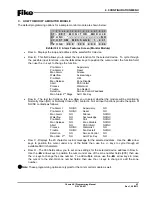
9. The Status Message will display connection status; it will then command the panel or Hand Held
Programmer to search for the devices attached. Once it resets the loop of device(s) it will report each
type of device with its loop number, address number and serial number information.
10. Select a specific row to modify, then change the loop number and/or address number in the bottom box.
Click ‘Change Address’ to send the device the new loop and address number.
11. Mark or label the device with the loop-address information.
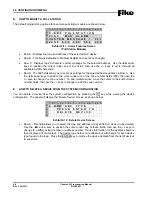
12. Repeat for each device needed, then exit the Assign Device Address screen, unless you wish to do a
LEARN ALL DEVICES at this time. If you do, while ASSIGN DEVICE ADDRESS screen is open and all
devices still show on screen, click on Diagnostics again, and the click/select Reset Panel with Learn All.
If you do not wish to do a LEARN ALL DEVICES, skip step #12 and proceed to step #13
13. Close Assign Device address screen. If properly completed, all devices should now have valid
addresses.
L
Note:
This diagnostic is intended for full loop of devices that are already wired in the field.
Summary of Contents for 10-068
Page 111: ......


