


COLORdash™ Block User Manual
13
6/19/2009 4:54 PM
MENU
UP
DOWN
ENTER
Setting the Starting DMX address
Each fixture requires a starting address from 1 through 512. A fixture requiring one or more
channels for control begins to read the data on the channel indicated by the starting address. For
example, a fixture that occupies or uses seven channels of DMX and is addressed to start on DMX
channel 100, will read data from channels: 100, 101, 102, 103, 104, 105 and 106. Choose starting
addresses so that the channels used do not overlap. In addition, you should note the starting
address selected for future reference. The COLORdash
™ Block uses up to 12 channels of DMX
(BLOCK). If this is your first time using DMX, we recommend reading the
“DMX Primer” in the
“Appendix” section.
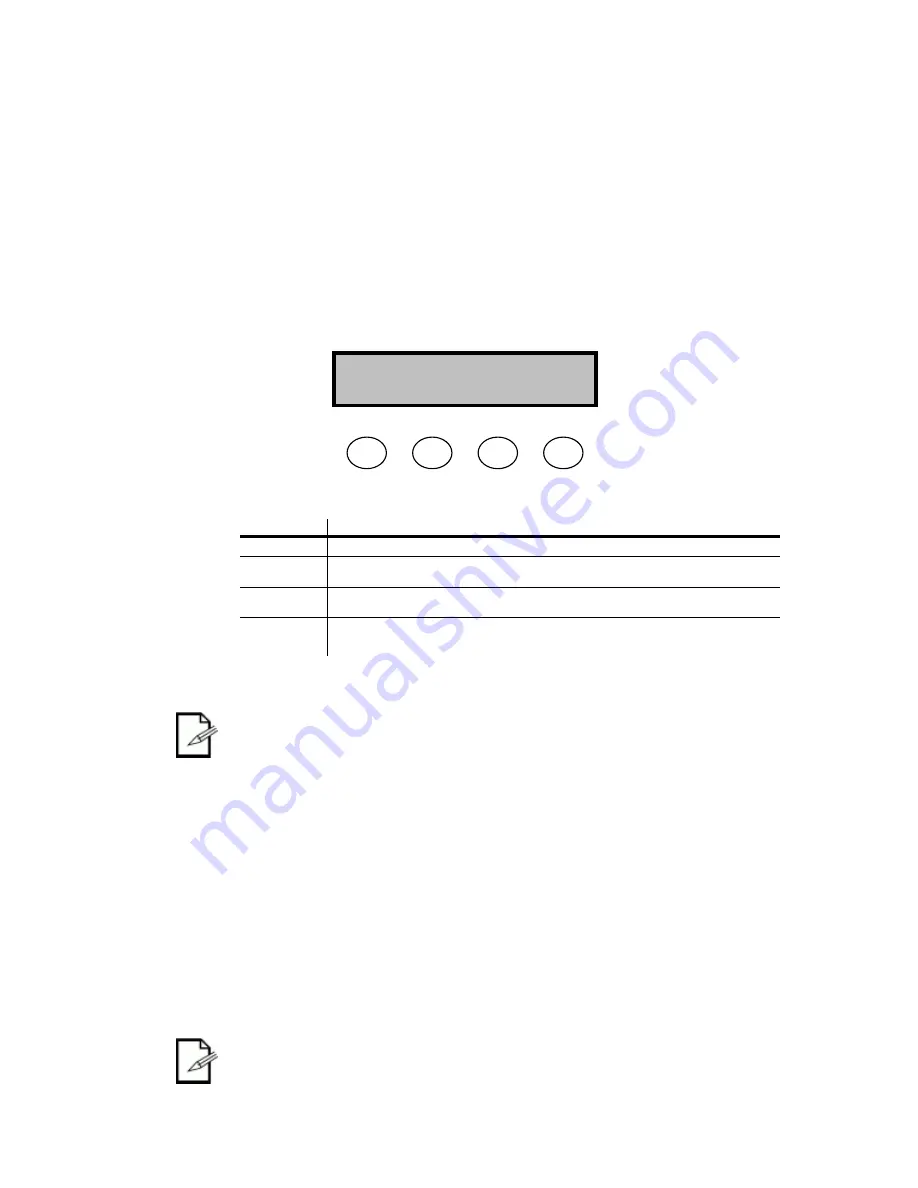
Control Panel Functions
All fixture functions and settings are accessible via the built-in control panel interface.
B
UTTON
F
UNCTION
MENU
Exits from the current menu or function
ENTER
Enables the currently displayed menu or sets the currently selected value in to the
selected function
UP
Navigates upwards through the menu list and increases the numeric value when in
a function
DOWN
Navigates downwards through the menu list and decreases the numeric value when
in a function
Password Menu Lockout
The
COLORdash™ Block has a
password lock-out feature. Enable/disable this by using the Control Panel.
This feature uses a default, non-changeable, password of <UP>, <DOWN>, <UP>, <DOWN>.
After 30 seconds of inactivity, the lockout will automatically engage once it has been
enabled.
Upload Customs
The custom programs in the COLORd
ash™ Block may be transferred (copied) from one fixture to another,
thus giving the ability to have to only program them on a single fixture, and then duplicate this on several
others. This is referenced in the control panel as
Upload
. Follow the steps below for this process. On all
fixtures that are going to receive the upload, set them on SLAVE operation.
1.
Disconnect from DMX controller.
2.
Using DMX cables, daisy chain the slave fixtures from the output of the fixture with the custom
program to be copied to the other fixtures.
3.
Press
<MENU>.
4.
Use
<UP/DOWN>
to select
Settings
in the control panel and press
<ENTER>.
5.
Use
<UP/DOWN>
to select
Upload Customs
. Press
<ENTER>
.
6.
Use
<UP/DOWN>
to input the password. The
customs
portion of the screen will begin to flash.
Press
<ENTER>
to confirm and begin the transfer.
Uploading Customs
will display.
7.
The slave fixtures will display green if the transfer is successful. They will display red if the transfer
The units receiving
the new custom programs from the master must be set to “SLAVE”.
Otherwise, they will not allow receipt of the programs.


