


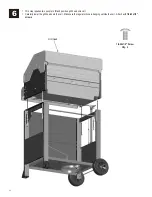

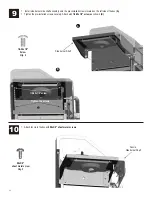

7
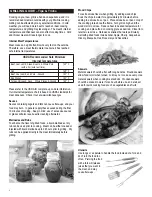
Why Clean?
We've all heard the saying 'An ounce of prevention is worth a
pound of cure'. This is great advice when it comes to keeping
your grill clean.
Routine Care
Periodic cleaning of this grill is necessary,
as grill fires can occur when grease and
food debris collect in the bottom of the grill.
After each use, remove any remaining
food particles from the cooking grate and
inside of the grill using a grill brush. Do
this after the grill has cooled down, yet is
still warm. It is much easier to clean food
particles while warmth is still present, than
after the food particles have completely
cooled and hardened. This grill is not
designed to be 'burned off' by closing the
lid and turning the burners on High for an
extended time. The excessive heat
generated can cause leftover grease to
catch fire, and can cause permanent
damage to your grill.
General Cleaning
Plastic parts: Wash with warm soapy water and wipe dry. Do not
use abrasive cleaners, degreasers or a concentrated grill cleaner
on plastic parts. Damage to and failure of parts can result.
Porcelain surfaces: Because of glass-like composition, most
residue can be wiped away with baking soda/water solution or
glass cleaner. Use non-abrasive scouring powder for stubborn
stains.
Painted surfaces: Wash with mild detergent or non-abrasive
cleaner and warm water. Wipe dry with a soft non-abrasive cloth.
Stainless steel surfaces: Stainless steel can rust under certain
conditions. This can be caused by environmental conditions
such as chlorine or salt water, or improper
cleaning tools such as wire or steel
wool. It can also discolor due to heat,
chemicals, or grease build-up. To
maintain your grill's high quality
appearance, wash with mild detergent
and warm water, or use a stainless
steel grill cleaner. Baked-on grease
deposits may require the use of an
abrasive plastic cleaning pad. Use only
in direction of brushed finish to avoid
damage. Do not use abrasive pad on
areas with graphics.
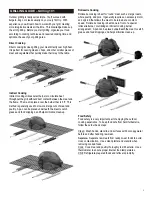
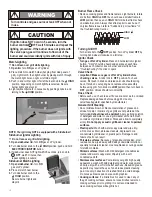
GRILLING GUIDE – Cleaning Your Grill
Cooking surfaces: If a bristle brush is used to clean any of the
grill cooking surfaces, ensure no loose bristles remain on cooking
surfaces prior to grilling. It is not recommended to clean cooking
surfaces while grill is hot.
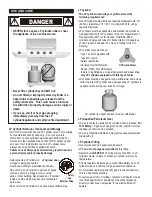
Storing Your Grill
•
Clean cooking grates.
•
Store grill in dry location.
•
When LP cylinder is connected to grill, store outdoors in a well
ventilated space and out of reach of children.
•
Cover grill if stored outdoors. Choose from a variety of grill
covers offered by manufacturer.
•
Store grill indoors ONLY if LP cylinder is turned off,
disconnected, and removed from grill. Never store LP cylinder
indoors.
•
When removing grill from storage, follow the 'Cleaning the
Burner Assembly' instructions in the Use and Care section of
the Product Guide.
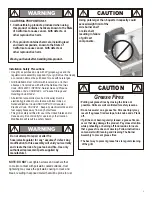
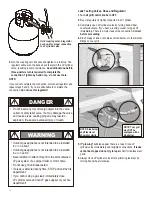
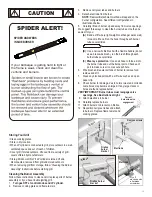
Critters
Spiders like to make their homes in the venturi tubes of grills.
These must be inspected and cleaned regularly to ensure there
are no blockages. Refer to the Use and Care portion of this
Product Guide for complete information.
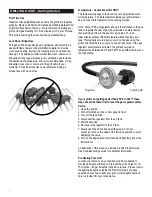
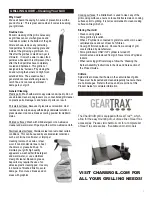
The Char-Broil® grill is equipped with Gear Trax™, which
allow for the easy mounting of our unique line of Gear Trax
accessories. Please visit charbroil.com for a complete list
of Gear Trax accessories. *Available on most models.
VISIT CHARBROIL.COM FOR
ALL YOUR GRILLING NEEDS!


