


SKU 99553
For technical questions, please call 1-800-444-3353.
Page 11
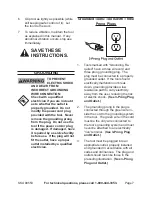
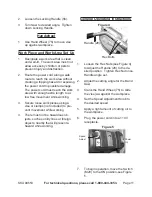
Loosen the Locking Handle (56).
2.
Turn Saw to desired angle. Tighten
3.
down Locking Handle.
Handwheel
Use Hand Wheel (75) to move vise
1.
up against workpiece.
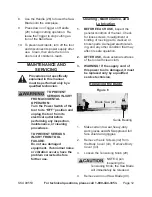
work piece and work area Set up
Designate a work area that is clean
1.
and well-lit. The work area must not
allow access by children or pets to
prevent injury and distraction.
Route the power cord along a safe
2.
route to reach the work area without
creating a tripping hazard or exposing
the power cord to possible damage.
The power cord must reach the work
area with enough extra length to al-
low free movement while working.
Secure loose work pieces using a
3.
vise or clamps (not included) to pre-
vent movement while working.
There must not be hazardous ob-
4.
jects, such as utility lines or foreign
objects, nearby that will present a
hazard while working.
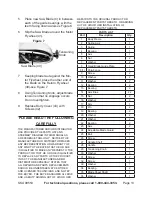
general Operating instructions
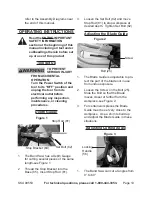
Hex Bolts
Handle (28)
Figure 4
1.
Loosen the Hex Nuts (see Figure 4)
to Adjust the Handle (28) to the de-
sired position. Tighten Hex Nut once
Handle angle set.
Adjust the cutting angle for the Band
2.
Saw.
Crank the Hand Wheel (75) to slide
3.
the vise jaw against the workpiece.
Set the Speed Adjustment Knob to
4.
the desired speed.
Apply a light amount of cutting oil to
5.
the workpiece.
Plug the power cord into a 110 V
6.
receptacle.
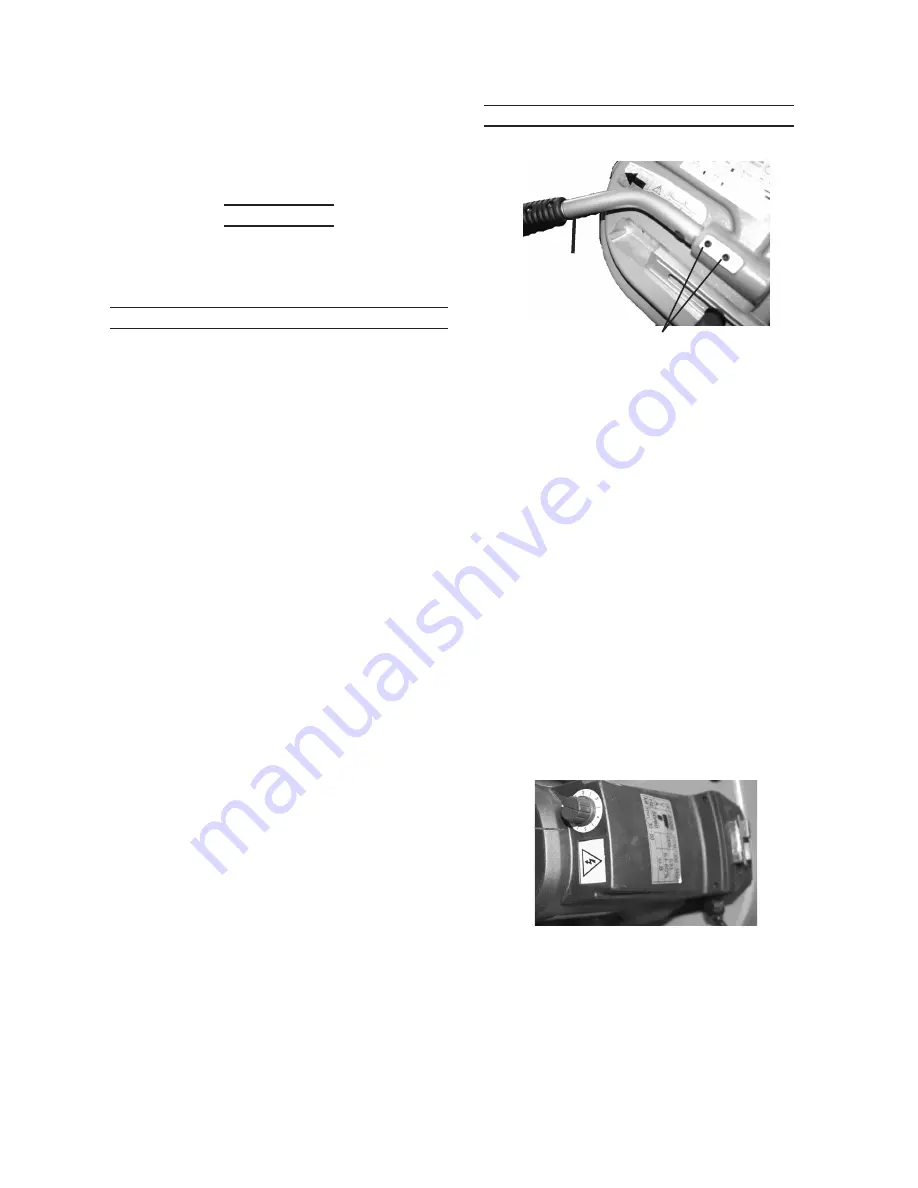
Power
On
Speed
Adjust
Figure 5
7. To begin operation, move the Switch
(M20) to the ON position-see Figure
5.