48
CLASSIC EDGE OUTDOOR FURNACE • OWNER'S MANUAL
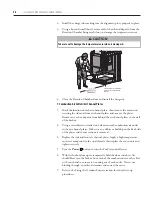
4. To test for a faulty component, connect one component at a time (e.g.,
start with one of the solenoids); then connect power to the outdoor
furnace. If the circuit breaker trips, the component is likely faulty. If not,
disconnect power to the outdoor furnace and repeat the procedure until
all components have been tested.
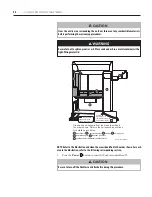
CAUTION
Disconnect power to the outdoor furnace before disconnecting a component and
before connecting a component.
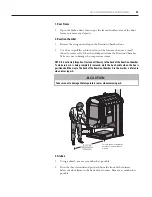
5. Close and secure the airbox cover. Install the outer airbox cover and secure
with screws.
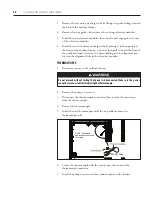
Do not connect power or operate the outdoor furnace with the outer airbox cover
removed. The outer airbox cover must be installed and secured with screws.
SOLENOID
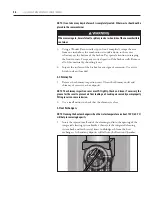
1. Disconnect power to the outdoor furnace.
Do not proceed without testing that power is disconnected. Make sure the power
cannot be reconnected while testing components (i.e., use lock out, tag out).
2. Remove the outer airbox cover; then open the airbox cover.
3. Disconnect the wires from the solenoid that is to be replaced.
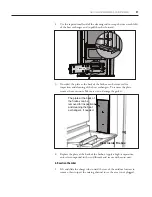
4. On the solenoid to be replaced, straighten the cotter pin that secures the
air regulating disc to the solenoid and remove the pin.
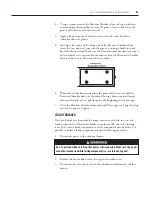
5. Mark the location of the solenoid to be replaced on its mounting bracket
so the replacement solenoid can be installed in the same position.
6. Remove the four screws securing the solenoid to be replaced to the bracket
and remove the solenoid.
7. Install the replacement solenoid on the bracket. Loosely install the four
screws removed in step 6.
8. Align the replacement solenoid with the mark made on the mounting
bracket and tighten the four screws.
9. Inspect the cotter pin hole in the air regulating disc for damage. If the
hole is damaged, a new disc must be installed.

