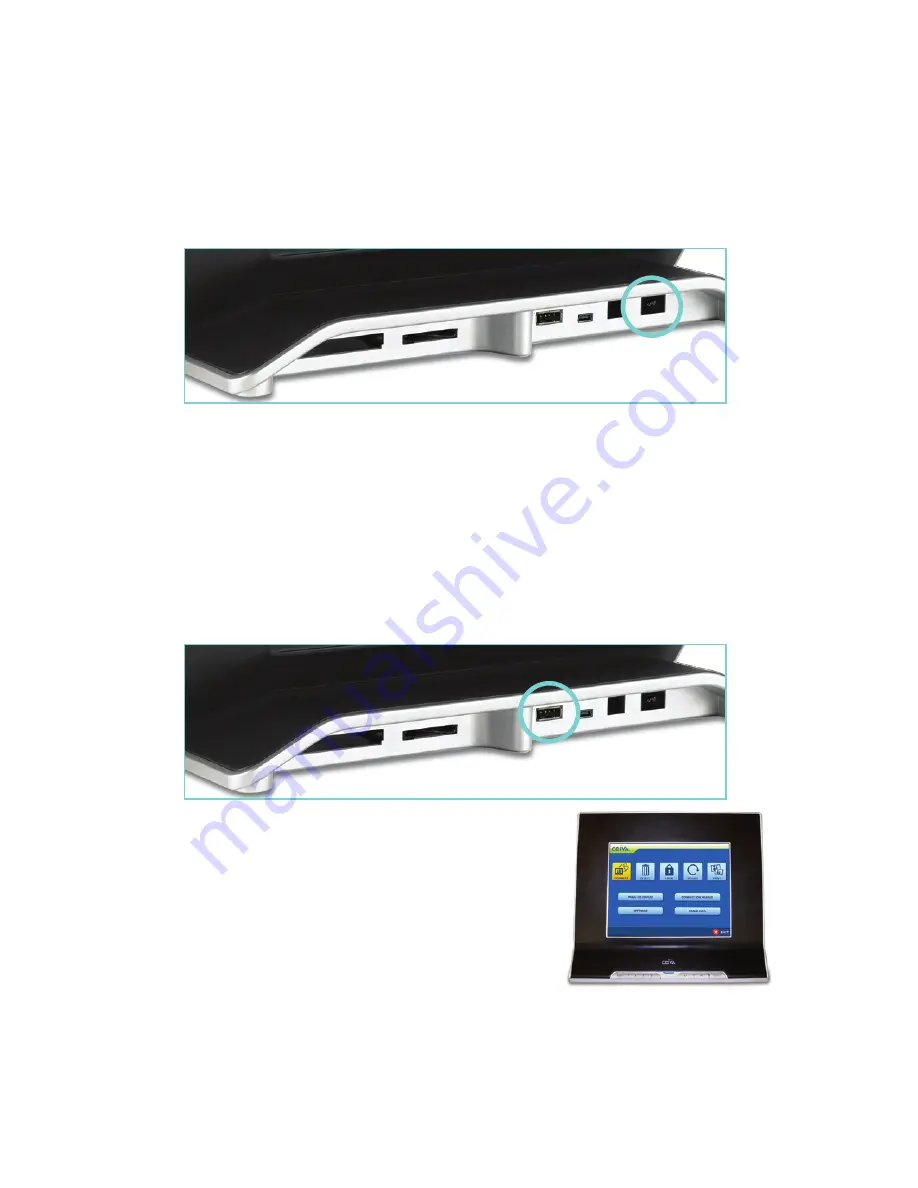
If you are connecting via telephone line
, insert one end of the phone extension
cord into the square phone access port (labeled Phone) located on the back of your CEIVA�
Plug the other end of the cord into a phone outlet� If you need to share the outlet with an
answering or fax machine, or another phone, use the dual phone splitter in the outlet�
If you are using your internet connection
, insert your CEIVA Wireless™ Adapter
or CEIVA Broadband™ Adapter (available at ceiva�com) into C-Port 1� Press the Menu but-
ton and highlight Connection Wizard, then press Select� You will be guided through the
setup process� If your network requires a key, you will need to enter it at this time� Once
you have entered all your information, you can test your connection to verify that every-
thing is working properly� To change these settings manually, go to Settings > Connection
Settings > Advanced Settings > Wireless Settings�
Once you have set up your connection
, press
the Menu button and highlight
Connect
, then press the
Select button� Your first connection may take several
minutes� Once completed, your CEIVA is ready to receive
and display photos�
NOTE: For more information about using Pulse Dialing or number prefixes, adjusting your modem settings, or connect-
ing with a CEIVA Broadband™ adapter, visit help.ceiva.com. You can also call us toll-free at 1-877-692-3482 and we’ll
be happy to assist you.
6
Connecting Your CEIVA
(
continued)


