background image

page 5

TORQUE MEASUREMENT

page 8

TORQUE MEASUREMENT

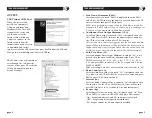
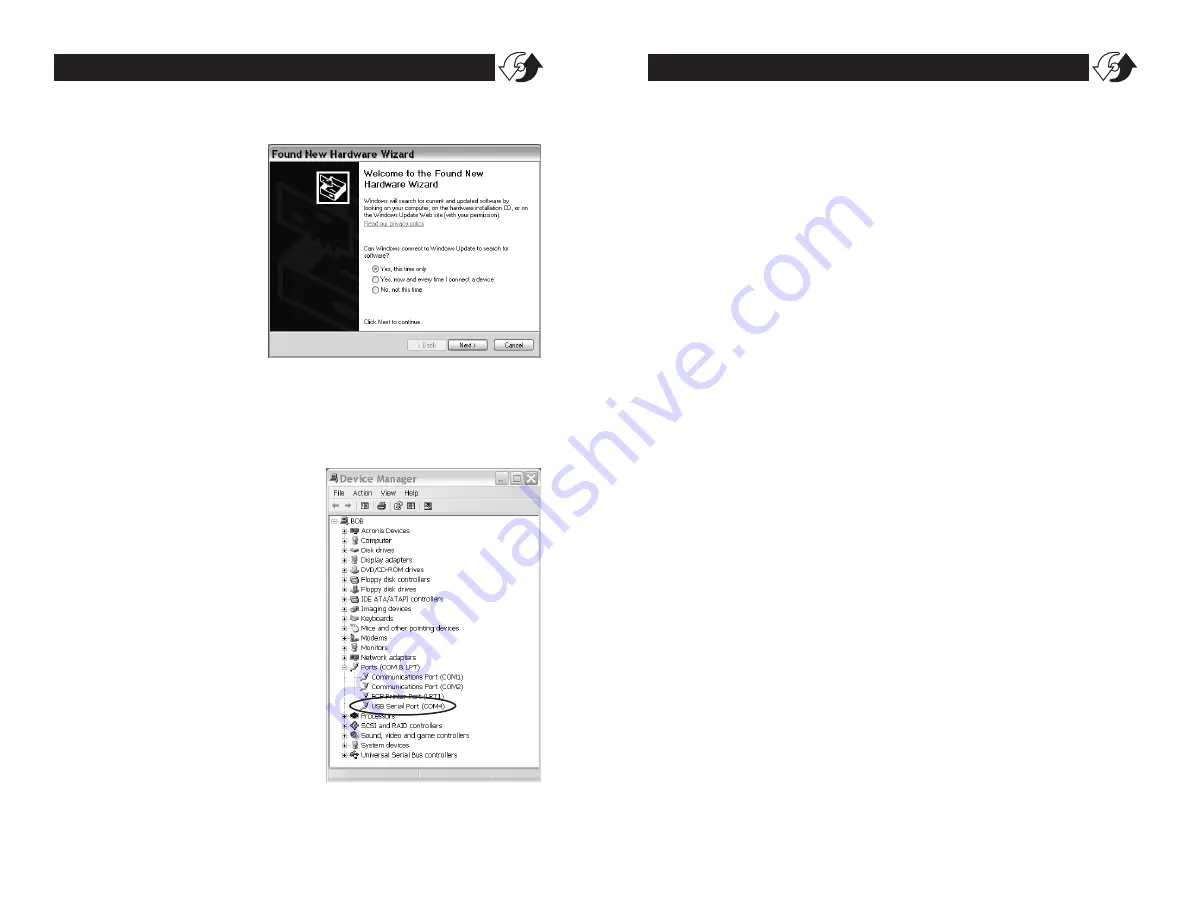
The PC and tester will communi-
cate through the USB port the
same as a com port.  To verify the
COM port number open the
Device Manager.

OUTPUT

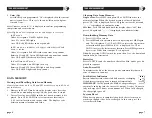
USB Virtual COM Port

When the tester is con-
nected to a computer’s
USB port and turned on,
Windows XP or Vista will
recognize the tester and
ask to connect to the
Internet. Allow Windows
Update to connect to the
Internet and follow the
instructions on your screen
to download and install
two drivers for the USB virtual com port. For Windows 98, ME and
MAC go to www.ftdichip.com/Drivers/VCP.htm.

3.

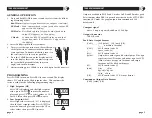
Peak Down Minimum (PdLO)

After Low value is entered, "PdLO" is displayed, then the PdLO
value. Press DOWN to move the numeric place and press the UP
to select values, then press PRG to enter.  

PdLO sets a minimum torque value for Peak Down mode. For
example, if "PdLO" value is set at 5.0 lbf-in, only a reading over
5.0 lbf-in will be measured in Peak Down mode.

4.

Continuous Data Output Minimum (CLO)

After Peak Down value is entered, "CLO" is displayed, then the
CLO value. Press DOWN to move the numeric place and press
the UP to select values, then press PRG to enter.

CLO sets the start and stop trigger points for Continuous data
output. When torque reaches the CLO value, the tester starts to
output data and stops if torque falls below the value. Note: the
display does not show any value below the CLO minimum. 

5.

Auto Zero Reset (AC)

After Continuous Data Output Minimum is entered, "AC" is dis-
played, then the Auto Zero Reset duration value. Press UP or
DOWN to select 0.0C - 0.1C - 0.5C - 1.0C - 1.5C - 2.0C - 2.5C -
3.0C, and press PRG to enter (0.1C for 0.1 second and 0.0C for
MANUAL RESET). 

After measuring, Auto Zero automatically resets the tester to "0.0".

6.

Batch Counter (CO)

After the Auto Zero value is entered, "CO" is displayed, then the
CO value. Use the UP or DOWN keys to select a value and press
PRG to enter (0-99, clockwise only).

7.

Interval (In)

After the Batch Counter value is enetered, "In" is displayed, then
the In value. Use the UP or DOWN keys to select a value and
press PRG to enter (0-24 seconds in 2 second increments).

8.

Beeper (bp) 

After Interval value is entered, "bp" is displayed, then "On". Press
UP or DOWN to select On, OFF, or FF, then press PRG to enter. 
"On"– beeper sounds for Good, NG and capacity overload
"OFF"– beeper sounds for capacity overload only
"FF"– beeper sounds for NG and capacity overload.

Summary of Contents for DID-4

Page 1: ...t prepaid The foregoing warranty constitutes the SOLE AND EXCLUSIVE WARRANTY and we hereby disclaim all other warranties express statutory or implied applicable to the products and or software including but not limited to all implied warranties of merchantability fitness non infringement results accuracy security and freedom from computer virus In no event shall Imada Inc and or its affiliated com...

Page 2: ... 100ºF Do not apply torque exceeding the rated capacity 35 lbf in regardless of whether the unit is On or Off Avoid shock load When charging the battery be sure to use the provided AC adapter charger exclusively Do not use lacquer thinner or any solvent to clean the unit Do not disassemble or modify the unit Digital Torque Tester Screwdriver Model DID 4 List of Equipment DIgital Torque Tester Scre...

Page 3: ...AC charger adapter receptacle RESET System reset button 1 2 3 4 5 6 7 8 9 10 6 7 8 9 10 2 1 3 4 5 Measuring range 2 0 560 0 ozf in 0 20 35 00 lbf in 0 20 40 00 kgf cm 2 0 400 0 N cm 0 2 4 000 N m Accuracy 0 5 F S 1 LSD Display 4 digit LCD Operation CW CCW and fixed position Measuring modes PP Peak Mode displays PEAK torque value that will not change until a higher value is measured PD Peak Down Mo...

Page 4: ...t PP appears on the display PD Mode First Peak capture first peak value peak data output PD appears on the display C Mode Continuous RS 232 output Display and output torque transients 180 data sec C appears on the display 2 Insert Phillips tip into the screwdriver 3 To select ratchet operation turn the ratchet one click clockwise or counter clockwise from the center position To disable ratcheting ...

Page 5: ... place and press the UP to select values then press PRG to enter CLO sets the start and stop trigger points for Continuous data output When torque reaches the CLO value the tester starts to output data and stops if torque falls below the value Note the display does not show any value below the CLO minimum 5 Auto Zero Reset AC After Continuous Data Output Minimum is entered AC is dis played then th...

Page 6: ...on and value Clearing Data from Memory Single clear Press MEM then press UP or DOWN to move to a memory location When the desired memory value is displayed press CLR CLR is displayed Press CLR again to clear the data and is displayed to confirm deletion All clear Press CLR and hold until the display shows ALL then press CLR again and is displayed to confirm deletion Downloading Memory Data 1 Press...

Reviews: