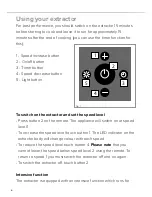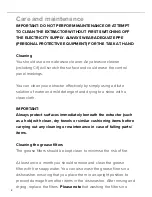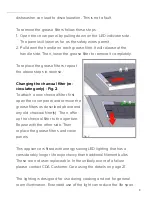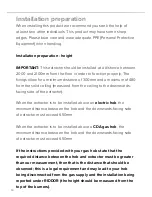
14
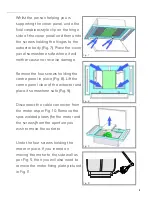
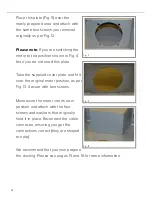
Place this plate (Fig. 11) over the
newly prepared area and attach with
the same two screws you removed
originally as per Fig. 12.
Please note:
If you are switching the
motor to the position shown in Fig. 4
then you do not need this plate.
Take the supplied cover plate and fit it
over the original motor position, as per
Fig. 13. Secure with two screws.
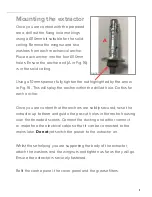
Manoeuvre the motor into its new
position and attach with the four
screws and washers that originally
held it in place. Reconnect the cable
connector, ensuring you get the
connections correct (they are shaped
to help).
We recommend that you now prepare
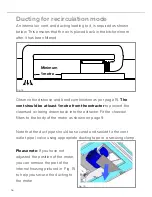
the ducting. Please see pages 15 and 16 for more information.
Fig. 11
Fig. 12
Fig. 13
Summary of Contents for EVX110
Page 22: ...22 NOTES...


