Page 55
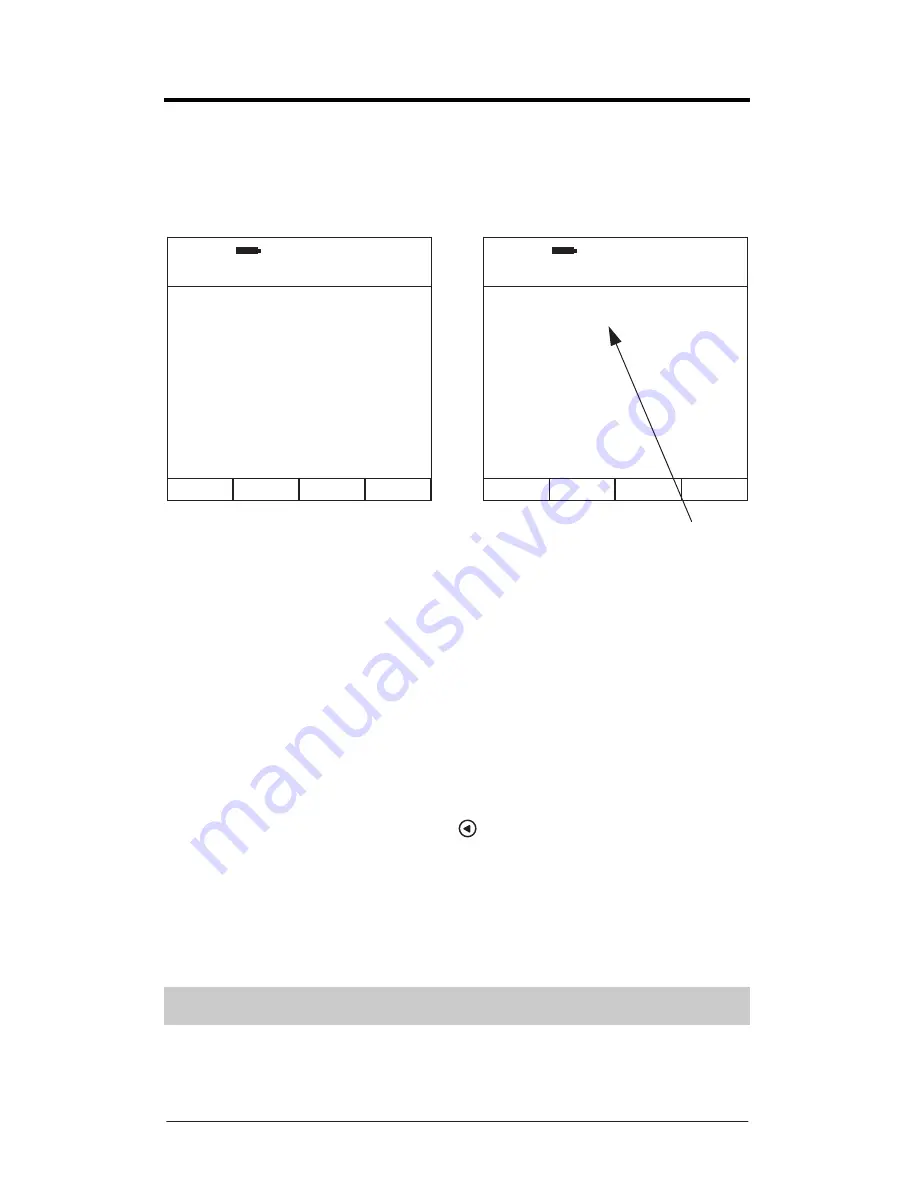
Saving The Recording
Pressing
Soft Key 4
labelled
SAVE
from the Calculation Display Screen will take
you to the Save Recording display and entry screen.
This screen is identified with
SAVING LOG
displayed under the real time clock.
Press
1
,
2
,
3
or
4
to enter specific details to be saved with the recording. A
prompt will appear at the right hand side of your selected field awaiting input
from the keypad.
If the field accepts numbers and letters then you can switch between these
using
Soft Key 2
which will be labelled
NUMBER
or
LETTER
.
If the field accepts letters then you can toggle between uppercase and
lowercase using
Soft Key 3
labelled either
LOWER
or
UPPER
.
Where text entry is allowable you can enter a space using
Soft Key 4
labelled
SPACE
.
To delete errors use the Left Arrow Key
.
To accept any field entry press
OK
.
When you have entered all details press
Soft Key 4
labelled
SAVE
to save your
recording and any details entered, to the internal flash memory. Over 3000
recordings without time histories can be saved.
Recordings saved on your instrument will not be lost when the batteries are
removed.
Figure 54 – Save Recording Display & Entry Screen
1. Record:
2. Employee:
3. Tool:
4. Location:
09:21:02
26:08:11
SAVING LOG
09:21:00
26:08:11
SAVING LOG
SAVE
EXIT
EXIT
1. Record: _
2. Employee:
3. Tool:
4. Location:
OK to accept
Entry Prompt


