LK-125
– 16 –
DIAGNOSTIC PROGRAM
INITIAL SETTING
Connect the AC adaptor.
(1)
Turn the volume to the maximum.
(2)
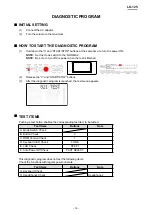
HOW TO START THE DIAGNOSTIC PROGRAM
Hold down the “0” and “START/STOP” buttons at the same time, to turn the power ON.
(1)
Set the mode switch to the “NORMAL”.
NOTE:
Be sure to turn off the power when the test is finished.
NOTE:
Release the “0” and “START/STOP”
(2)
buttons.
After the diagnostic program is launched, the test menu appears.
(3)
TEST ITEMS
Pushing a test button enables the corresponding test item to be tested.
Test Items
Buttons
Note
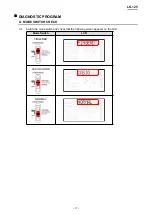
A. Mode Switch Check
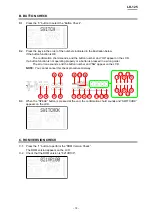
B. Button Check
0
C. ROM Version Check
1
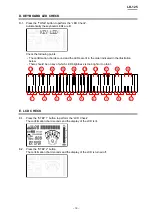
D. Keyboard LED Check
TONE
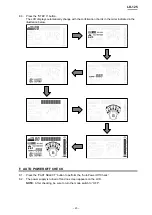
E. LCD Check
STEP 1
F. Auto Power Off Check
PART SELECT
This diagnostic program does not test the following items.
Check the functions with regular power-on state.
Test Items
Buttons
Note
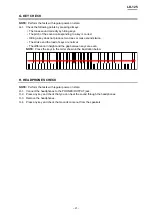
G. Keyboard Check
H. Headphones Check
Headphones
Summary of Contents for LK-125
Page 1: ...LK 125 SEP 2010 LK 125 Ver 2 Jan 2012 ELECTRONIC KEYBOARD...
Page 7: ...LK 125 5 PRINTED CIRCUIT BOARDS Main PCB M821 MDA1 Power Amp PCB M820 PSA1...
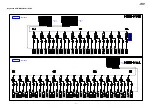
Page 30: ...LK 125 28 Keyboard LED PCB M821 LDA1 to LDA2 CN503 to LD3M JG...
Page 31: ...LK 125 29 Keyboard LED PCB M821 LDA2 to MDA1 CN2 to LD5M JE to LD4M JF to LDA1 CN501...
Page 32: ...LK 125 30 Keyboard LED PCB CSM446 LD3M LD4M LD5M to LDA1 CN502 to LDA2 CN504 to LDA2 CN505...


