background image

E-21

Part 10 Memory

This part of the manual tells you how to store text data in memory for instant
recall when you need it. You can store one block of text in memory, containing
up of 95 characters.

Important!

All data stored in memory is deleted whenever batteries go dead and when
you replace batteries. Be sure to keep written backup copies of all important
data.

When using the optional AC adaptor, never disconnect the adaptor while
batteries are not loaded in the Label Printer or when batteries are dead. Doing
so causes all data stored in memory to be deleted.

To store data

1. Input the text you want to store.
2. Press MEMO.
3. Press 

H

 and 

J

 to select STORE (STORE).

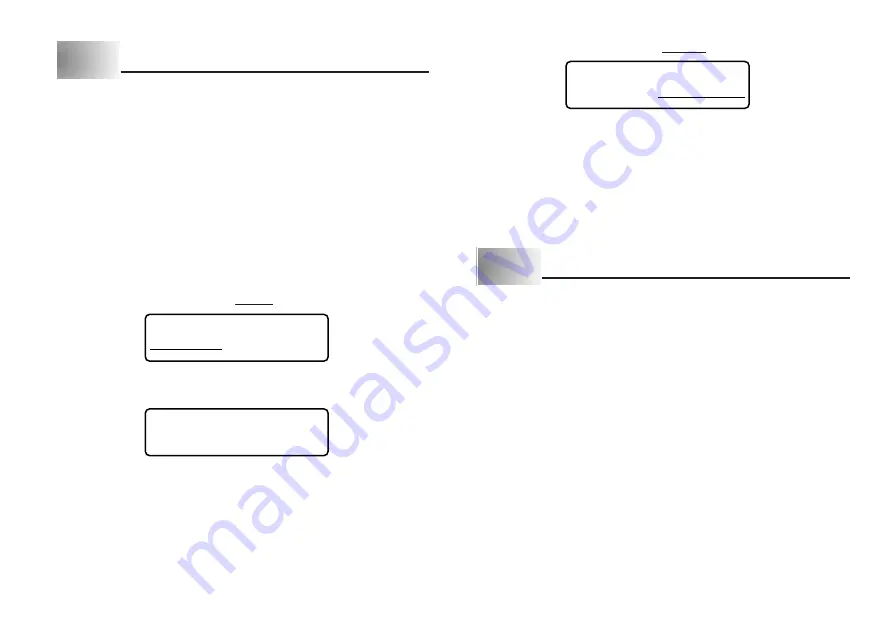
S T OR E R E C A L L

4. Press SET to store the text in memory or ESC to abort the store procedure

without storing anything.

COMP L E T E

If there is nothing in memory yet, pressing SET stores your text.

If there is already text stored in memory, the message “OVERWRITE?” appears
when you press SET. Press SET again to replace the existing text with the
new text, or ESC to cancel the store operation.

To recall text from memory

1. While the input screen is on the display, press MEMO.

Note that text recalled from memory will replace any text currently on the
display.

2. Press 

H

 and 

J

 to select RECALL (RECALL).

S T OR E R E C A L L

3. Press SET.

If all of the text does not fit on the display, you can use 

H

 and 

J

 to scroll it to

the left and right.

4. Press SET to recall the text from memory.

Note that recalling data from memory replaces anything that is currently on
the input display. Memory text cannot be appended.

Part 11 Reference

This section contains information about the Label Printer that you can use as
reference when you need it.

Display Contrast

Use the following procedure to make the characters on the display darker or lighter.

To change the display contrast

1. Press FUNC and then 9 (CONTRAST).
2. Use 

H

 and 

J

 to make the display contrast lighter and darker.

3. After setting the contrast press SET.

Cleaning the Printer Head and Roller

A dirty printer head and roller can result in poor printing quality. If you have
problems with print quality, use the following procedure to clean the printer head
and roller.

To clean the printer head and roller

1. Make sure the Label Printer is turned off.
2. Press the cover release and open the cover.
3. Remove the tape cartridge.

Summary of Contents for KL-7200E

Page 1: ...KL 7200E User s Guide...

Page 2: ...ecome shorted Never expose batteries to direct heat or dispose of them by incineration Tape Cutter Never touch the tape cutter while a tape cut operation is being performed Doing so can result in cuts...

Page 3: ...nd electrical shock When unplugging the power cord from the wall socket grasp the plug Never pull on the cord itself Doing so can damage the power cord and create the danger of fire and electrical sho...

Page 4: ...is manual on hand for future reference Contents Important Safety Precautions E 1 Part 1 Getting Acquainted E 4 Important Precautions E 4 General Guide E 5 Label Printer Menus E 5 Part 2 Getting Ready...

Page 5: ...es E 24 Alpha Characters E 26 Symbols E 26 Specifications E 27 Part 1 Getting Acquainted This part of the manual provides you with important information you need to know in order to use the Label Prin...

Page 6: ...e the underlining left right up and down and change the selected item Press SET to execute the underlined item or ESC to exit the displayed menu and return to the previous menu or screen without selec...

Page 7: ...recharged batteries with the unit Do not expose batteries to direct heat do not short circuit them and do not try to take them apart Keep batteries out of the reach of small children If swallowed cons...

Page 8: ...dge on both sides with your thumb and forefinger and lift straight up 3 Remove the stopper from a new tape cartridge and check to see that the tape is ready to use Insert the adaptor cap into the ADAP...

Page 9: ...of the tape When storing a cartridge re attach its stopper and insert the cartridge in its original plastic bag and box Make sure that the tape is under the tape guide and that it is not bent or twis...

Page 10: ...performing a currency conversion operation Bar code indicator This indicator appears when you are performing a bar code operation Effect indicators These indicators point to the character effect that...

Page 11: ...til you release it To input alpha numeric characters 1 Turn power on 2 Input the first line of characters To input the upper case letters you can use either SHIFT or CAPS With SHIFT you must shift the...

Page 12: ...move the cursor under p c ommmp u t e r 2 Press BS twice to delete the two m s to the left of the cursor shifting puter to the left as you do 3 Press FUNC and then J to jump back to the end of the cha...

Page 13: ...hange the text ABCDEF to XYZDEF 1 With the original text on the display use either the BS key or DEL key to delete the characters to be changed ABC Remember to use the correct cursor location for the...

Page 14: ...E is shown on the right of the size to indicate when the character size has been adjusted Character Size Indicator Actual Size Vertical Horizontal mm 2 1 6mm 3mm 2 2 6mm 6mm 2 3 6mm 9mm 2 4 6mm 12mm...

Page 15: ...ning between the two dimensions To change a dimension press L to increase it or K to decrease it Remember that the dimensions you can specify depend on the width of the tape loaded in the label printe...

Page 16: ...rst and then inputting the text Character Styles There are four character styles that you can assign normal outline shadow and raised The following shows examples of each Style Indicator Sample Normal...

Page 17: ...essary After you print a tape you can peel off its paper backing and stick the tape onto the object you want Note that the tape will not stick on coarse wet oily or soiled surfaces Also you should not...

Page 18: ...hat you want The lightest setting is 1 while the darkest setting is 5 The standard setting is 3 3 When the density setting is the way you want it press SET to register it Part 7 Bar Code Bar Code With...

Page 19: ...on the display whenever you try to perform printing with other tapes loaded Label Formats 1 2 3 4 5 6 7 8 Important You can input text and specify its style attributes and size which is printed to the...

Page 20: ...o select FMT and then press SET 3 Use H and J to select the number of the format you want to use There are eight types of formats 1 through 8 page E 18 which you can choose 4 Press SET To perform a co...

Page 21: ...INT B A input the original price 10 00 in this example and then press SET Type ST 15 Example Maximum Stamp Size 5 5cm 9 3cm 5 5cm 18mm 10mm Part 9 Stamp Printing The stamp printing feature lets you pr...

Page 22: ...call text from memory 1 While the input screen is on the display press MEMO Note that text recalled from memory will replace any text currently on the display 2 Press H and J to select RECALL RECALL S...

Page 23: ...2 While holding down the PRINT and ESC keys press ON OFF to turn power on This prompt confirms whether or not you want to initialize the Label Printer I N I T I A L 3 Release the PRINT ESC and ON OFF...

Page 24: ...e the tape cartridge and pull out the jammed tape by hand Cut off excess tape with scissors and carefully replace the cartridge into the label printer Important Never allow the tape outlet to become b...

Page 25: ...r printing is complete Replace the tape cartridge with a new one The printer is set up for manual tape feed Out of tape E 17 E 7 Using Labels Error Messages Display Messages Label will not adhere to a...

Page 26: ...text to two Replace the batteries Press any key besides ON OFF to clear the error message In response to the INITIAL message that appears press SET to initialize the Label Printer Input the correct n...

Page 27: ...E 26 Alpha Characters Symbols...

Page 28: ...rline box Character Styles Normal Outline Shadow Raised Character sizes 1 1 1 2 1 3 1 4 1 5 1 6 2 1 2 2 2 3 2 4 2 5 2 6 3 1 3 2 3 3 3 4 3 5 3 6 4 1 4 2 4 3 4 4 4 5 4 6 Number of lines 1 6mm and 9mm ta...

Page 29: ...CASIO COMPUTER CO LTD 6 2 Hon machi 1 chome Shibuya ku Tokyo 151 8543 Japan MO9907 A Printed in Malaysia Imprim en Malaisie A343023 3...

Reviews: