background image

2. Electrical conditions for LVD (Low Voltage Directive) testing.

Power source: AC 220V ~ 240V 50Hz, 250mA, 10W

Insulation class: 

3. Environment Conditions for non-automatic weighing instrument.

This product is intended to be “indoor use”.

Altitude: less 2000m

Temperature range:  10 C

40 C

Maximum RH 80% (31 C), decreasing linearly to 50% RH at 40 C.

Supply voltage fluctuations: 10% of the normal voltage.

Installation category:

Pollution degree:

4. Capacity: 30kg 10g, 60kg 20g, 150kg 50g

5. How to connect the power supply

The power switch is located on the left side of the scale. Make sure that the 

power switch is “OFF”. 

Plug the scale into AC socket and make sure that the socket’s power is within 

the scale’s operating range. Turn the power switch “ON”.

6. The socket-outlet shall be installed near the equipment and shall be easily 

accessible.

7. Do not pour water directly on the scale. Use the plastic cleaner to clean your 

scale.

8. Changes or modifications not expressly approved by manufacturer for 

compliance could void the user’s authority to operate the equipment.

; Above statements can be applied to CE marked product.

11

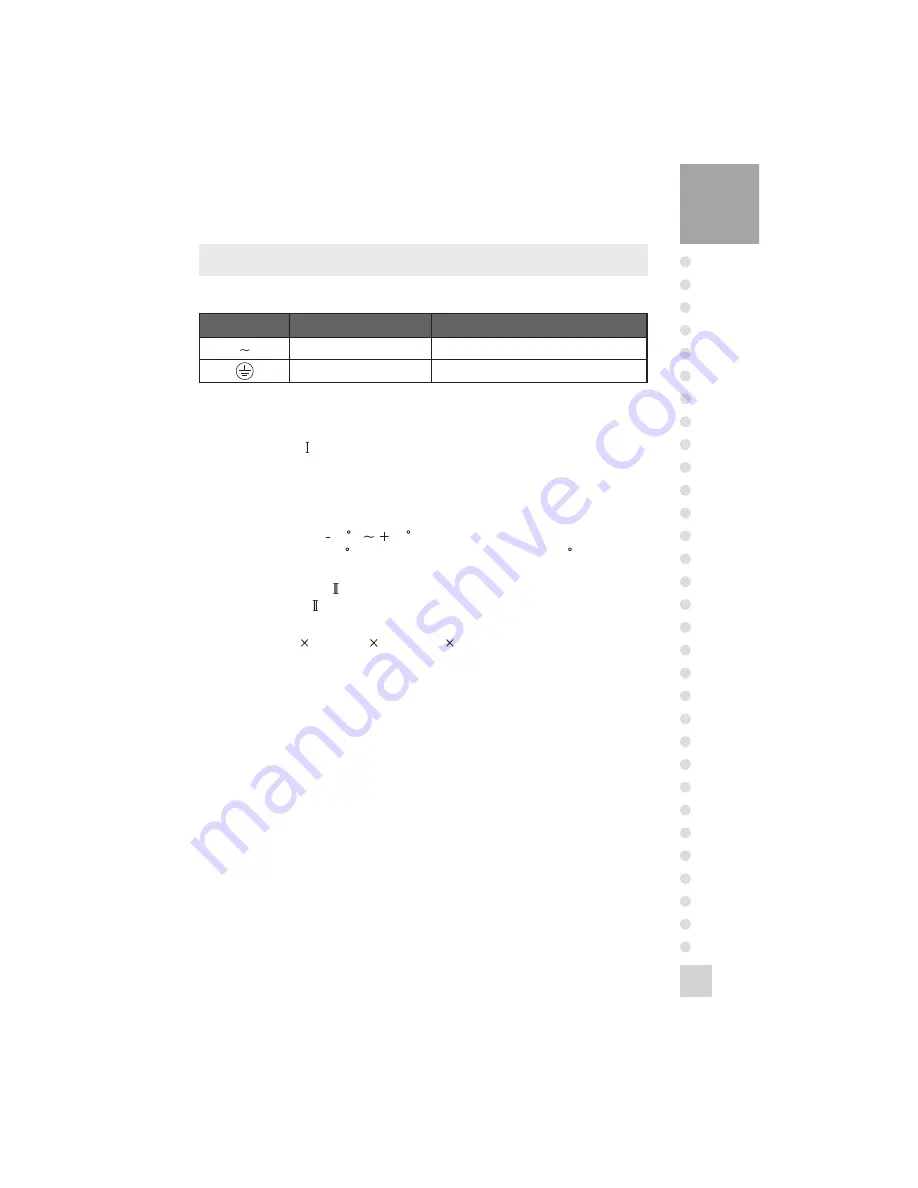
IEC 417. NO. 5032

IEC 417. NO. 5019

ALTERNATING CURRENT

PROTECTIVE CONDUCTOR TERMINAL

SYMBOL 

PUBLICATION 

DESCRIPTION

1. Symbol Description

SPECIFICATIONS FOR CE MARKING

Summary of Contents for DB-1H

Page 1: ...DB 1H Bench Scale OWNER S MANUAL ...

Page 2: ...CONTENTS PRECAUTIONS 4 PREFACE 6 NAMESANDFUNCTIONS 6 INSTALLATIONS 7 OPERATIONS 8 1 GeneralWeighing 8 2 WeighingwithTare 9 ERRORMESSAGES 9 SPECIFICATIONS 10 SPECIFICATIONSFORCEMARKING 11 ...

Page 3: ...lace the scale on a flat and stable surface Do not subject the platter to sudden shocks This scale must be installed in a dry and liquid free environment Make sure that you plug your scale into the proper power outlet Plug into a power outlet 30 minutes before operations ...

Page 4: ... If the scale is not properly level please adjust the 4 legs at the bottom of the scale turn legs clockwise or counterclockwise so as to center the bubble of the leveling gauge inside the indicated circle See Fig Lift the platter then you will see the leveling gauge Leveling gauge ...

Page 5: ...alty departments can enjoy these high quality reliable CAS products We believe that your needs will be satisfied and you will have reliability This manual will help you with proper operation and care of the DB 1H series Please keep this handy for future reference OVERALL VIEW DISPLAY PLATTER LEVELING GAUGE SUPPORT SUPPORT COVER DISPLAY HEAD KEYBOARD ADJUSTING BOLT CAPACITY 150kg X 0 02 0 05kg ZERO...

Page 6: ...ear a tare weight No function key KEYS FUNCTIONS INSTALLATIONS 1 Insert the power line into the support Fasten with bolts and nuts as fig 1 2 Fix a ground wire with bolt then arrange the power line and loadcell line as fig 2 Power line Bushing Ground wire Bolt Nut Washer Head Ground wire Power line Load cell wire fig 1 fig 2 ...

Page 7: ...odity on the platter Remove the commodity from the platter OPERATIONS When you turn on the power switch the scale will count 00000 to 99999 Then the scale will read 0 00 on the weight display This is called the ZERO state If the scale is not ZERO state though there is nothing on the platter press the ZERO key The display indicates if the scale is at ZERO or if there is a TARE entered into the scal...

Page 8: ...ner being used for a commodity The TARE key subtracts the weight of the container ERROR MESSAGES To help the customer s understanding this scale warns the user with proper error message Please refer to the table below An error of the initial ZERO range Failure of returning the normal mode Failure of the analog module Failure of the digital module Condition codes are broken 1 Make sure that the pla...

Page 9: ... PRODUCT SIZE mm Notice Specifications are subject to change for improvement without notice DB 1H 30kg 60kg 150kg 0 15kg 0 005kg 10 30kg 0 01kg 0 60kg 0 02kg 15 30kg 0 01kg 30 60kg 0 02kg 60 150kg 0 05kg Vacuum Fluorescent Display 5 DIGIT ZERO and NET 30 00kg 60 00kg 99 95kg Refer to Spec Plate 10 C 40 C APPROX 10W 530 W 406 D 420 W 635 D 765 H ...

Page 10: ...he left side of the scale Make sure that the power switch is OFF Plug the scale into AC socket and make sure that the socket s power is within the scale s operating range Turn the power switch ON 6 The socket outlet shall be installed near the equipment and shall be easily accessible 7 Do not pour water directly on the scale Use the plastic cleaner to clean your scale 8 Changes or modifications no...

Reviews: