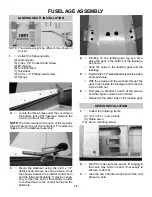
compartment in front of the servos. Remem-
ber to keep the antenna and the Y-harness
outside of the compartment so that the
aileron servo wire can be easily plugged into
the receiver.
!
Take the 3/16 x 1/2 x 7-3/4 balsa stick and
glue over top of the receiver and battery to
hold them in place.
4.
!
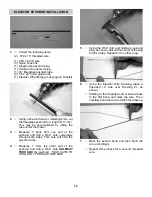
Insert the receiver antenna into the pre-
installed tube in the left side of the rear cabin
former and slide the antenna down the tube
until it exits out the hole at the rear of the
fuselage, just in front of the tailwheel.
.
!
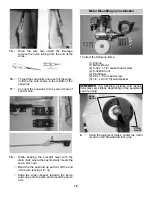
Attach the antenna to the tailwheel using a
rubber band.
5.
!
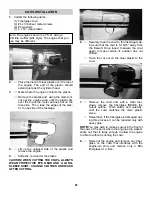
Turn on the receiver and transmitter and put
all control surfaces in neutral position. Then
insert the center screw into each of the ser-
vos.
CAUTION:
Make sure all servo arms are tightened
onto the servos.
WINDOW INSTALLATION
WHEEL & WHEEL PANT INSTALLATION
1.
!
Collect the following items:
(1) Windshield
(1) Fuselage
(2) Front side windows
(2) Rear side windows
1.
!
Glue the side windows starting at the rear
then the front. Glue the windows in place
with CA glue.
Caution
: Use the glue sparingly and keep fingers
clean.
2.
!
Place the front windsheild onto the fuselage,
as shown. Push the windshield into place
and draw a cut line around the windshield
leaving at least 1/4” gluing edge around the
outside.
Remove the windshield and cut along the
line you just drew.
Remount the windshield and check for fit.
Make sure the wing will not bind when being
mounted to the fuselage.
When satisfied with the fit,
using a glue that
is intended for canopies and wind-
shields,
glue the windshield in place.
Caution
: Use the glue sparingly and keep fingers
clean.
23
1.
!
Collect the following items:
(2) 3” wheel
(2) Axle
(2) Axle locking nut
(4) 5/32” wheel collar
(4) 6-32 x 1/8” set screw
(2) Wheel pant (right and left)
(4) 4-40 Blind nut
(4) 4-40 x 1/2” Socket head screw
Summary of Contents for decathlon arf
Page 29: ......


