docs.carbide3d.com
12/2/19 v1.0
10
Configure the Permanent Position of the BitSetter
1.
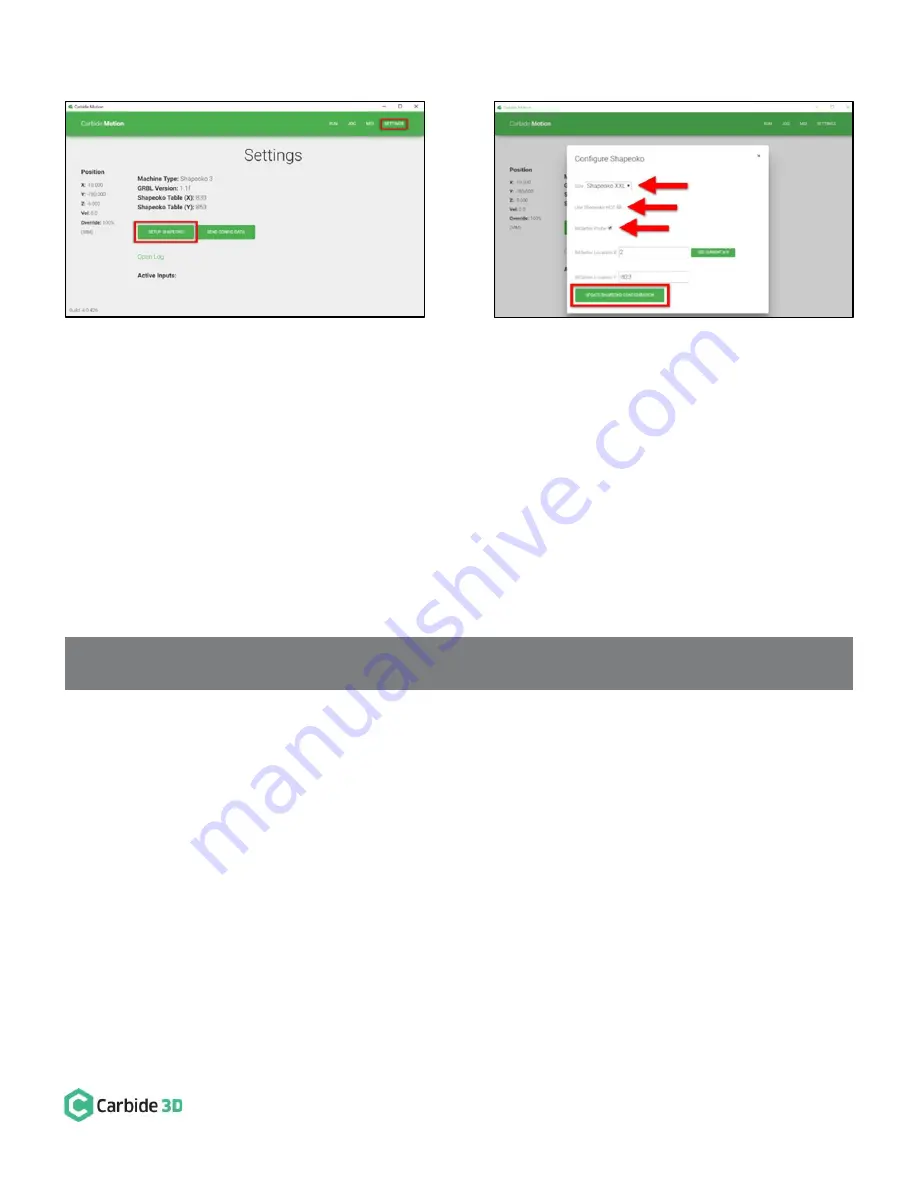
Click Settings in the top menu bar.
2.
Click the Setup Shapeoko button. See
Figure 20
.
3.
Select the appropriate size Shapeoko from the Size dropdown list (Shapeoko 3, XL, XXL). See
Figure 21
.
4.
Select the Use Shapeoko HDZ checkbox, if you are using an HDZ.
5.
Select the BitSetter Probe checkbox. This will expand the window and allow you to configure the
permanent location of the BitSetter.
6.
With your spindle directly above the BitSetter, click the Use Current X/Y button to set the location.
This will permanently save the X/Y location of your BitSetter.
NOTE:
If you physically change the BitSetter location, you will need to re-run this setup.
7.
Click the Update Shapoeko Configuration button to save the settings.
CONGRATULATIONS! Your BitSetter is ready to use!
Figure 20
Figure 21


