3. Settings
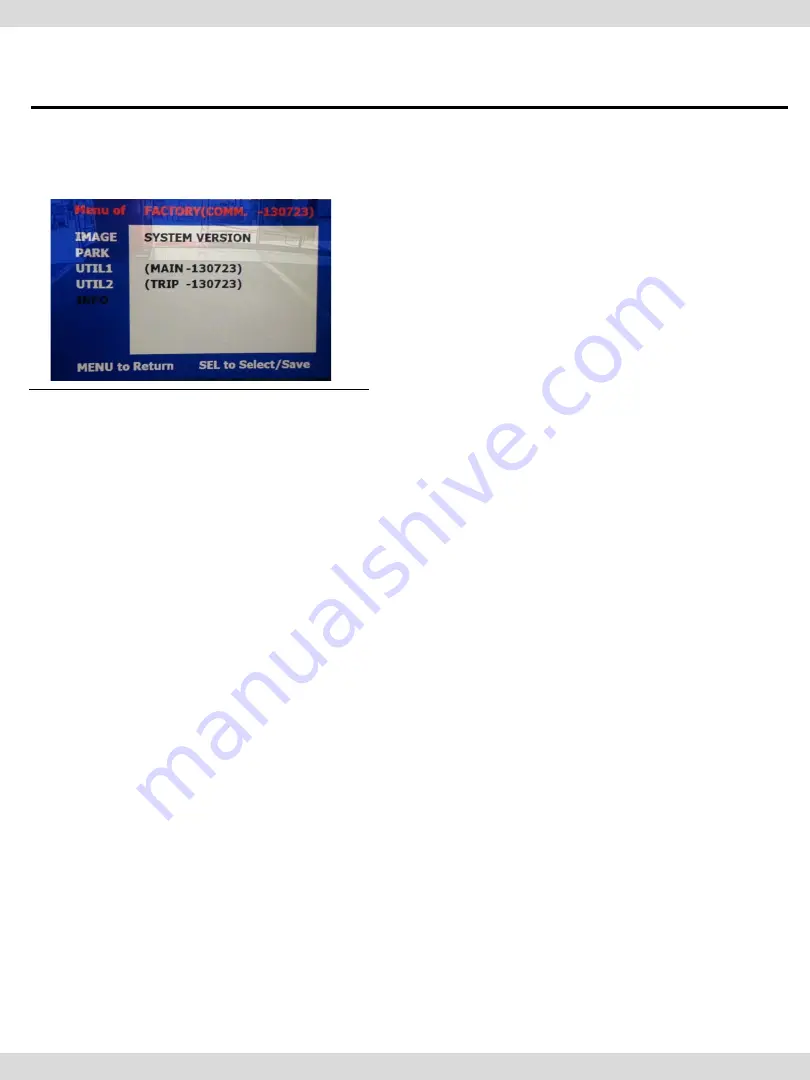
3.3.3 FACTORY MODE-UTIL2
FACTORY mode – Press
◀
button 2 seconds long on the remote control.
INFO
Check main version and Trip version
21
www.car-solutions.com
Page 1: ...w w w c a r s o l u t i o n s c o m...
Page 2: ...le electrical systems to ensure they operate correctly including lights horn brake lights and emergency flashers According to our sales policy any problems caused by user s mistake careless can not be...
Page 3: ...or 2 Installation 2 1 Installation Diagram 2 2 Installation 3 Settings 3 1 DIP Switch 3 2 Remote Control 3 3 Factory Menu 3 3 1 Image Park 3 3 2 UTIL1 3 3 3 UTIL2 3 4 Original Button Usage 3 5 OSD 4 T...
Page 4: ...put Navigation system output 1 LCD input Car system input 4 MULTIMEDIA INTERFACE output specification 1 LCD output 5 Power specification Input power 8VDC 18VDC Consumed power 5WATT 6 Switch input mode...
Page 5: ...o adjust DVD NAVI display on screen Improved Screen Display user oriented interface Mode change through original button Provide power cable to connect with rear camera Dynamic PAS Parking assistance s...
Page 6: ...en Input CAR MAIN BOARD A V 2 A V 3 VIDEO CIRCUIT VIDEO MUX MCU Power Input 8VDC 18VDC POWER CIRCUIT Dip S W A V OUT HEADREST MONITOR Remote control Switch for source toggle OEM Button Can Signal Car...
Page 7: ...cable 1EA POWER cable 10P 1EA HPOWER0044 HARETC0002 HAVCAB0002 Remote control 1ea REMOTE0001 HARETC0001 HIRCAB0002 TOUCH OUT cable 1ea HTOUCH0004 TOUCH IN cable 1ea HTOUCH0009 RGB cable 1ea HRGBCA0013...
Page 8: ...7 Touch Panel TOULCD0013 8 Touch Panel TOUPAN0004 1 Specifications 1 4 Components 8 www car solutions com OPTIONAL w w w c a r s o l u t i o n s c o m...
Page 9: ...5 Exterior Dimension Width 160mm Length 97 5mm Height 21 1mm REMOTE POWER TO NAVI T S IN FROM LCD R CAM RGB IN AV IN OUT MODE LCD OUT TEST LVDS IN LED DIP S W 9 www car solutions com w w w c a r s o l...
Page 10: ...HS F CAM DET SAFE CAN H LS CAN L LS Command Connecting CAN wire In case of 3G Vehicles A6 A7 A8 Connect CAN H HS Brown Green 3Pin of the interface to CAN High Orange Brown of the car Connect CAN L HS...
Page 11: ...original LCD cable to LCD OUT of the Interface after disconnecting it from the command And connect the LCD cable enclosed in our package to LVDS IN of the Interface Then connect the opposite end of t...
Page 12: ...not use for user ON Product factory reset OFF DEFAULT Example DIP S W usage Use input mode A V2 A V3 Use original navigation External rear camera DIP S W 1 2 ON hide INPUT MODE DIP S W 3 OFF A V2 disp...
Page 13: ...n changing image display Moving upward Moving downward Moving leftward If you press this button 2 seconds long you can access the factory mode Moving rightward If you press this button 2 seconds long...
Page 14: ...the parking guide line REAR TYPE Choose rear camera recognition LAMP Detecting the rear view camera via rear lamp Installer must connect Rear C cable of the power cable to the rear lamp of the car CA...
Page 15: ...oose PAS SETUP by using OK button change H POS V POS TYPE In V POSITION use on remote control to adjust parking guideline up and down TYPE In TYPE use on remote control to select parking guide line Ty...
Page 16: ...0 in high resolution for Korea I ONE WVGA 800x480 in high resolution for Korea PAPAGO WQVGA 480x234 in low resolution for Taiwan HDMI when SMI installed 800x480 in high resolution Go into FACTORY IMAG...
Page 17: ...ELECT Selecting background sound After returning navigation or original mode DEFAULT Selecting AV sound just before changing navigation or original mode from the AV mode AV 1 3 Sound of the selected A...
Page 18: ...d DVD model to be control I_DRV function LI 1DISC NEC 6DISC USER when using IR MEMORY Select DVD model Setting on AV1 Mode Select DTV model Setting on A V2 mode UTIL2 IR MEMORY To register DVD DTV rem...
Page 19: ...DVD remote control button value select IR MEMORY DTV and follow below instructions Example a After select OK button on OSD menu press intended I Drive button b Indicated part above will flicker and pr...
Page 20: ...l DVD DTV using remote control UI via touch screen or MMI If touch the screen in DVD A V1 DTV A V2 mode Can see remote control UI If touch the screen in RGB A V3 mode Can see mode switching UI If you...
Page 21: ...3 Settings 3 3 3 FACTORY MODE UTIL2 FACTORY mode Press button 2 seconds long on the remote control INFO Check main version and Trip version 21 www car solutions com w w w c a r s o l u t i o n s c o m...
Page 22: ...inal Button Usage User can switch mode using button in steering wheel Press longer Switching mode RGB A V1 3 Original mode Press shorter Move to Original mode 22 www car solutions com w w w c a r s o...
Page 23: ...English and Chinese TRANS Adjust OSD transparency H POSITION Move OSD horizontally V POSITION Move OSD vertically IMAGE BRIGHTNESS CONTRAST SHARPNESS UTIL FACTORY RESET Factory reset only for OSD fun...
Page 24: ...SD LANGUAGE Set OSD language only support English and Chinese TRANS Adjust OSD transparency H_POSITION Move OSD horizontally V_POSITION Move OSD vertically UTIL FACTORY RESET Factory reset only for OS...
Page 25: ...Set the DIP switch 7 as state ON Q Set mode not appear A Check DIP Switch Q OEM image is not displayed A Check interface s LCD In Out cable connection If the status keeps on inform to manufacturer Q S...