4
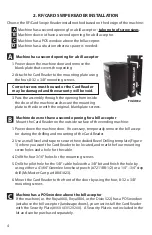
2. RF/CARD SWIPE READER INSTALLATION
Choose the RF/Card Swipe Reader install method based on the design of the machine:
A
Machine has a second opening for a bill acceptor - take note of screw sizes.
B
Machine does not have a second opening for a bill acceptor.
C
Machine has a POS window above the bill acceptor.
D
Machine has a situation where a spacer is needed.
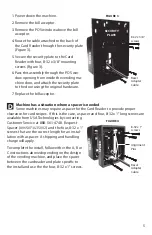
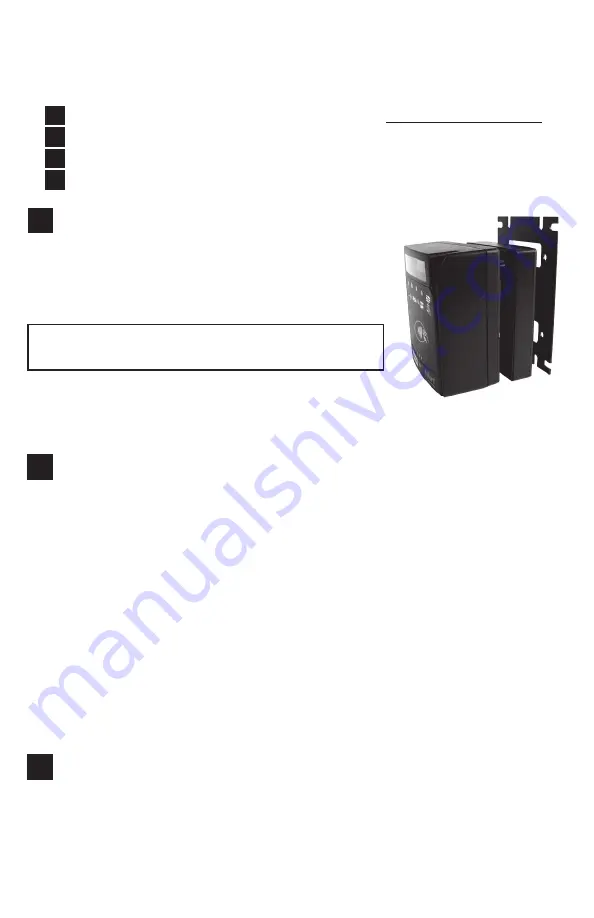
Machine has a second opening for a bill acceptor
1. Power down the machine door and remove the
blank plate that covers the opening.
2. Attach the Card Reader to the mounting plate using
the four, 8-32 x 3/8” mounting screws.
Correct screws must be used or the Card Reader
may be damaged and the warranty will be void.
3. Pass the assembly through the opening from inside
the door of the machine and secure the mounting
plate to the door with the original, blank plate screws.
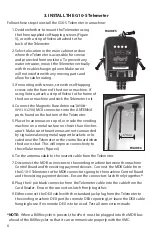
Machine does not have a second opening for a bill acceptor
Mount the Card Reader on the outside surface of the vending machine:
1. Power down the machine door. If necessary, temporarily remove the bill accep-
tor during the drilling and mounting of the Card Reader.
2. Use a small level and tape to secure the included Bezel Drilling template (Figure
1) where you want the Card Reader to be located, and mark the four mounting
screw holes and a hole for the cable.
4. Drill the four 3/16” holes for the mounting screws.
5. Drill the pilot hole for the 5/8” cable hole with a 3/8” bit and finish the hole by
using either a 41/64” Greenlee knockout punch (#7211BB-1/2) or a 1/4”–3/4” step
drill (McMaster-Carr part 8841A23).
6. Mount the Card Reader to the front of the door by using the four, 8-32 x 3/8”
mounting screws.
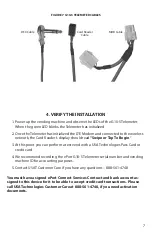
Machine has a POS window above the bill acceptor
If the machine (i.e. the Royal 660, Royal 804, or the Dixie 522) has a POS window
just above the bill acceptor (landscape doors), you must install the Card Reader
with the Security Plate (#
V6XUE0520260
). A Security Plate is not included in the
kit and can be purchased separately.
A
B
C
OPTIONAL SP
A
CER
FIGURE 2