


24
•
Card-size paper cannot be used.
•
[Borders] settings are not applied, and dates are not printed.
•
Selecting two images in step 3 will produce an equal number of prints of each
image per sheet, in your specified layout. Note that for layouts with an odd
number of prints per sheet, the center frame on the sheet will be blank.
•
The settings in the ID Photo Settings screen (
) are retained even when
SELPHY is turned off.
•
You can set the ID Photo Settings screen (
) to display when SELPHY
is turned on or a memory card is inserted (
).
•
Marks are printed in the four corners of each printed image as a guide for
cutting out the photo.
Filtering Candidate Image Sizes
Many image size options are listed when you select [ID Photo] ►
[Size
Selection]
►
[Custom]. To simplify size selection, you can edit the list to
show only sizes used most often.
1
Access the setting screen.
z
z
On the ID photo settings screen, choose
[Size Selection]
►
[Custom] (
then press the EDIT button.
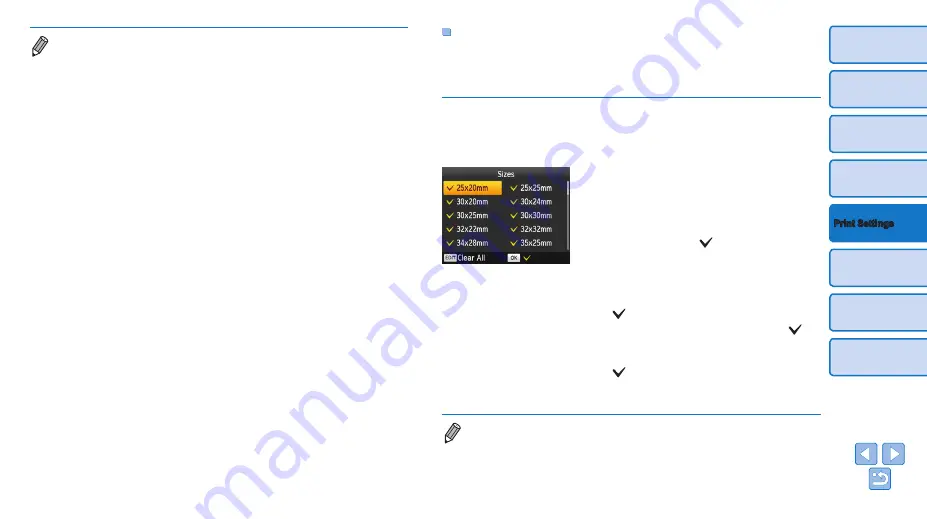
2
Select sizes for display.
z
z
To remove a size from the list, press the
<
u
><
d
><
l
><
r
> buttons to select the
size, and then press the <
o
> button.
z
z
The check mark ( ) is cleared, and the
size will no longer be listed on the [ID
). To
include a size in the list, press the <
o
>
button again to select the size, displaying
.
z
z
Pressing the EDIT button clears all
.
When no sizes are selected, pressing the
EDIT button selects all sizes, displaying
.
z
z
Once you have selected the sizes to
include in the list, press the <
v
> button.
•
A warning message is displayed if you press the <
v
> button when no sizes
are selected. Press the <
o
> button to return to the [Sizes] screen. Select at
least one size to list, and then press the <
v
> button.


