


175
Before Use
Basic Guide
Advanced Guide
1
Camera Basics
2
Auto Mode /
Hybrid Auto Mode
3
Other Shooting Modes
4
P Mode
6
Playback Mode
7
Wi-Fi Functions
8
Setting Menu
9
Accessories
10
Appendix
Index
5
Tv, Av, and M Mode
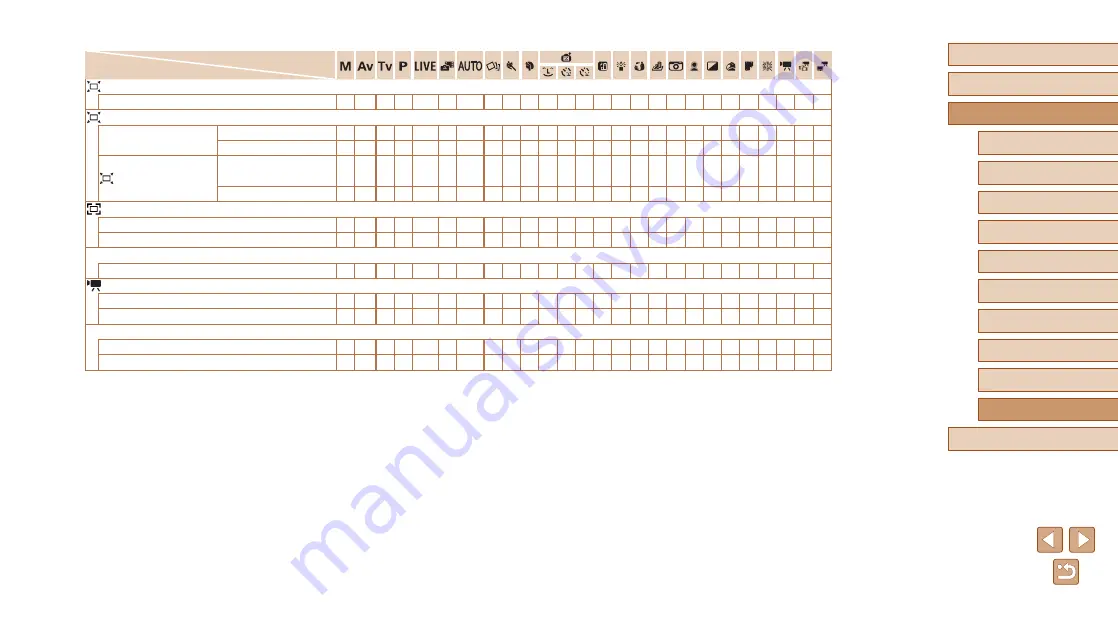
Shooting Mode
Function
Display Area (
Large/Medium/Small
O O O O O O O O O O O O O O O O O O O O O O O O O O
Auto Settings (
Seek Assist
On
– O O O O O O O O O O O O O O – – O O O O O – O – O
Off
O O O O O O O O O O O O O O O O O O O O O O O O O O
Auto Zoom
Face / Upper Body / Whole
Body / Manual / Auto
– O O O O O O O O O O O O O O – – O O O O O – O – O
Off
O O O O O O O O O O O O O O O O O O O O O O O O O O
On
O O O O O –
O
– O O – – – – O – – – – O O O – – – –
Off
O O O O O O O O O O O O O O O O O O O O O O O O O O
Digest Type
Include Stills / No Stills
– – – –
– O –
– – – – – – – – – – – – – – – – – – –
Enable
O O O O O O O
– O O O O O O O O – O O O O O O O – –
Disable
O O O O O O O O O O O O O O O O O O O O O O O O O O
On
O O O O O O O
– O O O O O O O O O O O O O O O O O O
Off
O O O O O O O O O O O O O O O O O O O O O O O O O O
- Names of people in shots taken using Face ID (
some modes or with some settings, but they will be recorded in the still images.
O Can be selected or automatically set. – Cannot be selected.


