Printing Images
148
Trimming and Printing (Trimming)
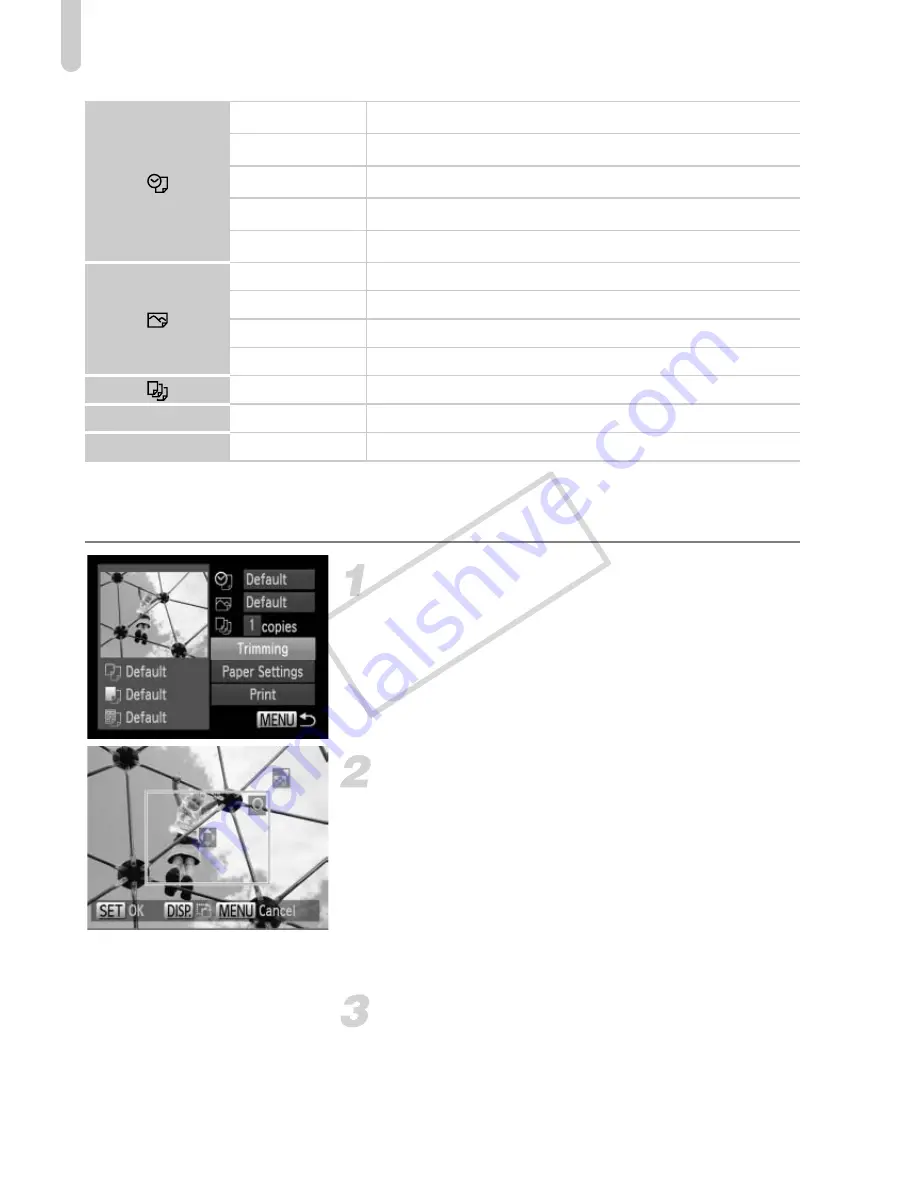
You can cut out a portion of an image for printing.
Choose [Trimming].
z
Follow Steps 1 – 2 on p. 147 to choose
[Trimming], then press the
m
button.
X
A frame will appear around the portion of
the image to be trimmed.
Choose the trimming area.
z
Move the zoom lever or turn the
5
dial to
change the frame size.
z
Press the
opqr
buttons to change the
frame position.
z
Press the
l
button to rotate the frame.
z
Press the
m
button to complete the
setting.
Print images.
z
In the screen in Step 1, press the
op
buttons or turn the
5
dial to choose
[Print], then press the
m
button.
Default
Follows the printer’s settings.
Date
Prints the date.
File No.
Prints the file number.
Both
Prints both the date and file number.
Off
—
Default
Follows the printer’s settings.
Off
—
On
Uses shooting information to optimize print settings.
Red-Eye1
Corrects red-eye.
No. of Copies Choose the number of copies.
Trimming
—
Choose the area for printing (p. 148).
Paper Settings
—
Sets the paper size and layout (p. 149).
COP
Y
Summary of Contents for Powershot SX40 HS
Page 5: ......
Page 36: ...CDI E453 02B 0811Ni48 CANON INC 2011 PRINTED IN JAPAN ...
Page 48: ...12 COPY ...
Page 180: ...144 COPY ...
Page 259: ...I llllllllllllllll ...


