


93
Before Use
Basic Guide
Advanced Guide
1
Camera Basics
2
Creative Shot Mode
3
Auto Mode / Hybrid Auto
Mode
4
Other Shooting Modes
6
Playback Mode
7
Wi-Fi Functions
8
Setting Menu
9
Accessories
10
Appendix
Index
5
P Mode
4
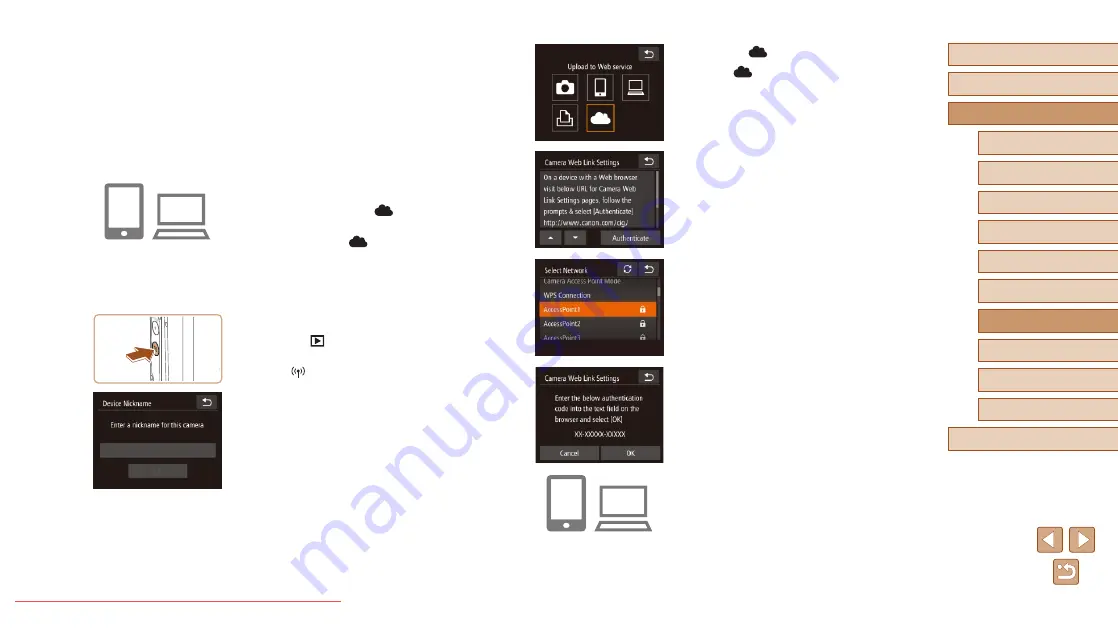
Choose [
].
●
Touch [
].
5
Choose [Authenticate].
●
Touch [Authenticate].
6
Establish a connection with an
access point.
●
Connect to the access point as described
in steps 5 – 7 in “Using WPS-Compatible
Access Points” (
in “Connecting to Listed Access Points”
(
●
Once the camera is connected to CANON
iMAGE GATEWAY via the access point,
an authentication code is displayed.
●
Keep this screen displayed until step 7 is
completed.
7
Enter the authentication code.
●
On the smartphone or computer, enter
the authentication code displayed on the
camera and go to the next step.
●
A six-digit confirmation number is
displayed.
●
From a computer or smartphone, access
http://www.canon.com/cig/ to visit
CANON iMAGE GATEWAY.
●
Once the login screen is displayed,
enter your user name and password
to log in. If you do not have a CANON
iMAGE GATEWAY account, follow
the instructions to complete member
registration (free of charge).
2
Choose the type of camera.
●
On this camera model, [
] is displayed
in the Wi-Fi menu.
●
Once you choose [
], a page is
displayed for entering the authentication
code. On this page in step 7, you will
enter the authentication code displayed
on the camera after steps 3 – 6.
3
Access the Wi-Fi menu.
●
Press the [
] button to turn the camera
on.
●
Touch [
].
●
When the [Device Nickname] screen
is displayed, touch the text box to
access the keyboard. Use the keyboard
displayed to enter a nickname (
On the [Device Nickname] screen, touch
[OK].


