Installing the Software and USB Driver
14
11
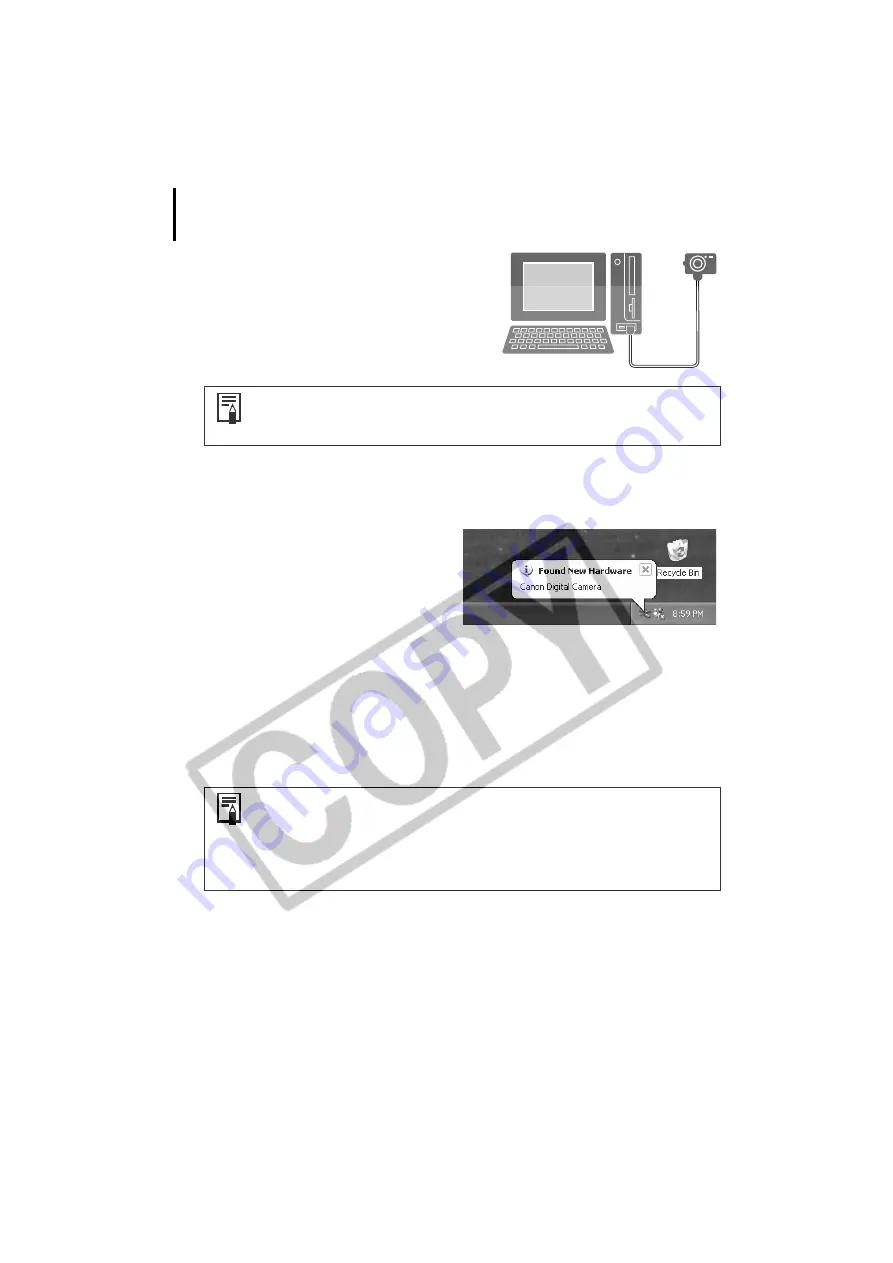
Attach the camera to the computer with the
interface cable and set it to the correct mode
for connecting.
The USB driver will automatically finish installing onto the computer when you attach the
camera and open a connection. Dialogs similar to the following ones will appear during
this process (first connection only).
Windows XP
The dialog on the right will appear after a
few moments and the USB driver supplied
with the Windows operating system will
automatically install.
Windows 2000/Windows Me/Windows 98
A window such as the Add New Hardware Wizard will appear after a moment.
Restart the computer according to the instructions if you are prompted to do so by a
message.
A dialog allowing you to set the default settings will display after installation. See
Using
the Software on the Windows Platform
–
The Basics
(p. 15) for the subsequent
procedures.
This concludes the software and USB driver installation and the procedures for connecting the
camera to the computer.
You may now download camera images to the computer (p. 15).
Procedures for attaching the camera to the computer and placing it in
the correct mode for connecting vary between camera models. See
Information about Your Camera
(p. 92).
• See
USB driver installation not proceeding well
in the
Troubleshooting
section (p. 83) if you are having problems installing the USB driver.
• See
Uninstalling the USB Driver
(p. 79) to delete the USB driver installed
with these procedures.
• See
If You Were Using ZoomBrowser EX Version 2 or 3
(p. 91) if you
were previously using either version.


