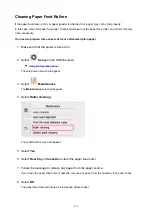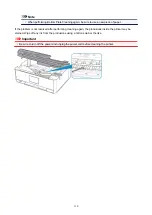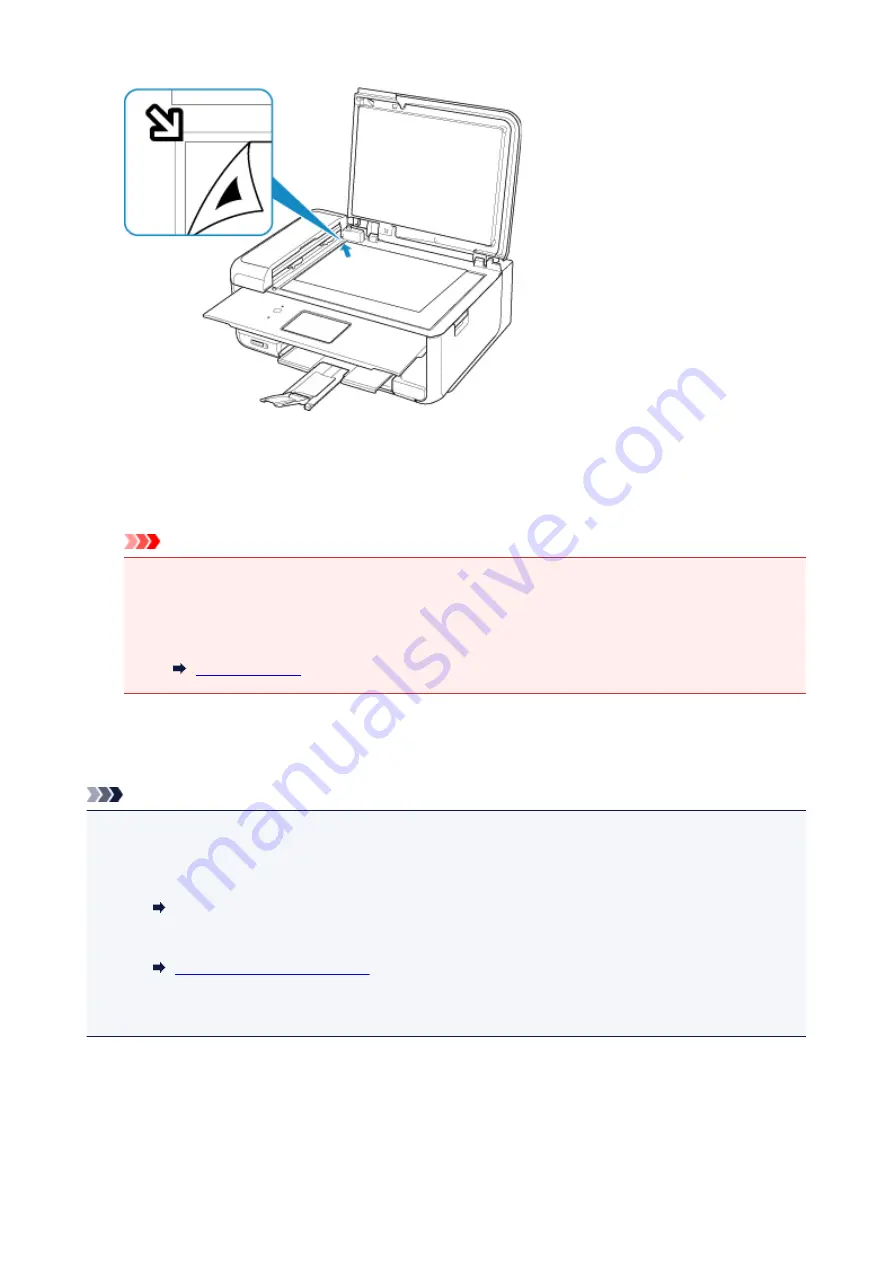
9. Close the document cover gently, then select
OK
.
The printer starts scanning the print head alignment sheet, and the print head position will be adjusted
automatically.
Important
• Do not open the document cover or move the print head alignment sheet on the platen glass until
adjusting the print head position is complete.
• If the error message appears on the touch screen, select
OK
to release the error, then take
appropriate action.
10. When the completion message appears, select
OK
.
Remove the print head alignment sheet on the platen glass.
Note
• If the print results are still not satisfactory after adjusting the print head position as described above,
adjust the print head position manually from the computer.
• For Windows:
Adjusting Print Head Position
• For Mac OS:
• To print and check the current head position adjustment values, select
Print the head alignment value
on the
Maintenance
screen.
118
Summary of Contents for PIXMA TR8560
Page 10: ...5012 493 5100 494 5200 495 5B00 496 6000 497 C000 498...
Page 45: ...Note Many other convenient faxing features are available Faxing 45...
Page 48: ...Notices when printing using web service Notice for Web Service Printing 48...
Page 96: ...Replacing Ink Tanks Replacing Ink Tanks Checking Ink Status on the Touch Screen Ink Tips 96...
Page 132: ...Safety Safety Precautions Regulatory Information WEEE EU EEA 132...
Page 155: ...Main Components Front View Rear View Inside View Operation Panel 155...
Page 181: ...For more on setting items on the operation panel Setting Items on Operation Panel 181...
Page 197: ...Language selection Changes the language for the messages and menus on the touch screen 197...
Page 270: ...Note To set the applications to integrate with see Settings Dialog 270...
Page 272: ...Scanning Multiple Documents at One Time from the ADF Auto Document Feeder 272...
Page 274: ...Scanning Tips Positioning Originals Scanning from Computer 274...
Page 291: ...8 Specify number of time and select OK 9 Select OK The Function list screen is displayed 291...
Page 339: ...6 Enter fax telephone numbers in To 339...
Page 342: ...Receiving Faxes Receiving Faxes Changing Paper Settings Memory Reception 342...
Page 352: ...Other Useful Fax Functions Document Stored in Printer s Memory 352...
Page 400: ...Other Network Problems Checking Network Information Restoring to Factory Defaults 400...
Page 423: ...Scanning Problems Mac OS Scanning Problems 423...
Page 424: ...Scanning Problems Scanner Does Not Work Scanner Driver Does Not Start 424...
Page 427: ...Faxing Problems Problems Sending Faxes Problems Receiving Faxes Telephone Problems 427...
Page 428: ...Problems Sending Faxes Cannot Send a Fax Errors Often Occur When You Send a Fax 428...
Page 438: ...Telephone Problems Cannot Dial Telephone Disconnects During a Call 438...
Page 450: ...Errors and Messages An Error Occurs Message Support Code Appears 450...


