background image

b

  Connection Using WPS

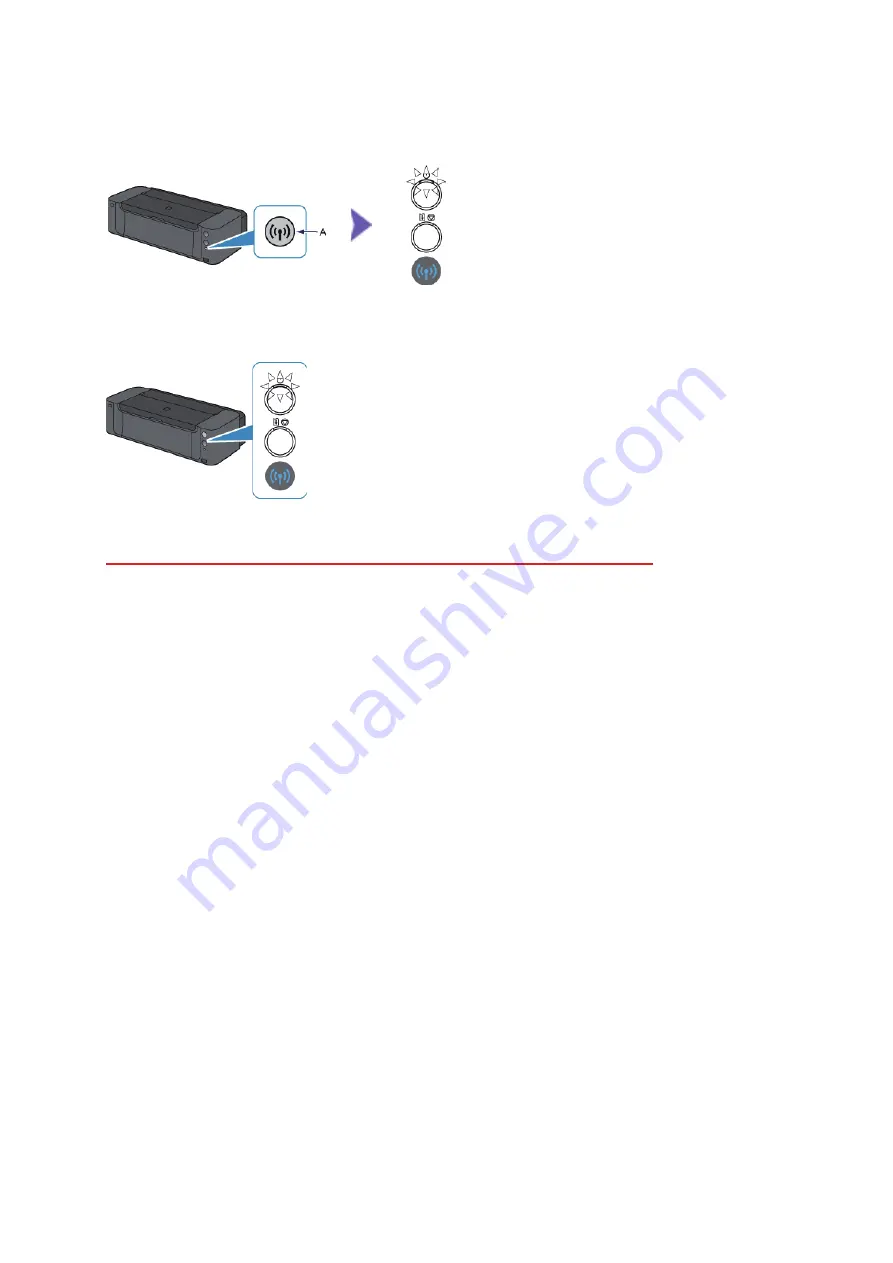
1.  Press and hold the Wi-Fi button (A) on the printer when you are ready to press the button on the 

access point.

2.  Make sure that the (blue) Wi-Fi lamp fl ashes quickly and the POWER lamp is lit as shown in the 

illustration above, then press and hold the button on the access point within 2 minutes.

3.  Make sure that the (blue) Wi-Fi lamp and POWER lamp are lit.

The network connection setup is now complete.

Summary of Contents for PIXMA PRO-100 Series

Page 1: ...PIXMA PRO 100 Setup Guide CANON INC 2012 series PIXMA PRO 10 series ...

Page 2: ...rmation for setting up a network connection for the printer Network Connection Wireless Connection Preparation for Connection Connection Using WPS Wired Connection Preparation for Connection Cable Connection Printer Setup Troubleshooting ...

Page 3: ...your device supports IEEE802 11n 802 11g or 802 11b If your device is set to the IEEE802 11 n only mode WEP or TKIP cannot be used as a security protocol Change the security protocol for your device to something other than WEP and TKIP or change the setting to something other than IEEE802 11 n only For office use consult your network administrator Take added care when connecting to a network that i...

Page 4: ...tton on the access point 2 Make sure that the blue Wi Fi lamp flashes quickly and the POWER lamp is lit as shown in the illustration above then press and hold the button on the access point within 2 minutes 3 Make sure that the blue Wi Fi lamp and POWER lamp are lit The network connection setup is now complete ...

Page 5: ...er to the manual of your network device or contact its manufacturer For office use consult your network administrator Take added care when connecting to a network that is not protected with security measures as there is a risk of disclosing data such as your personal information to a third party This printer cannot be used over wireless and wired connections at the same time When using a router con...

Page 6: ...ort on the back of the printer Do not connect it to the USB port c Printer Setup 1 Hold down the RESUME CANCEL button A on the printer until the POWER lamp flashes 11 times then release the RESUME CANCEL button after the eleventh flash The wired connection setup is complete The network connection setup is now complete ...

Page 7: ...tc turned on If the network device is already turned on turn it off then turn it back on Are the computer and network device configured Are the access point and printer installed in an open space where wireless communications are possible Is the access point operating in IEEE802 11n 2 4 GHz IEEE802 11g or IEEE802 11b Wait for a while then bring the access point and printer close to each other and c...

Reviews: