Turning the Machine On and Off
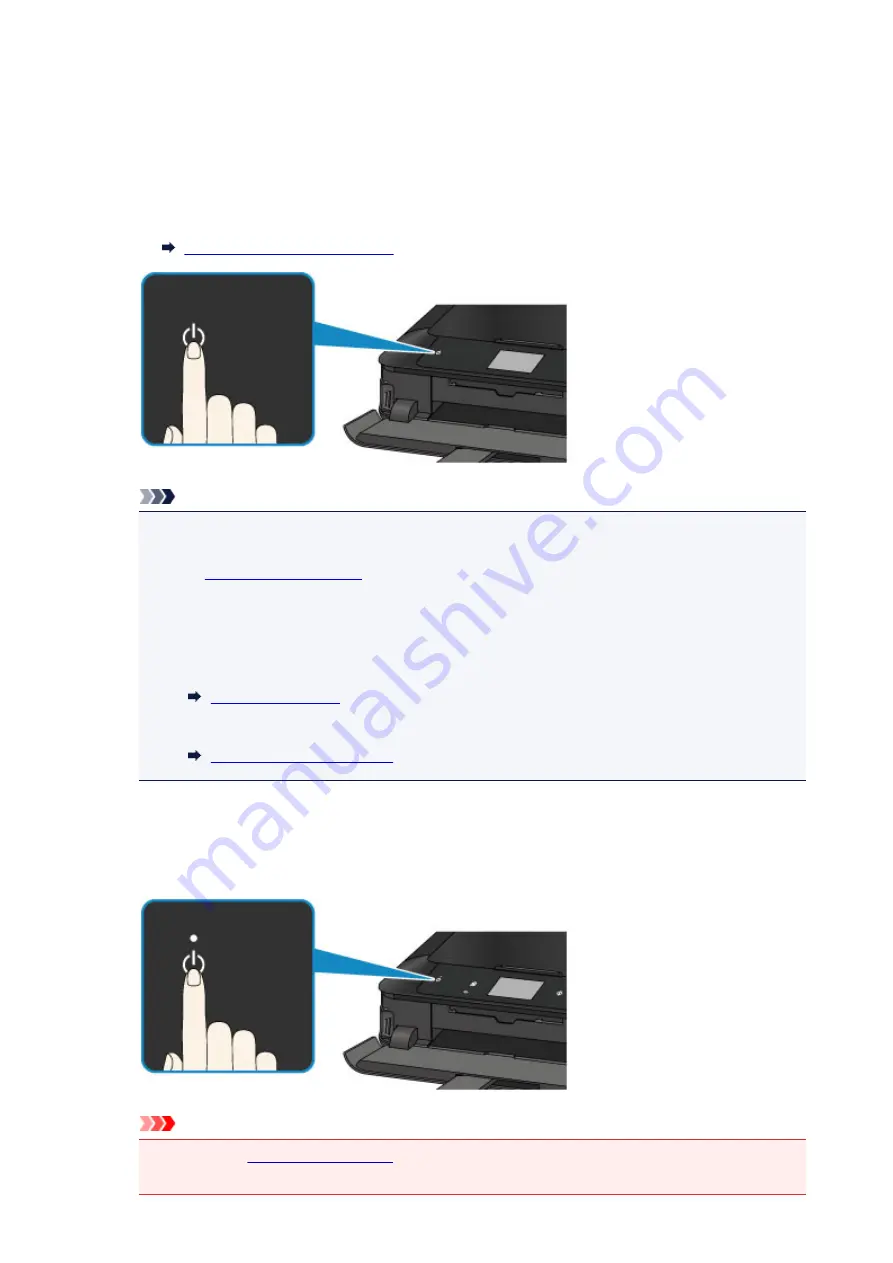
Turning on the machine
1. Touch the
ON
button to turn on the machine.
The
POWER
lamp flashes and then remains lit.
Confirming that the Power Is On
Note
• It may take a while for the machine to start printing immediately after you turn on the machine.
• If the
Alarm
lamp lights up or flashes and an error message is displayed on the touch screen,
see
• You can set the machine to automatically turn on when a print or scan operation is performed
from a computer connected by USB cable or network. This feature is set to off by default. For
details on the auto power on feature, see below.
From the machine
From the computer
Turning off the machine
1. When the
POWER
lamp stops flashing, the machine is turned off.
Important
• When you
after turning off the machine, be sure to confirm that the
POWER
lamp is off.
142
Summary of Contents for PIXMA MG7500 Series
Page 90: ... 8 Display area The display changes based on the menu you select 90 ...
Page 126: ...Safety Guide Safety Precautions Regulatory and Safety Information 126 ...
Page 133: ...Main Components Front View Rear View Inside View Operation Panel 133 ...
Page 150: ...This opens another list of items Drag it in the same manner and tap a setting 150 ...
Page 175: ...175 ...
Page 181: ... D 0 25 inch 6 3 mm 181 ...
Page 204: ...Replacing an Ink Tank Replacing an Ink Tank Checking the Ink Status 204 ...
Page 258: ...Note The effects of the quiet mode may be less depending on the print quality settings 258 ...
Page 275: ...Language selection Changes the language for the messages and menus on the touch screen 275 ...
Page 290: ...Information about Network Connection Useful Information about Network Connection 290 ...
Page 337: ...5 Delete Deletes the selected IP address from the list 337 ...
Page 368: ...Checking the Ink Status with the Ink Lamps 368 ...
Page 375: ...375 ...
Page 403: ...Note Selecting Scaled changes the printable area of the document 403 ...
Page 445: ...Adjusting Brightness Adjusting Intensity Adjusting Contrast 445 ...
Page 542: ...Using the Slide Show Function Printing Photo While Viewing the Slide Show 542 ...
Page 566: ...PictBridge print settings 566 ...
Page 593: ...Scanning Scanning from a Computer Scanning from the Operation Panel of the Machine 593 ...
Page 676: ...Related Topic Scanning Items Larger than the Platen Image Stitch 676 ...
Page 697: ...697 ...
Page 720: ...Related Topic Scanning in Basic Mode 720 ...
Page 773: ...When scanning is completed the scanned image appears in the application 773 ...
Page 848: ...Disc Tray Does Not Feed Properly 848 ...
Page 851: ...Problems with Printing Quality Print Results Not Satisfactory Ink Is Not Ejected 851 ...
Page 958: ...1401 Cause The print head may be damaged Action Contact the service center 958 ...
Page 959: ...1403 Cause The print head may be damaged Action Contact the service center 959 ...
Page 960: ...1405 Cause The print head may be damaged Action Contact the service center 960 ...
Page 968: ...1660 Cause The ink tank is not installed Action Install the ink tank 968 ...
Page 1006: ...5B00 Cause Printer error has occurred Action Contact the service center 1006 ...
Page 1007: ...5B01 Cause Printer error has occurred Action Contact the service center 1007 ...
Page 1008: ...5B10 Cause Printer error has occurred Action Contact the service center 1008 ...
Page 1009: ...5B11 Cause Printer error has occurred Action Contact the service center 1009 ...


