Clearing Paper Jams
3-6
T
rou
ble
s
h
oot
ing
3
Clearing a Paper Jam Inside the Front Cover
Perform this procedure when a paper jam occurs in the transfer path inside the front
cover.
CAUTION
When clearing a paper jam, take care that you do not cut your hands on the
edges of the paper.
When removing jammed paper from inside the product, take care that you do
not cut your hands on internal components. If you experience difficulties
removing paper, contact your local authorized Canon dealer.
NOTE
The front cover LED is on the front cover.
- Lit: The front cover is locked and cannot be opened.
- Off: The front cover is unlocked and can be opened.
The front cover LED display conditions change when the Perfect Binder Continuous Kit is
installed and the front cover LED display settings have been changed. For details, refer to
“Displaying the Cuttings Discharge Enabled State (Perfect Binder Continuous Kit)” (
If paper jams occur at multiple locations, clear each one in the sequence indicated on the
printer display.
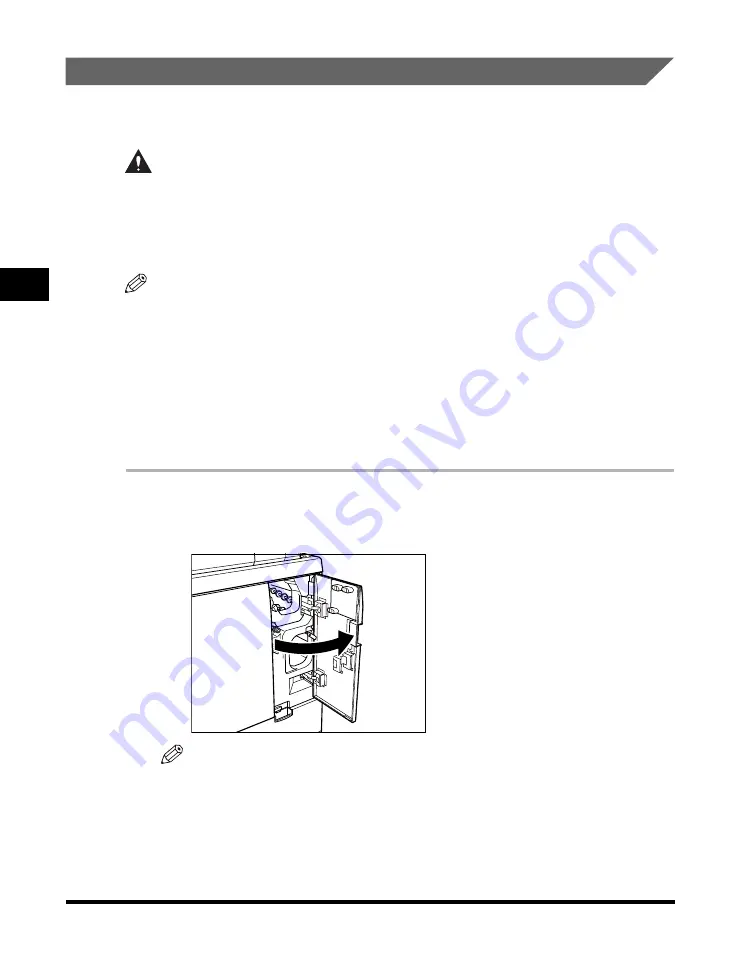
1
Open the front right cover.
Make sure that the front cover LED is off.
NOTE
The front cover is locked during binding operations. It unlocks when a paper jam
occurs.
When the front cover is opened, the interlock switch is activated and power to all
the operating parts of the binder is cut off. However, power to the stacker and
trimmer waste unit is not cut off. Therefore, even if the front cover is opened, you
can remove finished booklets from the stacker and remove cuttings from the
trimmer waste unit.


