85
E
Editing
Editing to a VCR
1. Find a point on your recorded cassette slightly before the section
you want to copy.
2. Start to play it back while you monitor the picture on the TV.
3. Start recording on the VCR as soon as the section you want to copy
appears on the screen.
4. Pause the VCR at the end of the section you want to copy, then stop
playback on the camcorder.
5. Repeat steps 1 to 4 until your edited recording is complete.
Note:
• The quality of the edited tape will be slightly lower than that of the original.
By connecting the camcorder to a VCR, you can edit your recordings in order to
remove unwanted scenes — or combine different shots to create your own video
productions.
1. Connect the camcorder to the VCR.
• See “Connections for Playback on a TV Screen” on p. 32.
2. Prepare the TV and VCR.
• Turn on the TV and set the TV/VIDEO selector to VIDEO.
• Turn on the VCR, and set its input selector to LINE. Load a blank cassette,
and put the VCR in record pause mode.
• See your TV and VCR instruction manuals for details.
3. Turn the camcorder’s POWER switch to PLAY (VCR), and move
the camcorder’s TAPE/CARD switch to TAPE.
4. Load your recorded cassette.
The
m
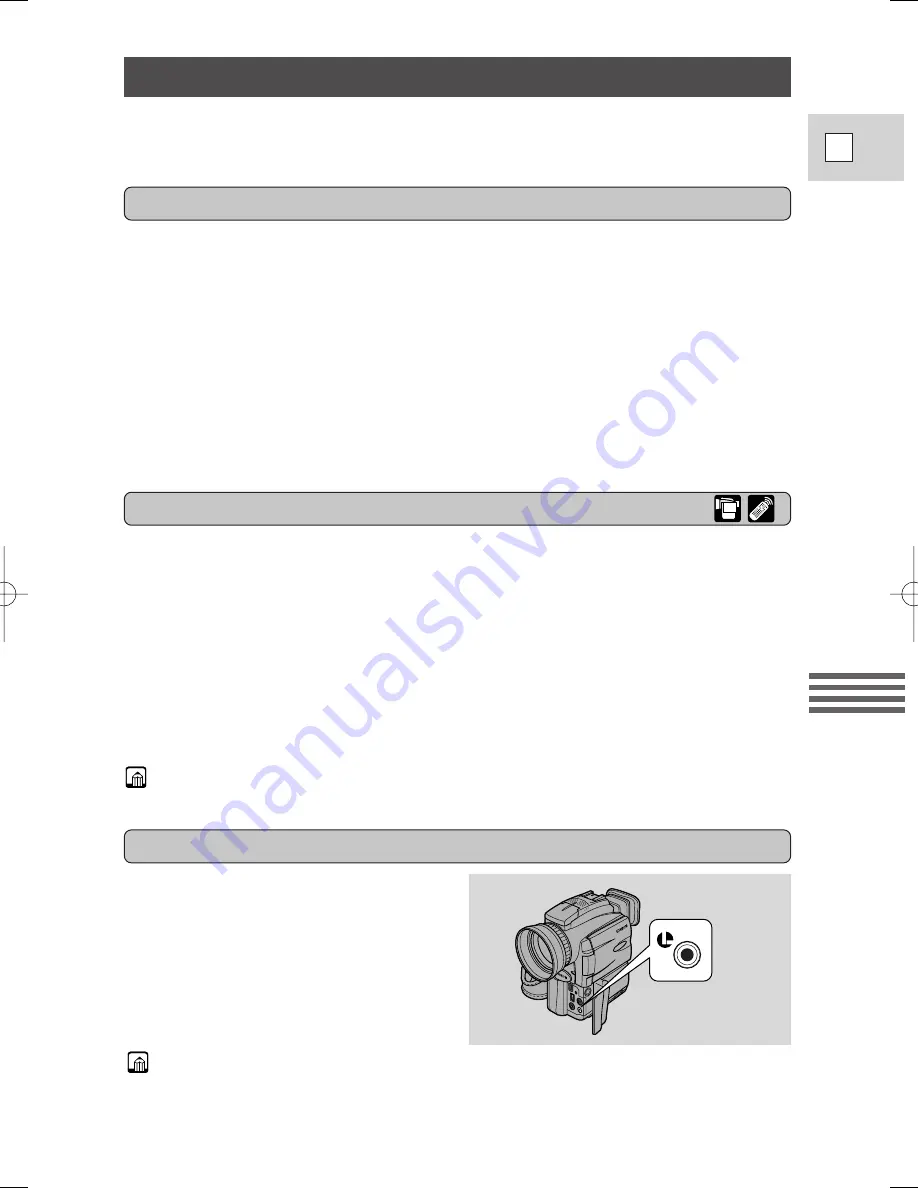
terminal allows you to connect
the camcorder to equipment. Some
buttons on editing equipment may
operate differently from those on the
camcorder.
Preparations
Editing
m
(LANC) terminal
Notes:
•
m
(LANC) is a trademark. It stands for Local Application Control Bus System.
• We cannot guarantee the results when connecting to equipment not bearing the
LANC
m
symbol.
4_OPTURA100 MC_E(85-98) 7/24/01 13:34 Page 85


