


17
Facsimile Functions
18
Fa
cs
im
ile
Fu
nc
tio
ns
Co
py
in
g
Fu
nc
tio
ns
O
th
er
U
se
fu
l
Fe
at
ur
es
Pr
ef
ac
e
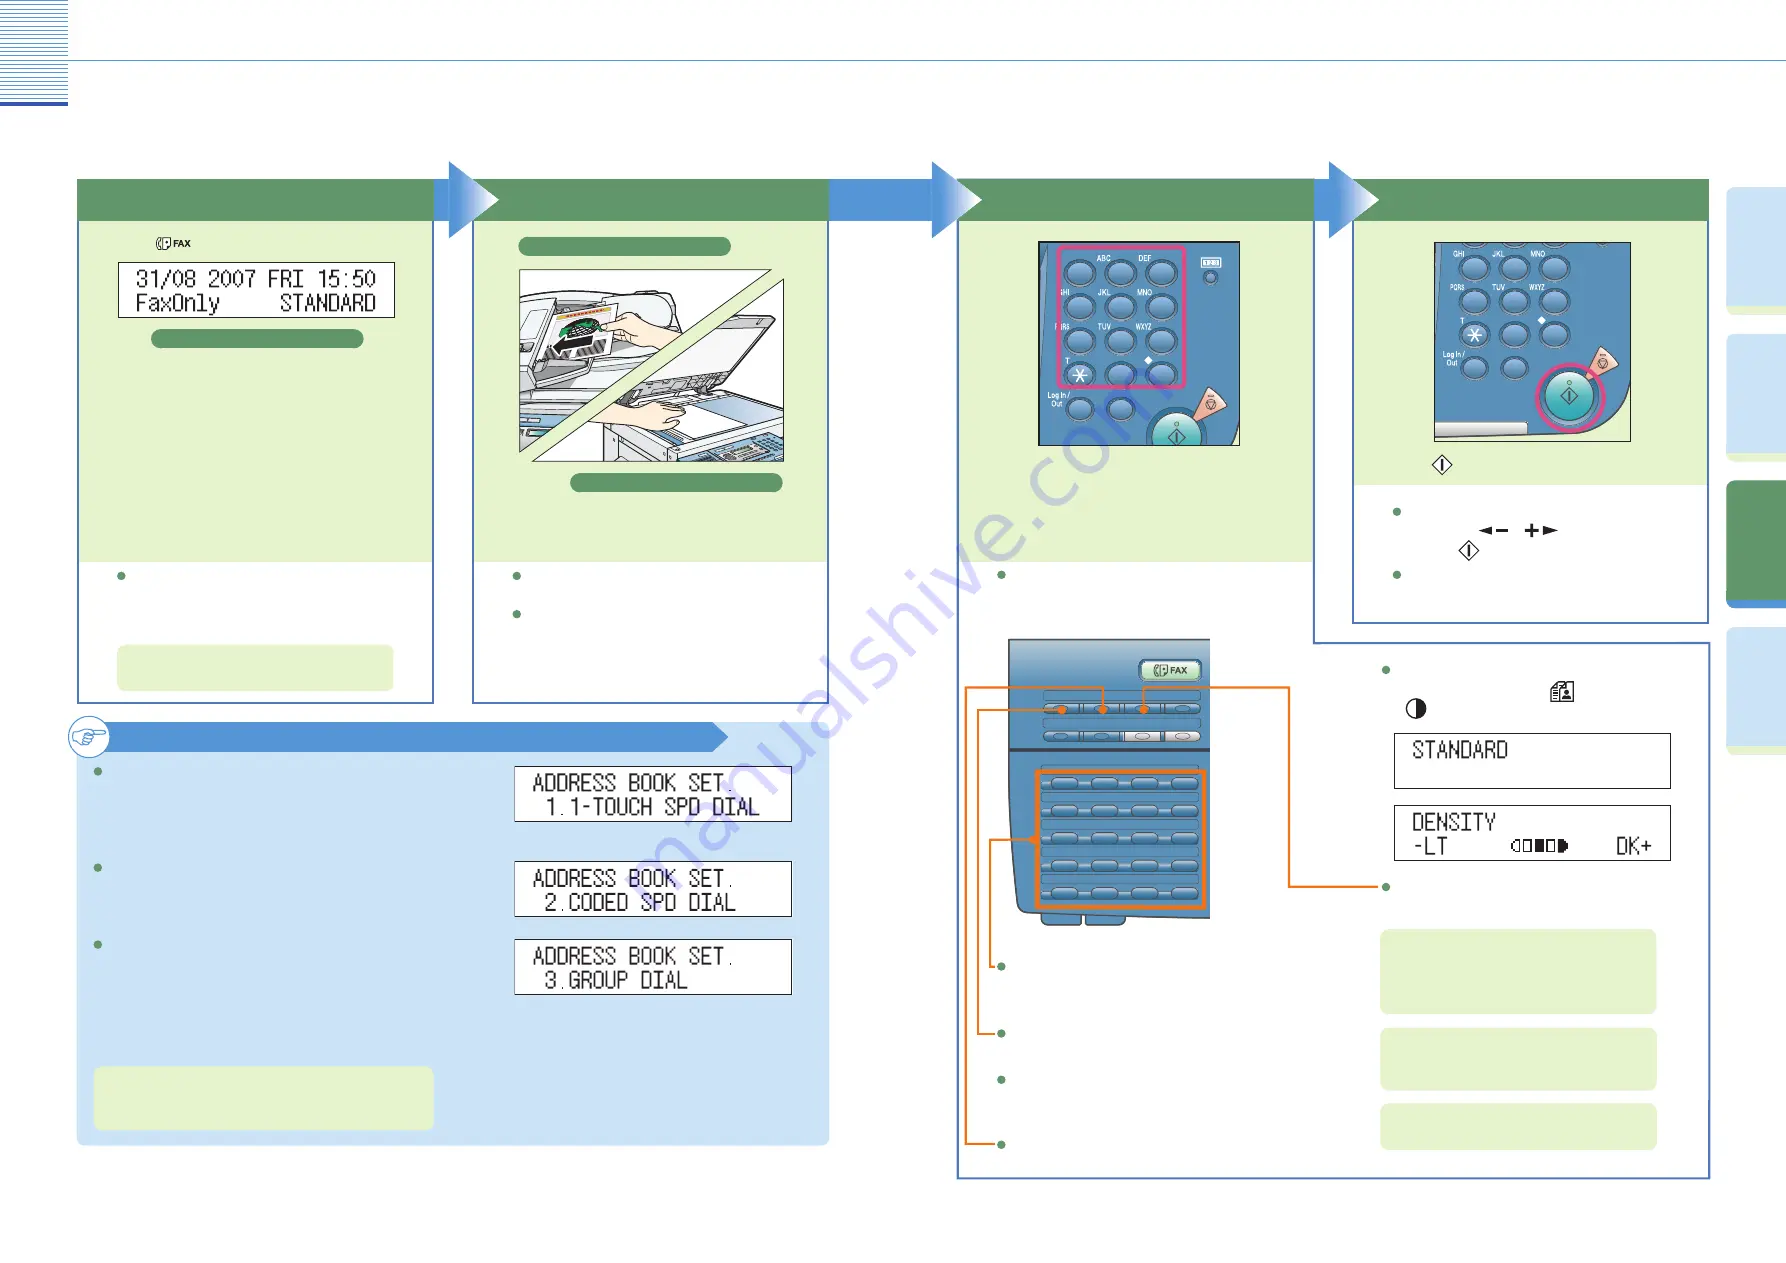
Sending a Fax
Sending a Fax
The following is an explanation of the basic procedure for sending a fax. Sending a fax is available only if the
optional Super G3 FAX Board is installed. For more information on the settings, see the references in each step.
Enter the Fax Number
Place Your Originals
You can select from three sending methods:
memory sending, direct sending, manual sending.
(See Chapter 2, “Basic Sending Methods,” in the
Facsimile Guide
)
Enter the fax number.
Start Sending the Fax
When faxing is complete, remove your originals.
Prepare
Place your originals.
To scan bound or irregular sized originals, place
them on the platen glass.
After placing originals on the platen glass, make
sure to close the feeder/platen cover.
Place on the platen glass
For more information on registering fax
destinations, see Chapter 2, “Basic Sending
Methods” in the
Facsimile Guide
.
For information on useful fax features, see p. 19
to p. 22.
To send a clear fax, set a high resolution. You can
set the resolution by pressing
[Image Quality]
or
[Density].
Registering a Destination
Before you can use one-touch speed dialing, you
need to register the recipients’ fax/telephone
numbers. You can register up to 60 numbers for one-
touch speed dialing.
Before you can use coded speed dialing, you need
to register the recipients’ fax/telephone numbers.
You can register up to 140 numbers for coded speed
dialing.
For more information on registering destinations in the
Address Book, see Chapter 2, “Basic Sending Methods” in
the
Facsimile Guide
.
By pressing [Address Book], you can also specify
destinations you have registered in advance.
By pressing the one-touch speed dialing keys, you
can also specify destinations you have registered
in advance.
By pressing the group dialing keys allocated to the one-
touch or coded speed dialing keys, you can also specify
destinations you have registered in advance.
For more information, see Chapter 2, “Basic
Operations,” in the
Reference Guide
.
Press
[Start].
Press
[Fax] to switch to the Fax mode.
If Department ID/User ID Management is set, it
is necessary to enter an ID and password. (If an
optional card reader is attached, insert a control
card.)
Before you can use group dialing, you need to
register the recipients’ fax/telephone numbers. You
can register up to 199 groups, which can include
one-touch speed dialing keys and/or coded speed
dialing codes. Each time you program a one-touch
speed dialing key or coded speed dialing code, the
amount of available group dials is reduced by one.
Dialing an overseas number may involve pausing
between certain digits of the number.
By pressing [Coded Dial], you can also specify
destinations you have registered in advance.
When <ORIGINAL SIZE> appears on the LCD
display, press
or
to select the size,
and press
[Start] again.
If [CONFIRM FAX NO.] is set <ON>, a
confirmation message appears when a number
for a new destination is entered from the
numeric keys.
Fax Standby Display
Place in the feeder
04
01
02
03
08
05
06
07
12
09
10
11
16
13
14
15
20
17
21~40
41~60
18
19
Hook
R
Direct TX
Stamp
Coded Dial
Delayed TX
Redial/Pause
Address Book
1
2
3
4
55
6
7
8
9
0
#
ID
C
1
2
3
4
55
6
7
8
9
0
#
ID
C


