Adjusting the feed amount
Adjusting the feed amount
Adjusting the Feed Amount Automatically
If printed images are affected by banding in different colors, adjust the amount that paper is fed. There are
two modes for adjusting the amount paper is fed,
Standard Adj.
and
Advanced Adj.
Use
Advanced
Adj.
if
Standard Adj.
does not eliminate streaks, or when using paper other than genuine Canon paper or
paper for purposes other than checking output. When using highly transparent media not compatible with
automatic adjustment, you must adjust the feed amount manually. For instructions on manual adjustment, see
“Adjusting the Feed Amount Manually”. (→P.657)
Note
•
To adjust the measurement scale and ensure accuracy (so that lines in CAD drawings are printed
at exactly the right length, for example), specify the amount of paper stretching or shrinkage when
adjusting the feed amount. (→P.661)
•
This may take some time, depending on the type of paper.
Important
•
Use paper of the same type and size for adjustment as you will use for printing.
•
To apply the results of adjusting the feed amount in printing, you must rst set
Feed Priority
to
Band
Joint
. Note that if you select
Automatic
, the results of adjustment will only be applied in printing if you
set
Print Priority
in the printer driver to
Image
or
Ofce Document
. (→P.241)
Follow these steps to change the
Feed Priority
setting.
1.
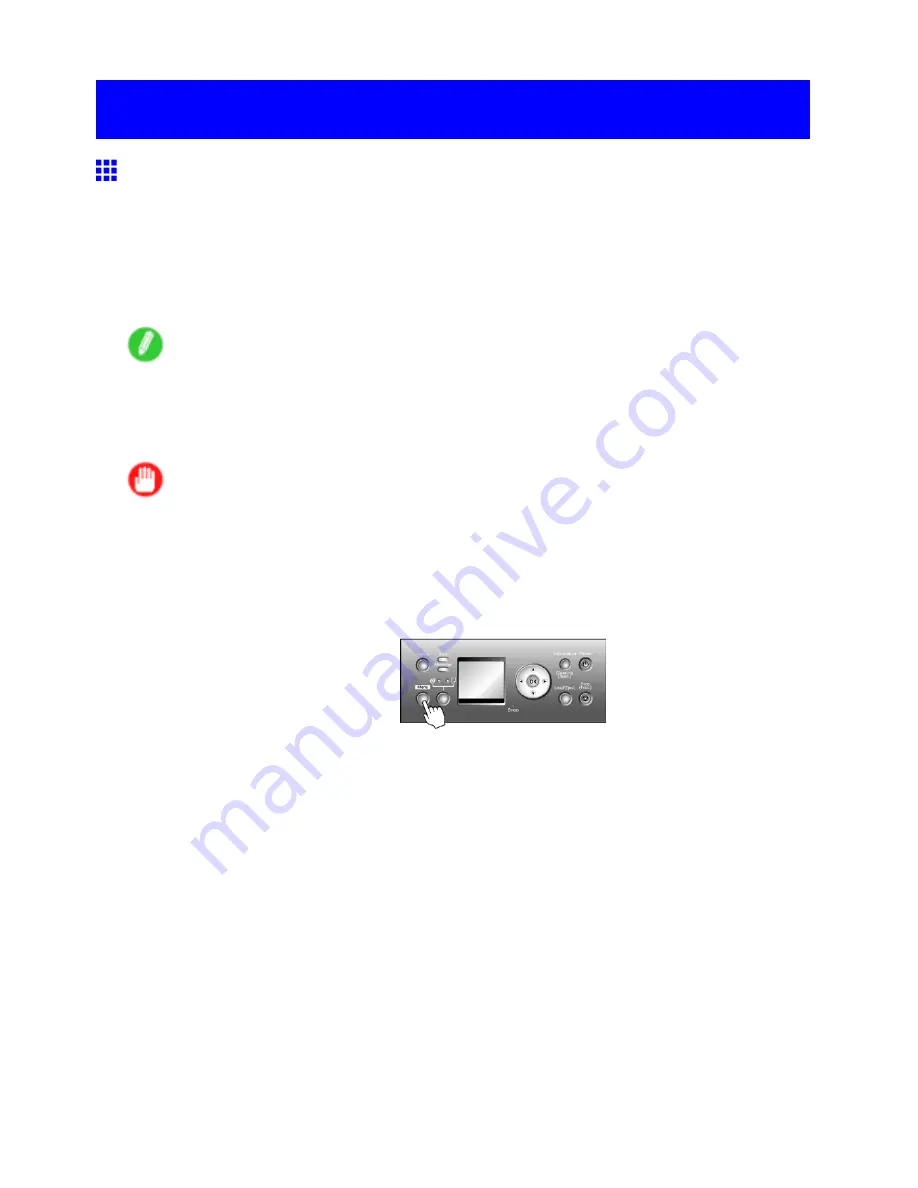
Press the
Menu
button to display
MAIN MENU
.
2.
Press
▲
or
▼
to select
Paper Details
, and then press the
►
button.
3.
Press
▲
or
▼
to select the type of paper, and then press the
►
button.
4.
Press
▲
or
▼
to select
Feed Priority
, and then press the
►
button.
5.
Press
▲
or
▼
to select
Band Joint
, and then press the
OK
button.
654 Maintenance
Summary of Contents for imagePROGRAF IPF9100
Page 1: ...User Manual ENG Large Format Printer ...
Page 2: ......
Page 731: ...Cleaning the Printer 4 Plug the power cord into the outlet Maintenance 717 ...
Page 811: ......
Page 812: ... CANON INC 2007 ...


