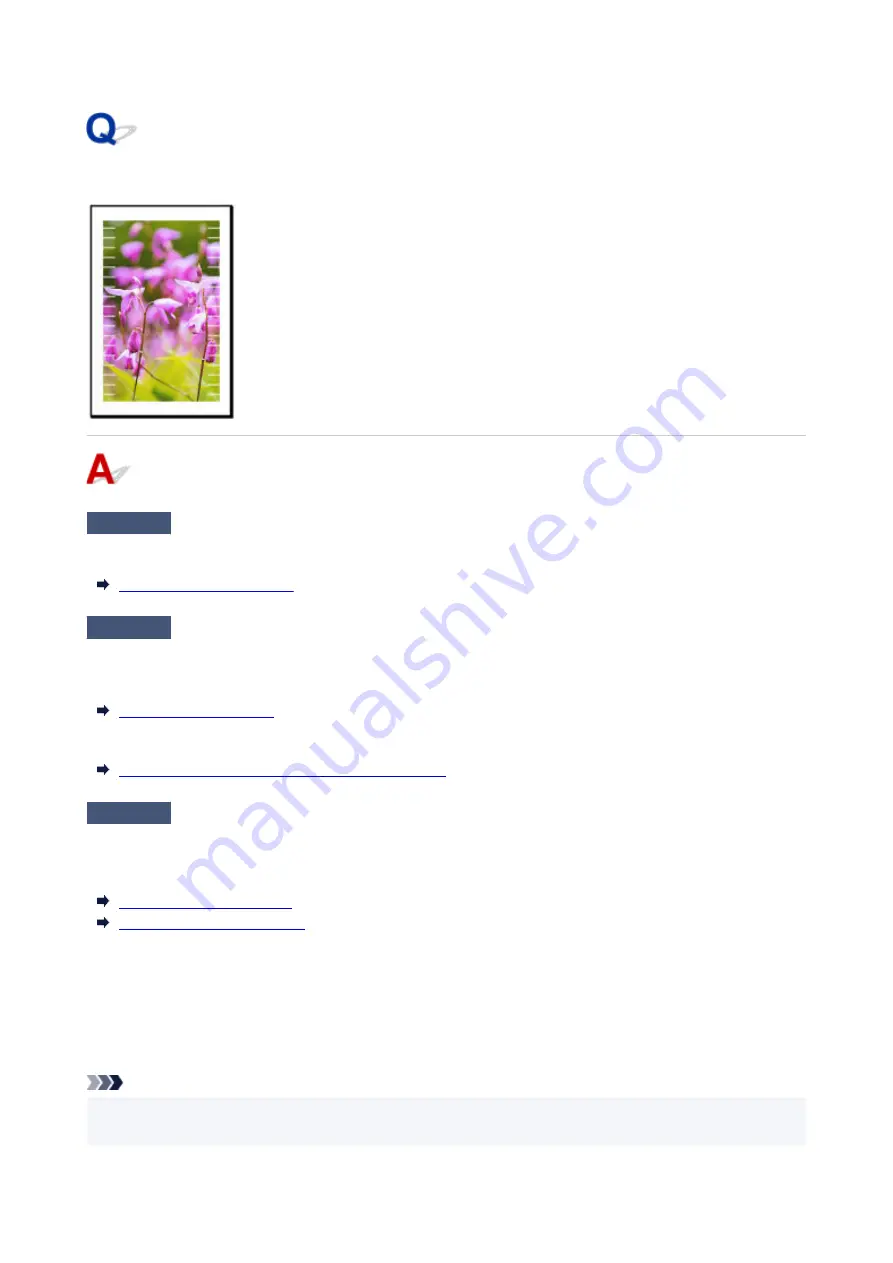
Image edges are blurred or white banding occurs
Check 1
Paper may be gripped too strongly over the platen.
Set a lower
Transport unit vacuum strength
in the touch screen menu.
Check 2
Check if the Print head is in the right position.
For detailed printing of small text or fine lines on glossy or semi-gloss photo paper or proof paper, etc., set the
Print head to the optimal height and then adjust the position of the Print head.
Setting a lower value for
Paper thickness (head height)
in the touch screen menu may resolve the problem.
Troubleshooting Paper Abrasion and Blurry Images
Check 3
Is the media type specified in the printer driver the same as the media type
loaded in the printer?
When printing with the media type specified in the printer driver, load the specified media type in the printer.
Loading Rolls in the Printer
Loading Sheets in the Printer
When printing with the media type specified in the printer driver, load the specified media type in the printer.
1. To stop printing, press the
Stop
button.
1.
2. Change the paper type in the printer driver and try printing again.
2.
Note
• When
Auto (Use Printer Settings)
is selected for the media type, printing is performed with the media
•
type loaded in the printer.
668
Summary of Contents for GP200
Page 1: ...GP 300 GP 200 GP 5300 GP 5200 Online Manual English ...
Page 17: ...B20A 876 B510 877 ...
Page 50: ...Optional accessories Stand Roll Holder Set 50 ...
Page 59: ...Start printing Important Do not move the release lever during printing 59 ...
Page 68: ...Note The screen may differ slightly depending on the model you are using 68 ...
Page 70: ...Pausing Printing Pausing Printing 70 ...
Page 86: ...86 ...
Page 117: ...5 Tap ON 5 117 ...
Page 127: ...127 ...
Page 128: ...Basket Using the Basket 128 ...
Page 192: ...Data on the hard disk are erased 192 ...
Page 222: ...3 Select OK 3 The resending setting is completed 222 ...
Page 282: ...Adjusting Feed Amount Adjusting Feed Amount Adjusting Vacuum Strength 282 ...
Page 298: ...Note For instructions on replacing the ink tanks see Replacing Ink Tanks 298 ...
Page 306: ...306 ...
Page 330: ...Cutter Blade Cutter Blade Replacing the Cutter Blade 330 ...
Page 338: ...Related Topic Cleaning the Print Heads 338 ...
Page 344: ...344 ...
Page 355: ...Specifications Specifications Print Area 355 ...
Page 411: ...Printing with ICC Profiles 411 ...
Page 430: ...Note Selecting Enlarged Reduced Printing changes the printable area of the document 430 ...
Page 487: ...Printing from Printer Printing Data Saved on USB Flash Drive 487 ...
Page 505: ...Printer Driver Windows Printer Driver macOS Printer Driver 505 ...
Page 519: ...In such cases take the appropriate action as described 519 ...
Page 567: ...3 Select Save in Job Box in Output Method 3 567 ...
Page 568: ...568 ...
Page 580: ...5 In the list select the target job 5 6 Select Edit 6 7 Select Delete 7 8 Select Yes 8 580 ...
Page 595: ...Media Type Selection does not Match Loaded Media Type 595 ...
Page 620: ...620 ...
Page 655: ...Cleaning the Printer Exterior 655 ...
Page 657: ...Move the printer to a different environment or let the paper dry before rolling it 657 ...
Page 728: ...1201 Cause The ink tank cover is open What to Do Close the ink tank cover 728 ...
Page 729: ...1210 Cause The ink tank cover is open What to Do Close the ink tank cover 729 ...
Page 755: ...1500 Cause The ink in the ink tank is running low What to Do Prepare a new ink tank 755 ...
Page 828: ...Contact your Canon dealer for assistance 828 ...


