CHAPTER 5 TROUBLESHOOTING
5-2
COPYRIGHT © 1999 CANON INC.
CANON FINISHER - D1 REV.0 FEB. 1999 PRINTED IN JAPAN (IMPRIME AU JAPON)
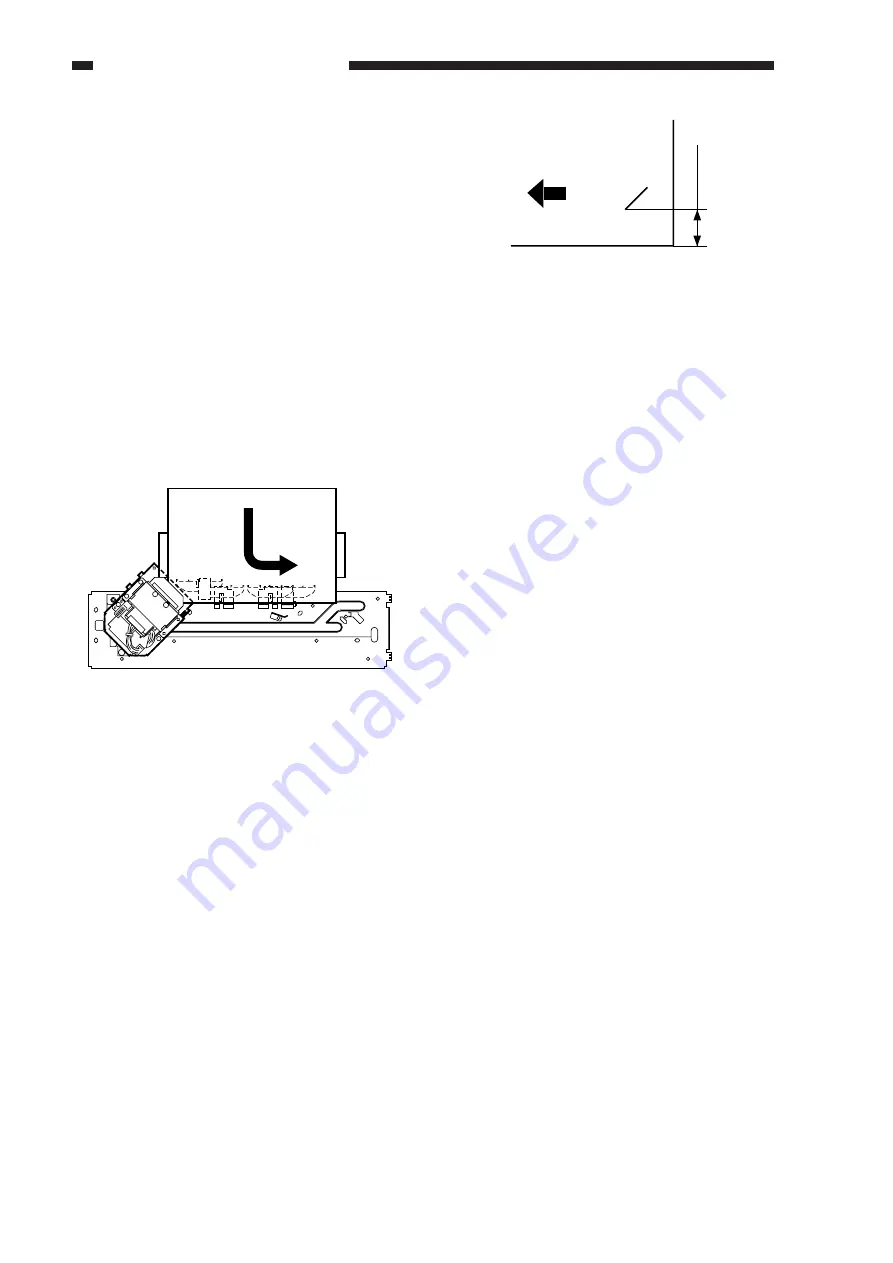
5 ±2 mm
Direction of delivery
Figure 5-104
6) Press SW104 once so that you may enter a
new adjustment value.
• The stapler will return to the home posi-
tion once, and then will return to the sta-
pling position. LED101 will indicate the
present value.
7) Based on the result of a check, press
SW105 or SW106 on the finisher control-
ler PCB.
• A single press on SW105 moves the sta-
pling position to the front by about 0.35
mm. LED101 indication, on the other
hand, will increment by '1' in the positive
(+) direction.
• A single press SW106 moves the stapling
direction to the rear by about 0.35 mm.
LED101, on the other hand, will incre-
ment by '1' in the negative (-) direction.
8) Insert a stack of several A4 or LTR sheets
into the processing tray as in step 3).
9) Press SW104 so that the new adjustment
value is stored.
• Stapling occurs automatically so that you
can check the stapling position. LED 101
will indicate '0'.
10) Turn off the power.
11) Shift all bits of SW103 to OFF.
12) Turn on the power, and move down the
swing guide.
2) Press SW104 on the finisher controller
PCB.
• The swing guide of the machine will open
and, at the same time, the front jogging
plate and the rear jogging plate will move
to the home position. Thereafter, the front
jogging plate and the rear jogging plate
will move to the front 1-point stapling po-
sition.
At the same time, the stapler moves to the
front 1-point stapling position. Further,
LED101 on the finisher controller PCB
will indicate the present value, which is
between '-12' and '14'.
3) Insert a stack of A4 or LTR sheets into the
processing tray. At this time, butt the rear
edge of the stack against the rear jogging
plate.
Figure 5-103
• If the gap between the front jogging plate
and the front edge of the stack is 1 mm or
more, turn off the power; then, shift all
bits of SW103 to OFF, and stop the ad-
justment work. Adjust the alignment
width once again, and start the adjustment
of the stapling position.
4) Press SW104 on the finisher controller
PCB.
• The stapler will staple the stack, and
LED101 will indicate '0'.
5) Remove the stack, and check the position
of the staple against the standard. If the
position is correct, end the adjustment
work, i.e., turn off the power, shift all bits
of SW103 to OFF, and then turn on the
power once again.
If you need to adjust the stapling position,
go to the next step.


