25
Editing an Image
This section explains how to adjust an image using the tool palette in the
edit window.
You can easily restore an image to its original condition with the [
]
button even if you have made the wrong adjustment. Try out the various
adjustments.
How to make adjustments using the [RAW] tool palette functions, and
how to adjust automatically with the [RGB] tool palette are explained in
this section.
¿
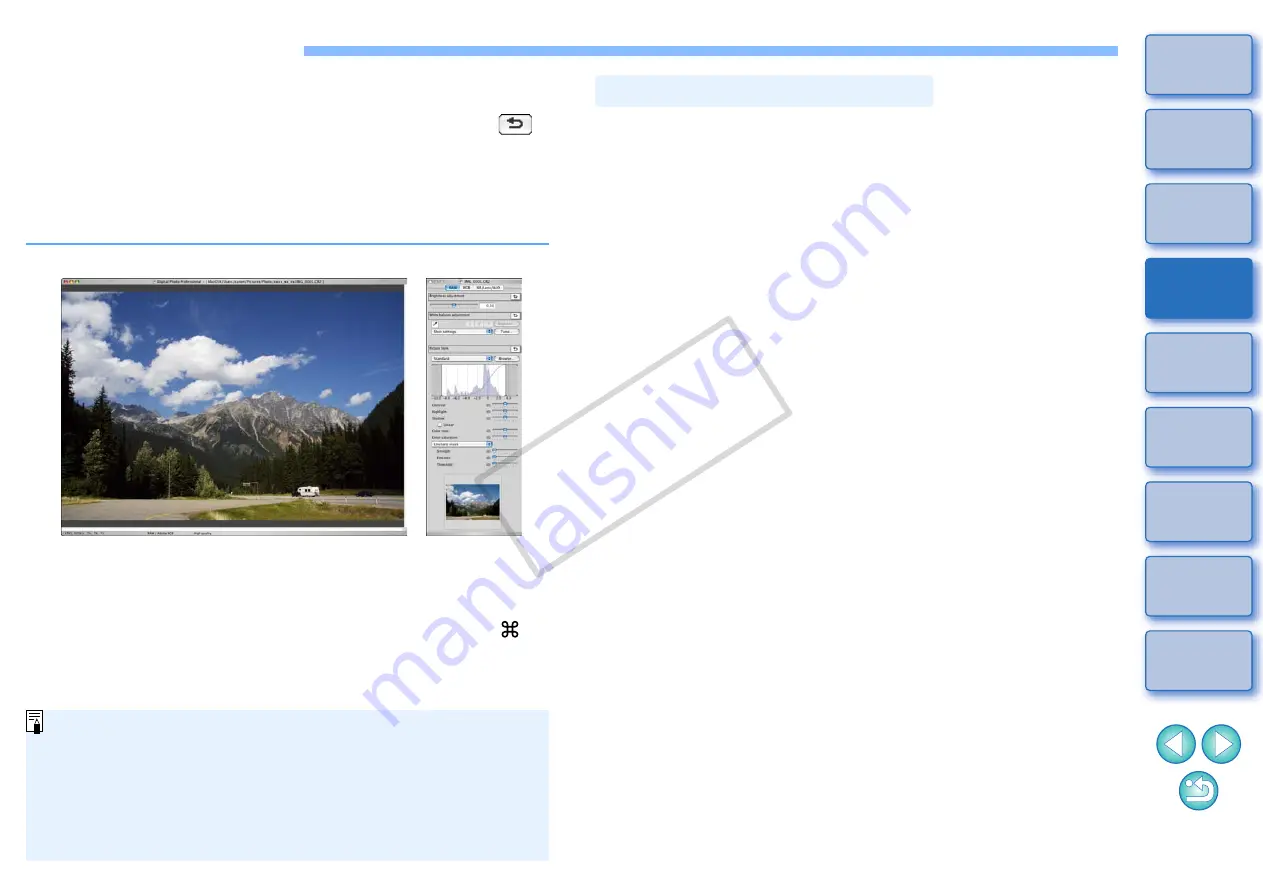
The image changes in real time according to adjustments
performed with the tool palette.
O
To revert to the condition before the last operation performed on
the tool palette, select [Undo] in the [Edit] menu or press <
> +
<Z> keys.
Edit window
Tool palette
O
You can rotate an image in the [Adjustment] menu.
O
You can adjust an image while comparing the image before and
after adjustment
O
You can synchronize multiple images and edit while comparing
them
O
Refer to
for a list of edit window functions, and
for a
list of tool palette functions.
You can adjust images with the tool palette by switching between the
[RAW], [RGB] and [NR/Lens/ALO] tab sheets according to your editing
requirements.
Adjustments similar to those that can be performed with the functions of
your camera can be performed using the functions of the [RAW] tool
palette. When the camera settings were incorrect during shooting, or
when the shooting result is not what you visualized, you can get closer
to what you envisaged with the [RAW] tool palette which is similar to the
camera.
All functions other than [RGB] tool palette automatic adjustment, and
each function of the [NR/Lens/ALO] tool palette are explained in
Chapter 3.
Editing with the Tool Palette in the Main Window
By clicking the [Tool palette] button
in the toolbar on the main
window, the same tool palette that appears in the edit window is
displayed and you can edit images.
About the RAW Tool Palette
COP
Y


