


37
DV Messenger
E
7.
•••••••••••••••••••••••••••••••••••••••••••••••••••••••••••••••••••••••••••••••••••••••••••••
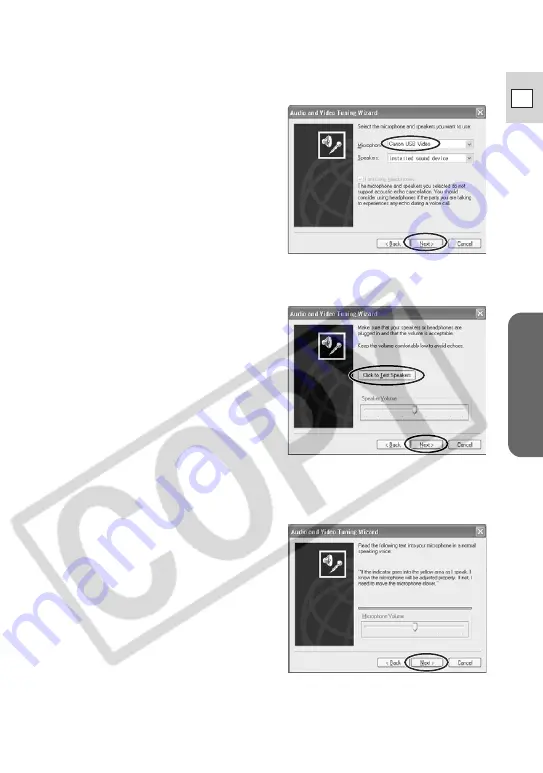
Set [Microphone] and click [Next].
• If you are connecting a Canon
camcorder using a USB cable,
select [Canon USB Video]. If you
are connecting a Canon camcorder
using a DV cable, select [Canon DV
Device].
• The installed sound device appears
for [Speaker]. Proceed with the
setting unchanged.
8.
•••••••••••••••••••••••••••••••••••••••••••••••••••••••••••••••••••••••••••••••••••••••••••••
Click [Click to Test Speakers], adjust the volume and click
[Next].
• Clicking [Click to Test Speakers]
plays back a test sound.
• Move the volume lever with the
mouse to adjust the speaker
volume.
9.
•••••••••••••••••••••••••••••••••••••••••••••••••••••••••••••••••••••••••••••••••••••••••••••
Check if the microphone volume is correctly indicated and click
[Next].
• In NETWORK or CAMERA mode:
Speak into the microphone of your
camcorder and check if the volume
indicator operates correctly.
• In PLAY (VCR) mode: Play back the
tape and check if the volume
indicator operates correctly.
• Sound input with the camcorder via
IEEE1394 or USB connection cannot
be adjusted with the volume lever.
• The volume indicator will not
operate when the camcorder is in
CARD CAMERA mode.


