background image

PRECAUTIONS

1

Make sure that your documents are within the acceptable scanning sizes. 

Width: 2.2 – 12 inches (55 – 305 mm)

Length: 2.8 – 17 inches (70 – 432 mm)  

Documents up to 39.4 inches (1000 mm) can be scanned in the extra long mode.

Thickness: 0.06 – 0.15 mm (auto feed), 0.05 – 0.3 mm (manual feed)

Weight: 16 – 32 lb. bond (60 – 120 g/m

2

)

If there is any wet ink or paste on the document, wait until the ink or paste has thoroughly

dried before scanning the document.

Always clean the scanning rollers after scanning a document that has pencil writing on it.  

Scanning a double-sided document printed on thin paper may result in an image in which

elements from the opposite page show through. To avoid this, adjust brightness in the

application software. 

If you scan documents with a rough surface, friction between the documents may cause a

feeding error. If this happens, select manual feeding and scan the documents one by one.  

When you scan a batch of NCR documents, make sure they are not stuck together. 

Refer to Chapter 4.1 of the DR-6080/9080C Instructions manual for further details on acceptable document types and how
to place documents on the scanner. 

■ 

DOCUMENT TYPES TO AVOID

The Canon DR-6080 and DR-9080C are compact desktop document scanners that
offer rapid scanning, a large document feeding capacity, and reliable paper
feeding. To ensure optimum performance with either unit, please follow the
recommendations below.

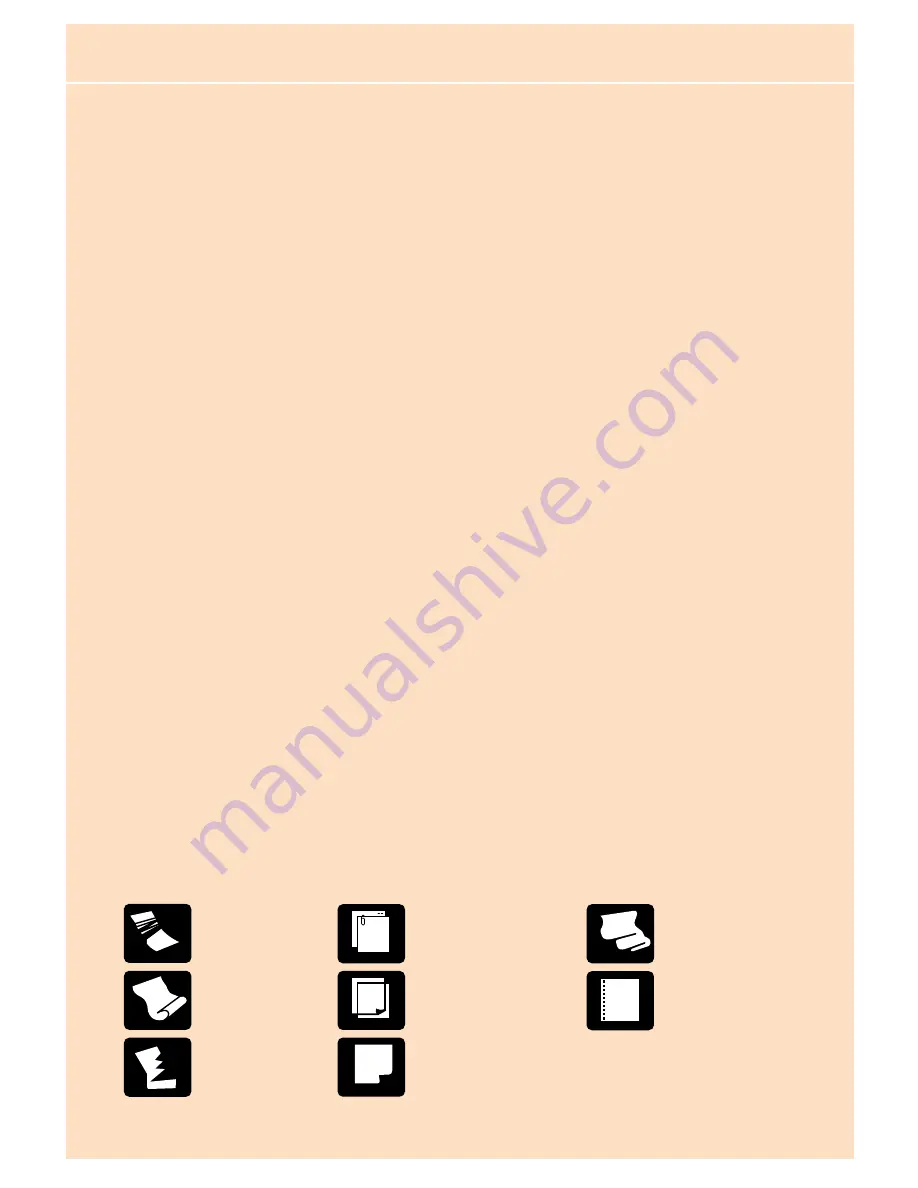
To avoid paper jams, damage to documents, and scanner malfunction, do not feed the following types of documents.
Instead, make a copy of the document and scan the copy. 

Wrinkled or
creased paper

Curled paper

Torn paper

Paper with clips
or staples

Carbon-backed paper

Coated paper or fax
recording paper

Onion skin or
other thin paper

Paper with binding
holes

Summary of Contents for 9080C - DR - Document Scanner

Page 1: ...SCANNING BASICS USEFUL FEATURES TROUBLESHOOTING QUICK REFERENCE DOCUMENT SCANNER ...

Page 2: ...n between the documents may cause a feeding error If this happens select manual feeding and scan the documents one by one When you scan a batch of NCR documents make sure they are not stuck together Refer to Chapter 4 1 of the DR 6080 9080C Instructions manual for further details on acceptable document types and how to place documents on the scanner DOCUMENT TYPES TO AVOID The Canon DR 6080 and DR...

Page 3: ...9080C for document scanning first pull out the document tray extension from the scanner s lower section the document tray If the document extends beyond the edge of the document tray then also open the extension wire 2 The purpose of this Quick Reference is to provide a concise overview of the DR 6080 9080C It is designed to supplement not replace the Instructions manual included with the scanner ...

Page 4: ...ts If the document you are scanning is short use the stopper without opening the document eject tray extension Lift up the stopper and adjust its position to match the length of the document If the document being ejected drifts to the left or right then adjust the position of the document eject guides These are located on either side of the scanner s upper tray the document eject tray Document eje...

Page 5: ... Panel Select this mode when you need to continuously scan multiple batches of documents and the batches differ from one another in the size of the documents they contain Scanning starts by pressing the scanner s built in Start key Automatic Select this mode to continuously scan multiple batches of documents that are all the same size The scanner will detect documents placed on its Document Tray a...

Page 6: ... T E P 5 Adjust the document guides to the width of the documents Panel mode To scan more documents reload the document tray and press the Start key To end scanning press the Stop key S T E P 6 Use your application software to instruct scanning to start In Standard mode scanning will begin at this point In Panel mode the Start key will change color from red to green Press the Start key STANDARD FE...

Page 7: ...ly reload the document tray Scanning will continue automatically To end scanning press the Stop key S T E P 6 Prepare your documents by aligning the batch so that its edges are even Then place the batch on the document tray with the documents face up The top edge of the batch should be placed against the back of the document tray Scanning will start automatically when the sensor on the document tr...

Page 8: ...ation panel The document tray will rise S T E P 6 Use your application software to instruct scanning to start The page will now be scanned To continue scanning place one page on the document tray at a time To end scanning press the Stop key The document tray will stay up as long as the Bypass Mode key is lit After scanning has been completed press the Bypass Mode key to lower the document tray MAN...

Page 9: ... separated without interrupting the scan Two patch code patterns are provided DOUBLE FEED DETECTION This function automatically detects whether two or more pages have been fed into the scanner at the same time An error code is displayed when a double feed occurs Two detection methods are provided detection by page length and ultrasonic detection They can be used separately or together STAPLE DETEC...

Page 10: ...SALES REVIEW Summary of regional performance profiles As mentioned in the previous page the performances of subsidiaries operating in the three major marketing regions Asia Europe the Americas have diverged only slightly over the past five years These subsidiaries each demonstrate a different performance profile and these difference can be accounted for in part by the contrasting economic conditio...

Page 11: ...chinery Reefer containers for the transportation of refrigerated cargo is one of our most highly specialized areas Standard equipment on this kind of vessel includes temperature and humidity controls for controlling atmosphere The last category open containers is reserved for over sized cargo which does not fit into standard containers This group is further divided into following two types open to...

Page 12: ...monitor to see which document was last scanned before continuing to scan S T E P 2 Press the open close button to open the upper scanner Lift the upper scanner gently until it stops and locks in the open position S T E P 3 Remove the jammed paper from inside the scanner S T E P 4 Carefully close the upper scanner Do not force the upper scanner down Doing so might damage the scanner Once the upper ...

Page 13: ...ted up slightly for you to remove the document S T E P 2 Press the open close button to open the upper scanner Lift the upper scanner slightly S T E P 3 Remove the jammed paper from the paper exit section S T E P 4 Press the upper scanner down firmly on both sides to close it If you press the upper scanner down only on one side the opposite side will not fully close Make sure that you hear the upp...

Page 14: ... the imprinter cover and Endorser ED600 cover C02 The imprinter cover is open with the optional imprinter installed Close the imprinter cover C03 The upper scanner and imprinter cover are open with the optional imprinter installed Close the upper scanner and imprinter cover C05 The upper scanner and Endorser ED600 cover are open with the optional Endorser ED600 installed Close the upper scanner an...

Page 15: ...ent again Staple detected document feed stopped Open the upper scanner and remove the document Check to see if the document was scanned correctly and scan the document again J18 Detected a skewed document document feed stopped Open the upper scanner and remove the document Check to see if the document was scanned correctly and scan the document again P00 Document detected in the scanner when the p...

Page 16: ...CANON Customer Service Centers CANON ELECTRONICS INC 2003 PRINTED IN JAPAN PUB CE CE 305 0104AB0 2 CE CE 305 ...

Reviews: