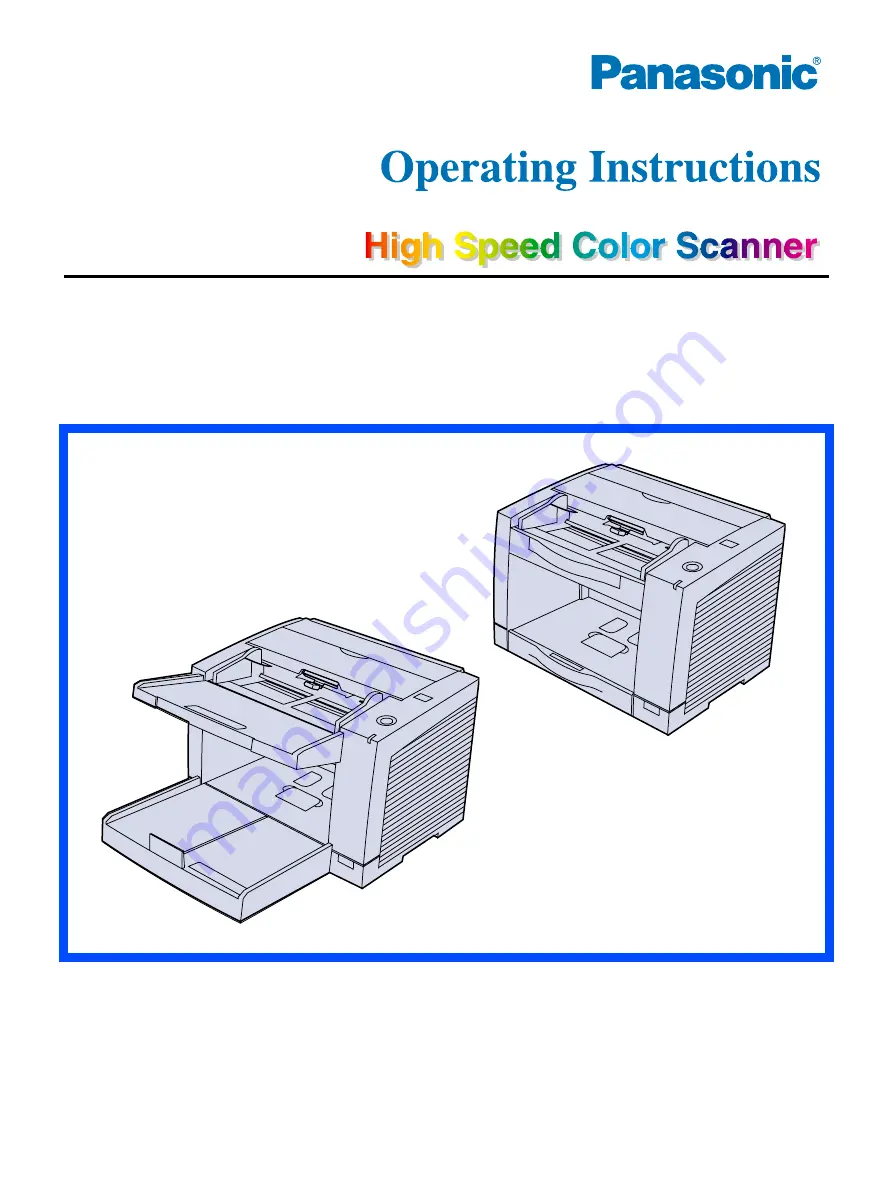
background image

Model No.

KV-S2048C
KV-S2028C
KV-S2046C / S2046CU / S2046CA
KV-S2026C / S2026CU / S2026CA

KV-S2048C
KV-S2028C
KV-S2026C
KV-S2026CU
KV-S2026CA

KV-S2046C
KV-S2046CU
KV-S2046CA

These instructions contain information on operating the scanner. Before reading these
instructions, please read the Installation Guide enclosed with this unit.

Keep the CD-ROM in the protective case. Do not expose the CD-ROM to direct sunlight or 
extreme heat and do not scratch or smudge the surface of the CD-ROM.

Summary of Contents for KV-S2048C

Page 1: ...046C KV S2046CU KV S2046CA These instructions contain information on operating the scanner Before reading these instructions please read the Installation Guide enclosed with this unit Keep the CD ROM...

Page 2: ...orated in the United States and or other countries Pentium is a trademark or registered trademark of Intel Corporation or its subsidiaries in the United States and other countries Each company s name...

Page 3: ...g paper jams from the feeding section 22 Cleaning the Unit 24 Outside of the scanner 24 Inside the scanner 24 Cleaning the reflector sheet for the ending sensor 24 Cleaning the rollers and sensors 25...

Page 4: ...ement fuse cover can be purchased from your local Panasonic Dealer If the fitted moulded plug is unsuitable for the socket outlet in your home then the fuse should be removed and the plug cut off and...

Page 5: ...ed and that the installation is completely safe For your safety if in any doubt about the effective grounding earthing of the power point consult a qualified electrician If the plug cannot be inserted...

Page 6: ...time switch it off and unplug it If an unused unit is left connected to a power source for a long period degraded insulation may cause electric shock current leakage or fire CAUTION Do not position th...

Page 7: ...7 KV S2048C KV S2028C KV S2026C S2026CU S2026CA KV S2046C S2046CU S2046CA Caution Labels For Your Safety...

Page 8: ...ng Paper Do not store the roller cleaning paper in direct sunlight or in a place with temperature over 40 C 104 F Only use the roller cleaning paper to clean the rollers and scanning area If you need...

Page 9: ...iness card stopper Exit tray Exit stopper ADF door ADF door release STOP START button LED Radiation vent Power switch Business card guides Imprinter door for KV S2048C only AC inlet Power cord Plugs v...

Page 10: ...tray Business card stopper Exit extension tray Exit stopper Imprinter door ADF door ADF door release STOP START button LED Radiation vent Power switch Business card guides Exit tray DIP switch AC inle...

Page 11: ...wered on even after the host computer is powered on About LED LED indicates the status of the scanner as follows 1 The rollers need to be cleaned or replaced 1 2 Check the status of the scanner using...

Page 12: ...orrectly The scanner is provided with a DIP switch for the SCSI ID No setting and the terminator setting SCSI ID Setting SCSI Terminator Setting ID No Switch Remarks 2 1 0 0 OFF OFF OFF 1 OFF OFF ON 2...

Page 13: ...the ISIS driver is required The control sheets are stored as PDF files in the CD ROM provided with the scanner For use them print the control sheets in the same size as the document pages to be scann...

Page 14: ...on software double click on CDRun exe in the root directory to manually start the installation routine then click OK 4 Select your scanner 5 Select the Complete from the Installation list 6 Follow the...

Page 15: ...e containing the installation software double click on CDRun exe in the root directory to manually start the installation routine then click OK 4 Select your scanner 5 Select the All Drivers Utilities...

Page 16: ...e double click on CDRun exe in the root directory to manually start the installation routine then click OK 4 Select your scanner 5 Select the Custom from the Installation list 6 Select a driver an uti...

Page 17: ...the CD ROM can be viewed using the Adobe Reader 1 Insert the CD ROM into your CD DVD drive on your computer 2 If you have a feature called Autorun activated this will start the installation process au...

Page 18: ...paper Extremely smooth shiny paper or paper that is highly textured Carbonless paper Creased or ripped paper Coated paper When documents cannot be scanned properly try to change the resolution or the...

Page 19: ...hat have been stapled together or stacked together as in a file folder will need to be separated 1 Fan the stack of documents to sepa rate all the edges 2 Hold both ends and bend the docu ments as sho...

Page 20: ...s and the business card stopper Caution Do not use the business card guides and the business card stopper for larger documents than their acceptable size It will cause paper jams 5 Place the documents...

Page 21: ...ize of the documents 7 Set documents under the paper feed roller 1 Lift the lever of the paper feed roller as shown in the figure 2 Push documents in the direction of the arrow until they stop under t...

Page 22: ...ed sheet according to the following procedure Removing paper jams from the feeding section 1 Remove all documents from the feed tray 2 Push the ADF door release to open the ADF door 3 Remove the jamme...

Page 23: ...llers are installed properly before closing the ADF door If the sensor rollers are removed re attach them Refer to page 34 5 Close the ADF door When you close the ADF door close it securely until the...

Page 24: ...rst Clean the rollers and sensors if paper jamming or multiple sheet feeding occurs frequently Refer to pages 25 26 Clean the CIS glasses and sensor rollers when lines appear on the scanned images Ref...

Page 25: ...ase use the roller cleaning paper immediately after opening the bag Before using the roller cleaning paper please read the safety information on the Operation Manual enclosed with the roller cleaning...

Page 26: ...e on the right 4 Make sure that the sensor rollers are installed properly before closing the ADF door If the sensor rollers are removed re attach them Refer to page 34 5 Close the ADF door When you cl...

Page 27: ...Cleaning the Unit 27 Cleaning the CIS glasses and sensor rollers 1 Turn the power off 2 Push the ADF door release to open the ADF door...

Page 28: ...er cleaning paper If the sensor rollers are removed while cleaning re attach them after cleaning 4 Close the ADF door When you close the ADF door close it securely until the door is locked Sensor roll...

Page 29: ...door release to open the ADF door 3 Push the two green levers down at both ends of the paper feed roller mod ule to unlock the paper feed rollers When moving the green levers do not apply pressure in...

Page 30: ...e new paper feed roller mod ule with its gear on the right 1 Hang both ends of the paper feed roller module 2 While slightly lifting the paper feed roller module pass the claw along the groove of the...

Page 31: ...the direction of the arrows until they click into place After installing the paper feed roller mod ule confirm that the feed rollers can be moved lightly in vertical direction 7 Close the ADF door Whe...

Page 32: ...e 1 Turn the power off 2 Push the ADF door release to open the ADF door 3 Remove the double feed prevention roller cover 4 Remove the double feed prevention roller module in the direction of the arrow...

Page 33: ...holder 6 Close the double feed prevention roller cover 7 Close the ADF door When you close the ADF door close it securely until the door is locked 8 Clear the roller replacing counter with the User U...

Page 34: ...elease Match the groove to the guide Push the roller and confirm the sensor is locked by the springs on both sides Re attach the sensor roller for front scanning Attach the longer roller to the unit b...

Page 35: ...ng adjustment Before proceeding be absolutely sure to thoroughly clean the CIS glasses transport path drive rollers free rollers and sensor rollers using the roller cleaning paper If the shading adjus...

Page 36: ...air the unit The scanner should be handled in the correct horizontal position Materials Required Original Scanner Carton Packing Materials Shipping Tape and Scissors 1 Turn the power switch off and di...

Page 37: ...The scanner should be handled in the correct horizontal position Materials Required Original Scanner Carton Packing Materials Shipping Tape and Scissors 1 Turn the power switch off and disconnect your...

Page 38: ...Note Dither and Error diffusion are executed by driver software or RTIV Image control Image emphasis 5 step Dynamic threshold Automatic separation Noise reduction Deskew Cropping Mirror image Monochr...

Page 39: ...19 0 lbs 8 5 kg 18 7 lbs Power requirement AC100 120 V 50 60 Hz AC220 240 V 50 60 Hz Power consump tion Maximum Scanning 1 A AC100 120 V 0 5 A AC220 240 V Minimum Standby 0 3 A AC100 120 V 0 2 A AC220...

Page 40: ...anner is the last device in the SCSI chain set the DIP switch of SCSI terminator to Enable If the scanner is not the last device in the SCSI chain set the DIP switch of SCSI terminator to Disable The...

Page 41: ...ectly See page 19 Vertical lines appear on the scanned document The CIS glasses are dirty Clean the CIS glasses See page 27 The sensor rollers are dirty Clean the sensor rollers See page 27 The scanni...

Page 42: ...ation 9 Custom installation 16 D DIP switch 9 10 12 Document guides 9 10 19 Double feed detection 38 Double feed detector 26 Double feed prevention roller 26 Double feed prevention roller cover 32 Dou...

Page 43: ...r module 32 Resolution 38 Roller cleaning paper 25 28 Roller exchange kit 39 S Scanning face 38 Scanning method 38 Scanning speed 38 SCSI connectors 9 10 SCSI setting 12 SCSI terminator 12 Sensor roll...

Page 44: ...nasonic U K Ltd Willoughby Road Bracknell Berkshire RG12 8FP Panasonic Marketing Europe GmbH Hagenauer Strasse 43 65203 Wiesbaden Germany For information of Compliance with EU relevant Regulatory Dire...

Reviews: