background image

34

How Low Ink Setting Works

The remaining ink volume display on the operation panel is a function that monitors how much ink is used, 
and indicates the remaining ink volume.

When you reset the ink counter, it will assume that the ink tank is full regardless of how much ink actually 
remains. The reset is the only way to match the counter value with an actual ink volume. Reset the ink 
counter when installing a new ink tank.

„

„

„

„

When the remaining ink volume is low;

The ink volume remaining in the indicated tank is low.  A new ink tank should be prepared.

„

„

„

„

How to Display Low Ink Correctly

• Reset the ink counter every time you install a new ink tank.

The ink counter cannot work correctly unless you synchronize it with the actual ink level. The 
ink counter can only be adjusted when it is reset at the time a new ink tank is installed.

• Do not reset the ink counter of an ink tank in use.

Synchronization of the counter and the actual ink level will not work properly.

If you did not reset the counter when you installed the current ink tanks, the low ink may not function 
correctly, until the next time you replace the ink tanks. Also, be sure to you treat both counters 
separately. Refer to the section “The ? mark is displayed beside the ink tank icon.” on page 36

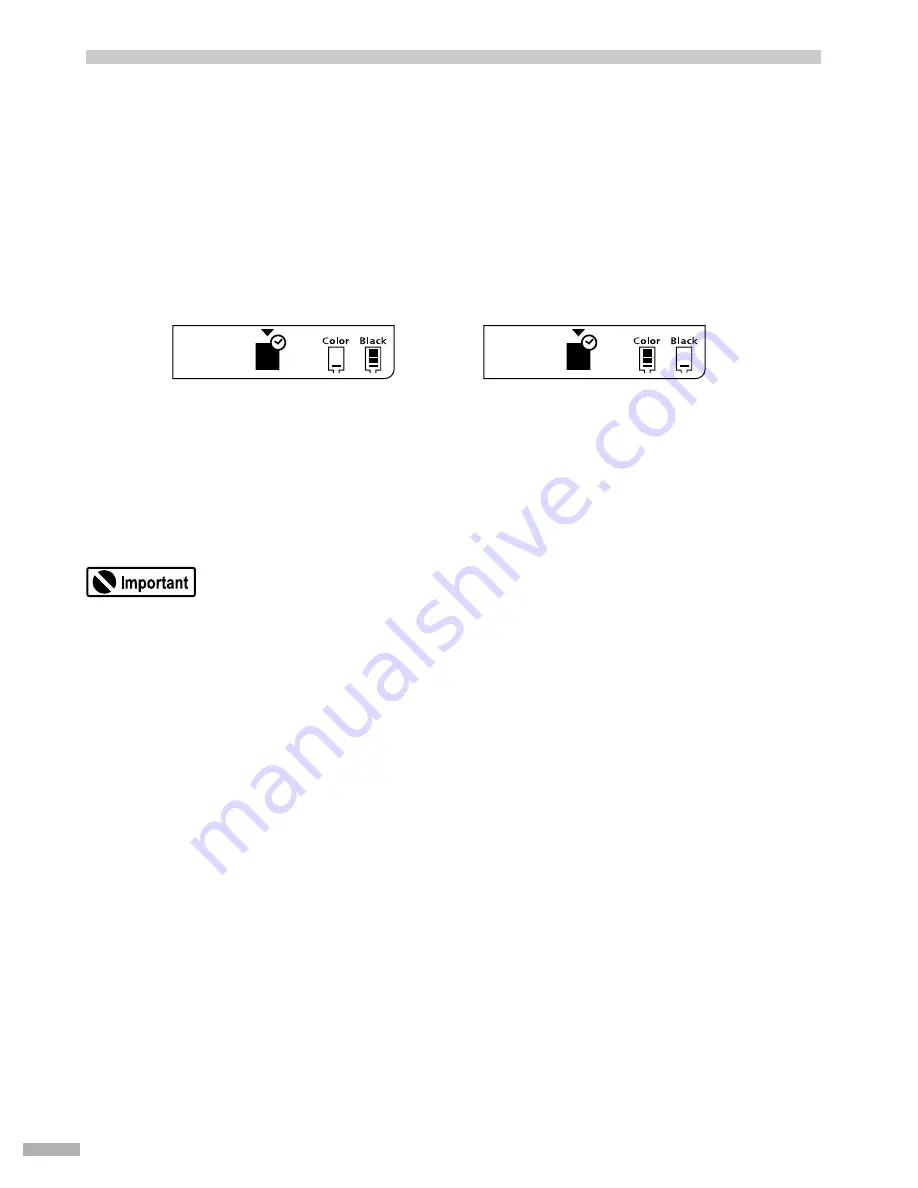
When the color ink volume is low;

When the black ink volume is low;

Summary of Contents for 475D - i Color Inkjet Printer

Page 1: ...BUBBLE JET PRINTER Direct Printing Guide Table of Contents Operation Panel Names and Functions 1 Printing Flow 4 Using a Memory Card 6...

Page 2: ...re a service call 3 Resume Button Press this button after resolving a printer problem to resume printing If this button is pressed during printing the printer aborts printing 4 Cursor Buttons These bu...

Page 3: ...when memory card reading is enabled and flashes while the memory card is being read Removing the memory card or turning off the printer while the Indicator Lamp is flashing can damage the data stored...

Page 4: ...k volume is low is displayed If the remaining level of either ink is unknown the mark is displayed beside its ink tank icon Replace the ink tank and reset the ink counter Then the mark will disappear...

Page 5: ...ting Flow Let s take a look at the procedure for printing images from the memory card inserted in the card slot of the printer Step 1 Turn on the printer Step 2 Load the paper Step 3 Insert the memory...

Page 6: ...Print One The image with the image number you have specified is printed DPOF This icon appears when the memory card inserted in the card slot contains DPOF information See Printing According to the S...

Page 7: ...through the adapter which is compatible with the above Images stored in a memory card not supported by the digital camera may fail in loading or damage For types of memory cards supported by the digit...

Page 8: ...hown left When Read write mode is selected in the Memory Card Utility Windows or BJ Utility Macintosh neither printing nor maintenance can be done After completion of the operation of the card slot us...

Page 9: ...SmartMedia card remove the card holding the exposed portion of the card with your fingers If you use a Memory Stick remove the card holding the exposed portion of the card with your fingers If you us...

Page 10: ...on the memory card together with their image numbers 1 1 1 1 Turn on the printer 2 2 2 2 Load the paper See Loading Paper on page 13 3 3 3 3 Insert the memory card in the card slot See Using a Memory...

Page 11: ...o modify a setting that has already been made keep pressing the OK button to display the setting 1 Using cursor buttons locate above the type of the printing media 2 Press the OK button 2 Press the Pr...

Page 12: ...Printing an Image List Print Index and confirm the image number of the image you want to print 3 3 3 3 Select Print One as a print mode 4 4 4 4 Specify the image number of the image you want to print...

Page 13: ...ressing the OK button to display the setting 2 Press the Print button The specified number of copies of the image with the specified image number will be printed 1 Using cursor buttons select a paper...

Page 14: ...or 17 lb Excessively thick paper more than 105 gsm or 28 lb non Canon branded paper Picture postcards Postcards affixed with photos or stickers Any type of paper with holes such as loose leaf Loading...

Page 15: ...ot touch the printed surface until the ink dries For specific drying times refer to the instructions packaged with your media 1 Insert the paper in the sheet feeder with print side facing up Load the...

Page 16: ...heets 101 6 x 152 4 mm Photo Paper Plus Glossy A4 10 sheet A4 Photo Paper Plus Glossy 4 x 6 101 6 x 152 4 mm up to 20 sheets 101 6 x 152 4 mm 5 x 7 127 x 177 8 mm up to 20 sheets 127 x 177 8 mm Set th...

Page 17: ...ick Start Guide 1 1 1 1 Ensure that the printer and the computer are turned on 2 2 2 2 Start the Photo Viewer 1 Insert the memory card in the card slot See Using a Memory Card on page 6 Print Image Di...

Page 18: ...the computer Keep pressing the Photo Viewer button on the operation panel for 3 seconds or longer Saving of the image data starts and the name of the file currently being saved and the name of the des...

Page 19: ...ard The images for which you specified Standard using the DPOF function are printed Print type Index The images for which you specified Index using the DPOF function are printed according to the index...

Page 20: ...When Plain Paper is selected as a media type borderless printing cannot be selected 7 7 7 7 Start printing 1 Confirm the settings To modify the setting made previously keep pressing the OK button to d...

Page 21: ...nd a Memory Card Utility Windows or BJ Utility Macintosh must have been installed in the computer If the utility is not installed install it following the installation procedure explained in the Quick...

Page 22: ...t no memory card is inserted in the card slot If a memory card is inserted in the card slot remove it See Removing a Memory Card on page 8 2 Select Applications from the Go menu The BJ Utility is disp...

Page 23: ...non Bubble Jet Direct compatible digital cameras or digital video camcorders Refer to Direct Printing for PictBridge compliant Digital Cameras for more information about PictBridge When you print dire...

Page 24: ...a and the printer 1 Ensure that the digital camera is turned off 2 Align the media on the right 3 Press the paper guide and slide it against the left side of the media 1 Load the media with the more g...

Page 25: ...digital video camcorder manual zBy operating the digital camera you can make the following prints You can make a standard print from the image displayed in the single display mode or in the index dis...

Page 26: ...Numbers and functions that can be selected on the maintenance mode are as follows 01 Printing the Nozzle Check Pattern on page 26 02 Print Head Cleaning on page 27 03 Print Head Deep Cleaning on page...

Page 27: ...nter 2 The Maintenance icon and 01 appear on the LCD 3 Press the OK button The nozzle check pattern is printed 1 Press the Maintenance button 2 White stripes in this pattern indicate that the print he...

Page 28: ...Do not perform any other operations until the print head cleaning finishes This takes about 50 seconds After print head cleaning finishes print the nozzle check pattern to verify that the print head n...

Page 29: ...te so simply wait until the Power lamp stops flashing After print head deep cleaning finishes print the nozzle check pattern to verify that the print head nozzles are clean See Printing the Nozzle Che...

Page 30: ...ree times to display 04 on the LCD 1 Press the Maintenance button 3 Press the OK button The pattern is printed 1 Observe the printed patterns and check the pattern in which vertical stripes are least...

Page 31: ...d patterns in columns B through E and the pattern numbers 5 to 5 of the checked patterns in columns F through K When pattern numbers have been determined up to column K maintenance mode number 04 is d...

Page 32: ...e front cover The print head holder moves to the left 2 2 2 2 Remove the empty ink tank Handle ink tanks carefully to avoid staining clothing or the surrounding area Discard empty ink tanks according...

Page 33: ...nce an ink tank has been used do not remove it from the printer and leave it out in the open This will cause the ink tank to dry out and the printer may not function properly if it is reinstalled Colo...

Page 34: ...tenance mode as described below 1 Press the Maintenance button 2 Press four times to display 05 Next press the OK button Then appears above the ink tank on the operation panel 3 Using the cursor butto...

Page 35: ...isplay Low Ink Correctly Reset the ink counter every time you install a new ink tank The ink counter cannot work correctly unless you synchronize it with the actual ink level The ink counter can only...

Page 36: ...inting from the digital camera and problems that are also likely to occur while using the Photo Viewer If you cannot find the symptom corresponding to a certain problem refer to the User s Guide Error...

Page 37: ...the power cord plug from the outlet plug the power cord back in and then turn on the printer again If the same error persists contact a Canon service representative If the Same Error Persists If the...

Page 38: ...ot displayed 5 Press the Maintenance button You can exit the maintenance mode Possible Cause Try This Ink tank is not seated properly Check that the ink tanks are firmly seated in the print head and r...

Page 39: ...the digital camera and reset the ink counter See Reset the ink counter on page 32 If the ink counter is not reset the remaining ink level may not be displayed properly For more details also refer to...

Page 40: ...has already been inserted remove it and then insert it again Next check that the Indicator lamp stays on z The memory card cannot be read Image data edited processed on the computer must also be prin...

Page 41: ......

Reviews: