


51
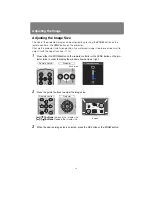
Adjusting the Image
User’s Manual
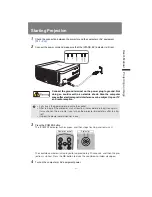
Projectin
g
an Ima
g
e
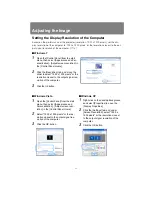
■
Mac OS X
1
Open the Apple Menu and select [System
Preferences].
2
In the [System Preferences] window, click
the [Displays] icon to display the Display
window.
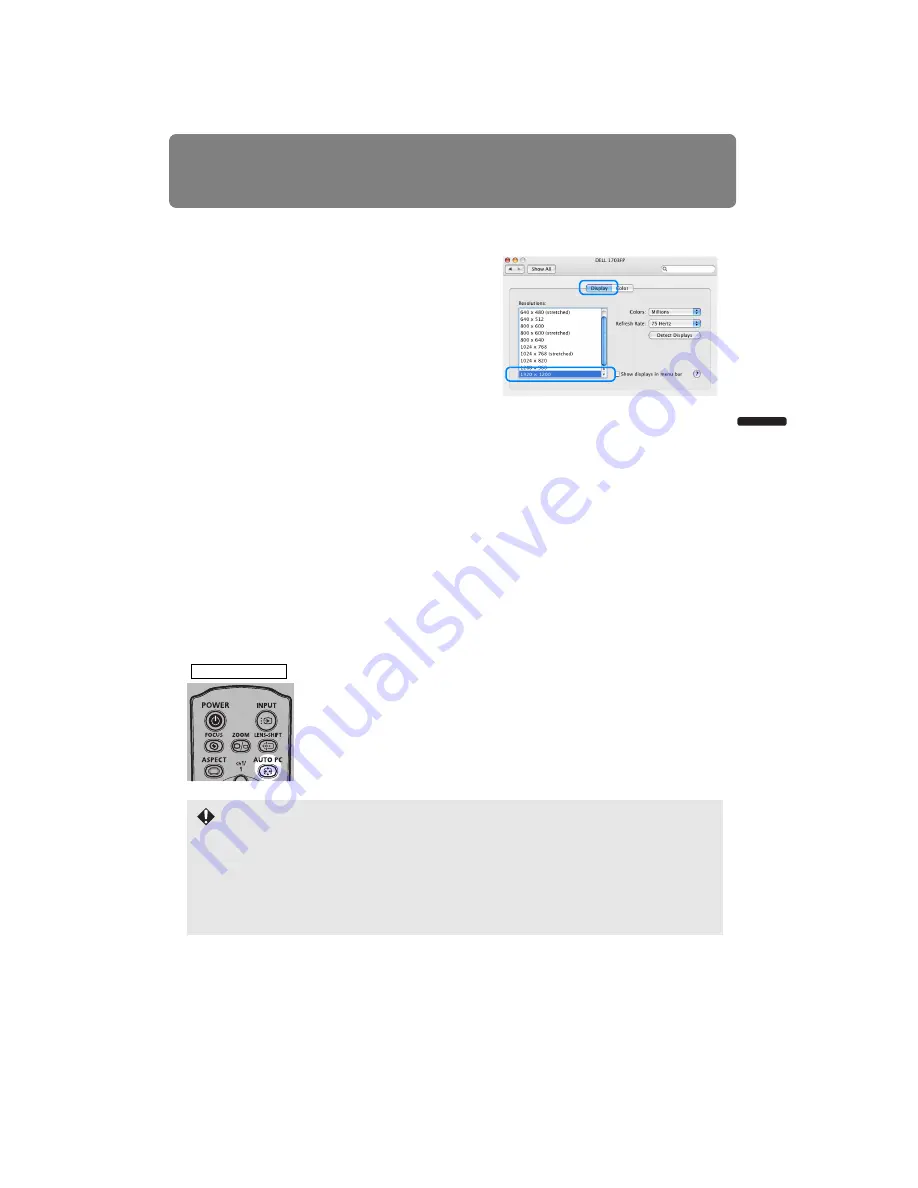
3
Select the [Display] tab and select “1920 x
1200” or the resolution closest to the out-
put signal resolution of the computer from
the [Resolutions] list.
4
Close the [System Preferences] window.
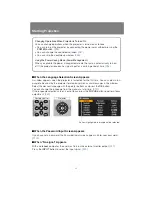
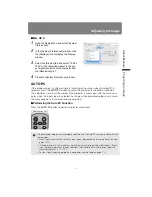
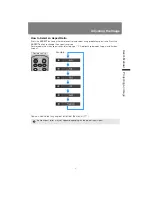
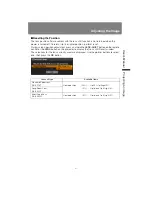
AUTO PC
If the image display is shifted or there is flickering of the screen when [Analog PC] is
selected, press the
AUTO PC
button to adjust the projector to the optimal condition.
The adjustment results will be stored. If the projector is used again with the same com-
puter, when the input signal is selected the image will be projected automatically under
the same conditions that were previously adjusted.
■
Performing the Auto PC Function
Press the
AUTO PC
button to perform projector adjustment.
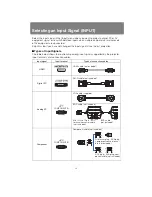
If the projected image was not properly adjusted with the Auto PC function, perform the fol-
lowing steps.
• From [Input signal select], select an input signal type based on the resolution of the com-
puter. (
)
• If the adjustment is still insufficient, from [Input signal settings] select [Total dots], [Track-
ing], [Horizontal position], [Vertical position], [Horizontal pixels] and [Vertical pixels] to
make adjustments. (
-
• For the signal types supported by the projector, see the table on page
.
Remote control
Summary of Contents for 1293B002AA/006AA - Lcos Xga Projector
Page 35: ...35 MULTIMEDIA PROJECTOR User s Manual Operation ...
Page 36: ...36 ...
Page 72: ...72 ...
Page 112: ...112 ...
Page 130: ...130 ...
Page 156: ...156 ...
Page 165: ...165 MULTIMEDIA PROJECTOR Appendix ...
Page 166: ...166 ...
Page 181: ...181 Product Specifications Appendix Other Information ...