9. Firmware-Update
10. Specifications
20
21
ENGLISH
ENGLISH
Satmex 65 plus
Satmex 80 plus
Dish size
65 cm
80 cm
Number of participants
1
Satellite input frequency
10.7 ~ 12.75 GHz
Polarization
Vertical / Horizontal
Frequency band
Ku-Band
Frequency range
10,7 GHz – 12,75 GHz
Antenna gain
35,1 dBi @ 11,8 GHz
36,8 dBi @ 11,8 GHz
Reception performance
45 dBW
43,5 dBW
Motor
2 axis DC-motor
Angular range Rotation
380° (20° per second)
Angular range of inclination:
0° ~ 75° (10° per second)
Programmed satellites
Astra 1 (19,2° East), Astra 2 (28,2° East), Astra 3 (23,5° East),
Hotbird (13° East), Thor (0,8° West), Eutelsat 9 B (9° East)
Auto-skew
yes
GPS receiver
yes
Input voltage
DC 12 ~ 24 volts, 5 A
DC 12 ~ 24 volts, 10 A
Operating temperature:
-15° C ~ +50° C
storage temperature
-30° C ~ +70° C
Dish size
66,0 x 71,0 cm (W/H)
77,0 x 85,0 cm (W/H)
Antenna dimensions
(retracted)
66,0 x 20,0 x 87,0 cm
(W/H/L)
77,0 x 20,0 x 100,0 cm
(W/H/L)
Antenna weight
12.1 kg
13,3 kg
Dimensions control unit
18,0 x 4,0 x 13,0 mm (W/H/T)
From time to time it may be necessary to update the firmware of the control unit (e.g.
in case of a frequency change of the satellite operator or a general improvement of the
control unit).
The current firmware can be found on our homepage
www.camping-first.de
Wenn Frequenzänderungen von den Satellitenbetreibern vorgenommen wurden, wird
die App automatisch aktualisiert. Es wird in der App ein Hinweis erscheinen, dass Sie die
Antenne updaten sollten.
Achten Sie darauf, dass Sie am Mobilgerät Bluetooth
®
aktiviert haben und die Antenne
mit dem Mobilgerät verbunden ist.
Folgen Sie anschließend den Anweisungen in der App.
Note:
Weight and dimensions are not absolute exact values.
Specifications are subject to change without notice.
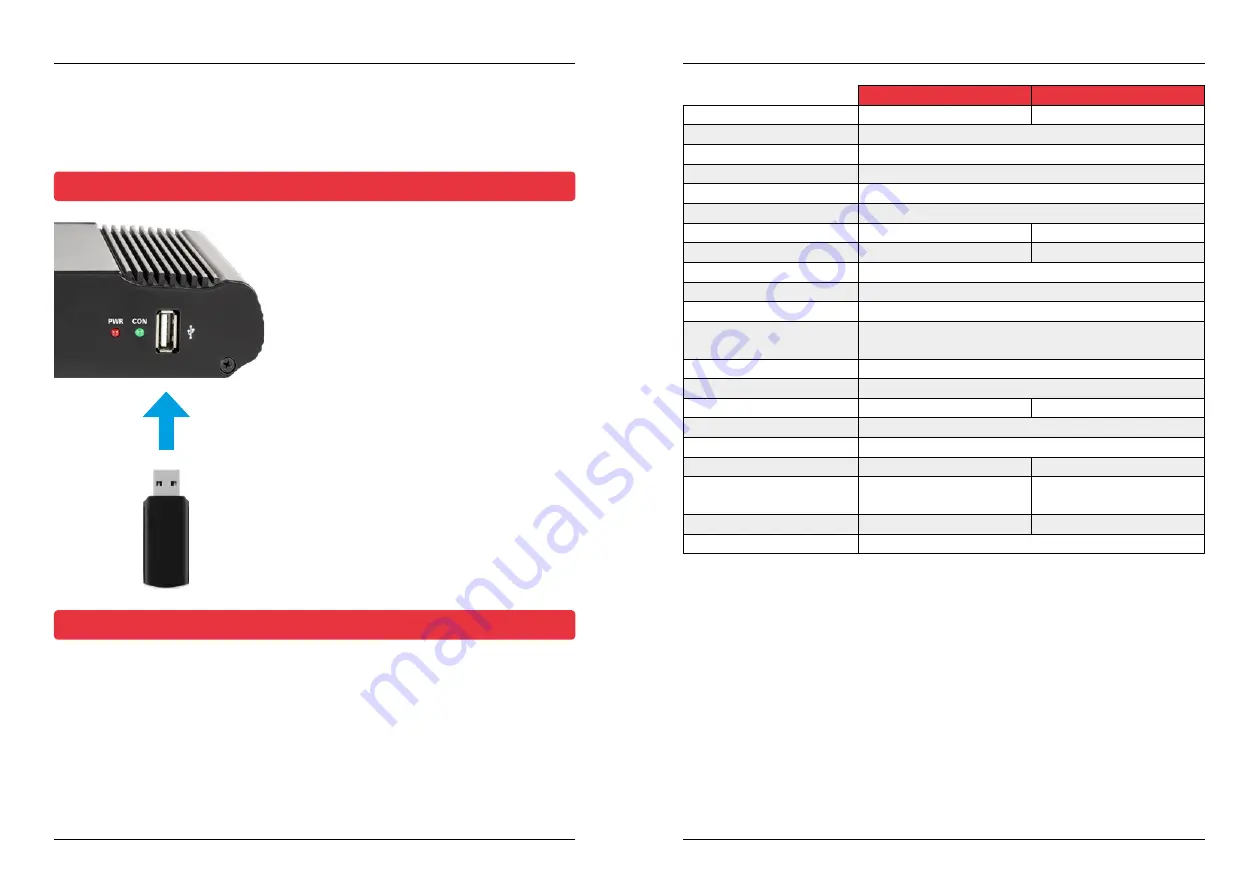
1. Copy the firmware file to a suitable USB stick.
The USB stick should be formatted to FAT32 and
should not contain any other files.
2. Make sure that the control unit is turned off at
the main switch.
3. Insert the USB stick with the new firmware into
the USB port on the front panel.
4. Now switch on the control unit. The control unit
boots and starts the update process automati-
cally.
IMPORTANT: Do not switch off the con-
trol unit during the update process to avoid
possible damage!
5. After a successful update, the control unit swit-
ches off and restarts automatically. The update
process is now finished.
9.1 Update via a USB flash drive
9.2 Update via Smartphone or Tablet


