8
PARAMETER
USER ACTIONS
FACTORY SETTING LED STATUS
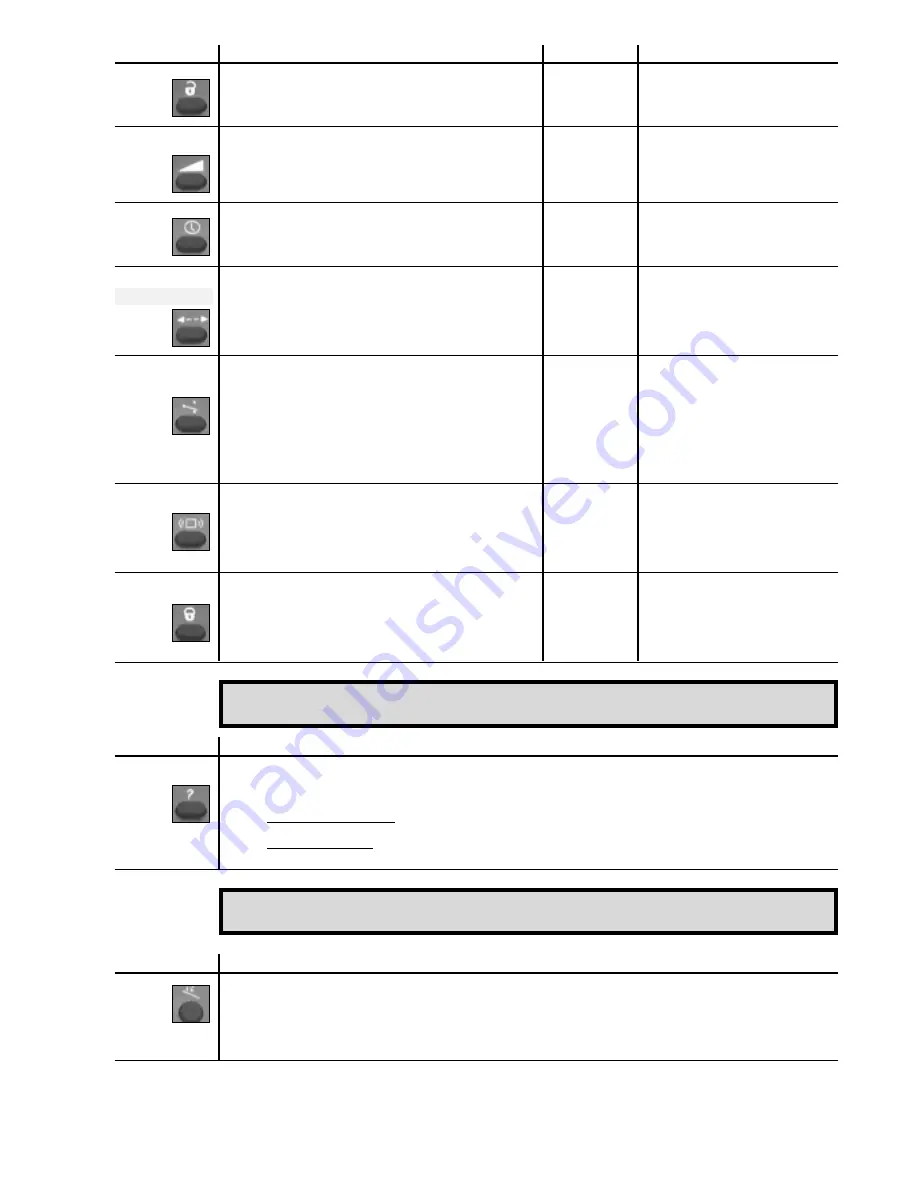
Unlock
Press
UNLOCK
button (3)
0000
The LED flashes slowly to indicate that an
Then type in your four-figure pin number using
NUMBER
buttons
0-9
(1).
adjustment session is under way.
The first time you adjust your sensor
*
, enter the factory value code (0000).
Sensitivity
Press the
SENSIVITY
button (6).
7
The LED flashes more rapidly while the unit waits
Use
NUMBER
buttons
0-9
(1) to enter the sensitivity coefficient you want or
for the corresponding numerical value.
adjust this coefficient using the
PLUS
(2) or
MINUS
(4) buttons.
It then continues to flash more slowly.
Repeat this operation to change the sensitivity again.
Hold time
Press the
HOLD TIME
button (5) and use
NUMBER
buttons
0-9
(1) to enter
0,5 seconds
The LED flashes more rapidly while the unit waits
the required hold time (up to 9 seconds).
for the corresponding numerical value.
It then continues to flash more slowly.
Detection mode
Press the
DETECTION MODE
button (7).
unidirectional
The LED flashes more rapidly while the unit waits
(EAGLE 1 only)
Use
NUMBER
buttons
1-3
(1) to select the required mode :
for EAGLE 1
for the corresponding numerical value.
button 1 : bidirectional mode with MTF function
It then continues to flash more slowly.
2 : unidirectional mode
bidirectional
3 : unidirectional mode with MTF function
for EAGLE 2
Relay
Press the
RELAY CONFIGURATION
button (11) and use
NUMBER
buttons
1-4
(1)
active output
The LED flashes more rapidly while the unit waits
configuration
to select the required relay configuration :
for the corresponding numerical value.
button 1 : active output, relay contact closed during detection,
It then continues to flash more slowly.
open during non-detection
2 : passive output, relay contact open during detection,
closed during non-detection
3 : continuous detection, relay contact always closed
4 : continuous non-detection, relay contact always open
Immunity
Press the
IMMUNITY
button (8).
Normal
The LED flashes more rapidly while the unit waits
Use
NUMBER
buttons
1-3
(1) to select the type of digital filter required :
for the corresponding numerical value.
button 1 : detection of quasi-presence
It then continues to flash more slowly.
2 : norma
3 : increased immunity
Lock
When all the parameters have been recorded, press the
LOCK
button (10).
0000
The LED stops flashing to return to its normal
If you wish to enter a new access code, use
NUMBER
keys
0-9
to enter the new
function.
four-figure code within 10 seconds. It must begin with 1.
If you want to keep the current access code, press a second time the
LOCK
button (10).
PARAMETERS
USER ACTIONS
Check values
Press the button for the parameter whose value you wish to check (button 5, 6, 7, 8, 11), then press the
CHECK VALUES
button
(9)
. Then simply count the number of times the LED flashes. This corresponds to the status of the parameter in
question. Repeat the operation to find out the status of the other parameters.
eg : • detection mode button - 2 flashes
the parameter is set in unidirectional mode
• sensitivity button - 6 flashes
the parameter is set at 6
PARAMETERS
USER ACTIONS
Default
Press the
DEFAULT VALUE
button
(
12
),
then press the number button 1. All the parameters are reset to their factory values.
In case of high mounting, the sensor can be configured in order to be more sensitive :
before adjusting the sensor
, press the
DEFAULT VALUE
button (12).
Then press the number button
2
. All the parameters are reset to their factory values but the sensor has now an increased sensitivity scale. Then adjust the
other parameters.
Should you come back to the standard sensitivity scale, repeat the procedure with the
DEFAULT VALUE
button followed by
1
.
* Note : when your access code is reset to the factory value (0000) you can access adjustment mode directly without the
need to re-enter this code.
When the remote-controlled configuration of the sensor is complete, you can find out the values entered for the
parameters at any time in the following way :
When the remote-controlled configuration of the sensor is complete, you can reset all the parameters to their factory values
by means of the following procedure :
only for MR8106
MR8106


