background image

7

7

12

12

2.  Common Operation

1.   To turn on/off the unit
      In power off mode, press the POWER button briefly to turn on the unit.
      In power on mode, press and hold the POWER button on the front panel or  
      press the POWER button briefly on the remote control to turn off the unit. 

2.   To slide the monitor of the Car Audio System out of the chassis
      Press the OPEN button briefly on the front panel or press and hold the OPEN
      button on the remote control can slide the monitor of the Car Audio System 
      out of the chassis or slide it into the chassis.

3.   To select function mode

      Press the MODE button to select RADIO, 
      USB(After inserting a USB storage), 
      SD/MMC CARD(After inserting a SD/MMC card)
      or  AUX mode.

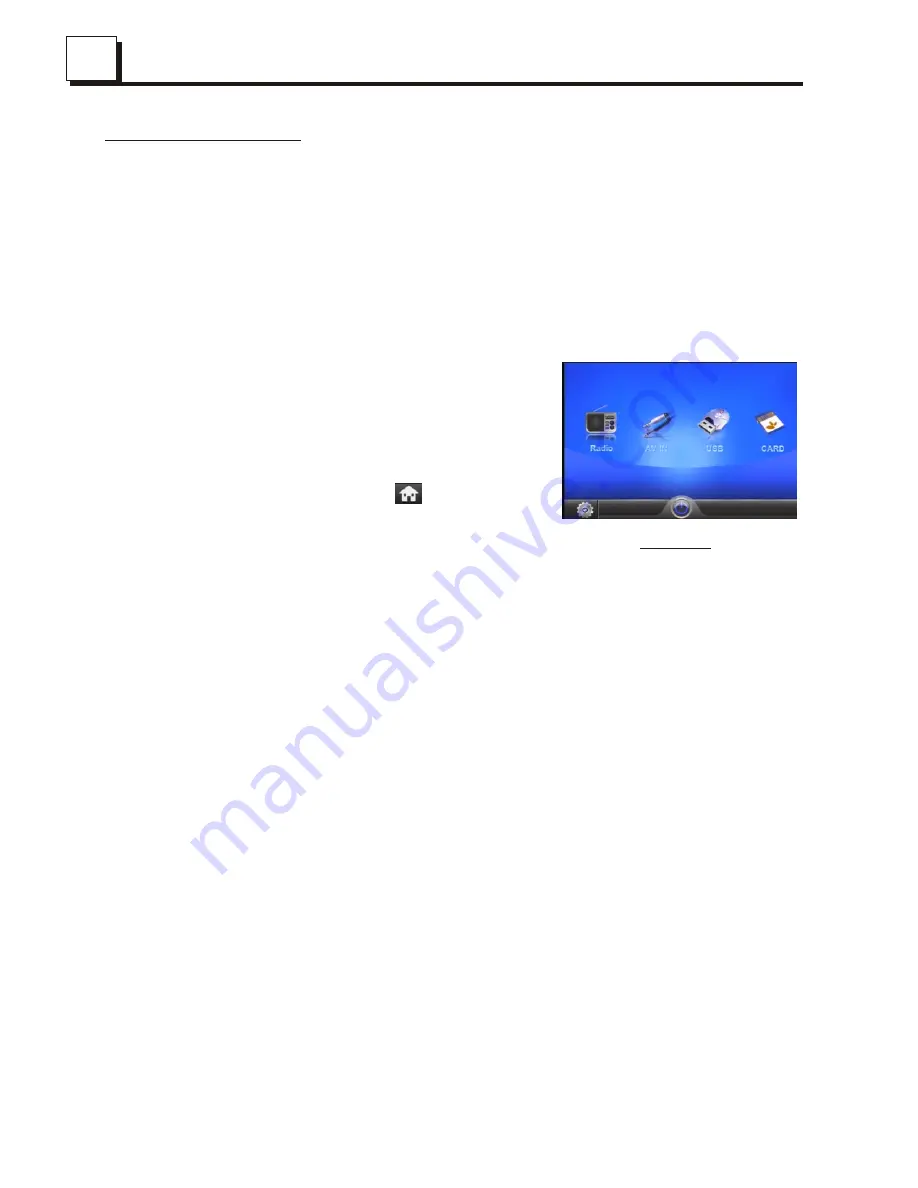
      During playback, tapping the       icon after 
      popping up Keyboard interface can pop up 
      Mode Menu as right image. then tap one
      icon in it to select your desired mode. 

4.  To select an optimal angle of the monitor of the Car Audio System
     To select an up-down optimal angle of the monitor of the Car Audio System,
     press DOWN/UP button (TILT button) on the remote control repeatedly.

5

.  

To adjust sound level

      Rotate the VOL knob on the front panel or press and hold the + or - button on
      the remote control will adjust the volume level.

6.  To mute sound
     Press the MUTE button on the remote control to turn on/off MUTE mode. 
     Pressing the POWER button on the front panel shortly also can turn on/off
     MUTE mode.

7.  

To display clock time

     Press the CLK button to display clock time on the small monitor of the front panel.
     

After sliding the monitor into the chassis, pressing the CLK button can display 

     clock time on the small LCD.

8.  To select a desired 

EQ mode

     Press the EQ button on the remote control to select one of the preset music 
     equalizer curves: POP, ROCK, CLAS, EQ OFF. The sound effect will be changed.

9

.  To turn on/off LOUD mode

     Press the LOUD button on the remote to turn on/off LOUD mode.
     When turning on LOUD mode, it will enhance bass level immediately when bass 
     is not enough.

Mode Menu

       
4.6  Select Chapter/Track with the Number Buttons

       When playing MP4/MP3/WMA files, press one
       of the 1~6 number buttons to directly select 
       and play the 1st to 6th track /chapter then
       tapping the            icons to turn the page 
       up and down to select the tracks. 
  
       Then tapping the       icon to return to the 
       select media mode.

4.7  Playback with Speed


  In MP4/MOVIE mode, during playback, press and hold the >>I and I<<

       buttons or tap the              icons continuously to fast play forwards or 
       backwards at the multiple speeds such as x2 ,x3,x4, normal.
    
       During speed playback, press the PLAY/PAUSE button or tap the      icon
       to resume normal playback.

4.8  ID3 Function
     
       In music mode, during playback, the information of the file name, folder name,  
       song s title, artist and album will be scrolling on the  LCD display.  
       As long as the current playing music contains relevant ID3 tag information in
       version 1.0/2.0 format, the 3 items underlined above will be scrolling on the 
       LCD display; otherwise,  they will not.
 

4.9

 Playback Repeatedly

       In MOVIE/MUSIC mode, press the RPT button to select REP ONE, 
       REP  ALL . During the repeat playback, press the >>I and I<< buttons
       or tap the              icons to cancel the repeating.

4.10  Zoom Movie

       In movie mode, during playback, tapping the         icon or the Zoom 
       button continuously to enlarge movie at the following multiples: 
       x2,  x4,  x8,  OFF. 

      Note: In music mode, the ZOOM button is invalid.


MP3 playback interface

Summary of Contents for RMD 571

Page 1: ......

Page 2: ...2 Common Operation 7 3 Radio Operation 8 4 USB and MMC SD Operation 11 4 1 Load unload USB or Memory Card 11 4 2 Setting during playing 11 4 3 Pause Playback 11 4 4 Stop Playback 11 4 5 Select Chapter...

Page 3: ...Before using the remote control for the first time pull the insulating sheet out of the remote control as the direction indicated by the arrow see fig 1 2 Press the movable block hold as the direction...

Page 4: ...BUTTON 34 MUSIC BUTTON 35 FILE BUTTON 26 BAND BUTTON 27 AF LOUD BUTTON 1 TILT BUTTON 2 MENU BUTTON 3 POWER BUTTON 4 BUTTON 5 BUTTON 6 BUTTON 7 BUTTON 8 v BUTTON 9 SEL BUTTON 12 SETUP BUTTON 13 MODE BU...

Page 5: ...VOL knob 9 button 10 button 11 PLAY PAUSE 1 button 12 INT 2 button 13 RPT 3 button 14 RDM 4 button 15 10 5 button 16 10 6 button 17 BAND button 18 APS button 19 RESET button 20 Small LCD Screen 21 IR...

Page 6: ...on the small monitor of the front panel will be display only after braking the car The Description of the Wiring Diagram for Socket 2 NOTES 1 Only speakers with 4 ohms impedance may be used 2 Ensure t...

Page 7: ...KEY PLATES INTOTHE RIGHT POSITION OF THE 2 SIDESOF CHASSIS SELECT THE PROPER TAB FOR FIXING THE SLIDING METAL HOUSING THE UNIT IS INSTALLEDTO BE AN ANTI THEFTONE THE CHASSIS OF THE UNIT WEARS A SLIDI...

Page 8: ...the monitor of the Car Audio System To select an up down optimal angle of the monitor of the Car Audio System press DOWN UP button TILT button on the remote control repeatedly 5 To adjust sound level...

Page 9: ...o calibrate the screen During MP5 setting mode tap the to calibrate the screen 3 Radio Operation 1 Enter RADIO mode Press the MODE button at brief intervals or tap the radio icon until you get to RADI...

Page 10: ...nning it will resume broadcasting on the M1 NOTE In FM band FM1 FM2 FM3 is checked one at a time In MW band MW1 MW2 is checked one at a time 5 PRESET STATION 1 6 BUTTONS In RADIO mode 1 To memorize th...

Page 11: ...ecks the signal strength of the AF all the time The interval of checking time of each AFs depends on the signal strength of the current station from a few minute for the strong station to a few second...

Page 12: ...e interface show 4 3 Pause Playback When playing MOVIE MUSIC files press the PAUSE button to pause the playback press the PLAY button to resume normal playback 4 4 Stop Playback When playing MOVIE MUS...

Page 13: ...to resume normal playback 4 8 ID3 Function In music mode during playback the information of the file name folder name song s title artist and album will be scrolling on the LCD display As long as the...

Page 14: ...In photo mode during playback press the ZOOM button or tapping the icon continuously to enlarge image at the following multiples x2 x4 x8 x16 OFF After enlarging press one of the v buttons to select t...

Page 15: ...o is not under mute NO PICTURE BUTHAVE SOUND Ensure that the player s video output has a good connection with monitor s video input Check whether the video connector is damaged Ensure that you have se...

Page 16: ...SC Audio System 24 bit 96KHz Video Specification Video Type 16 9 and 4 3 Video Output level Composite 1 0 0 2Vp p Load impedance 75 ohms Audio Specification Audio Output Analog audio 1200mV 300 Freque...

Page 17: ......

Reviews: