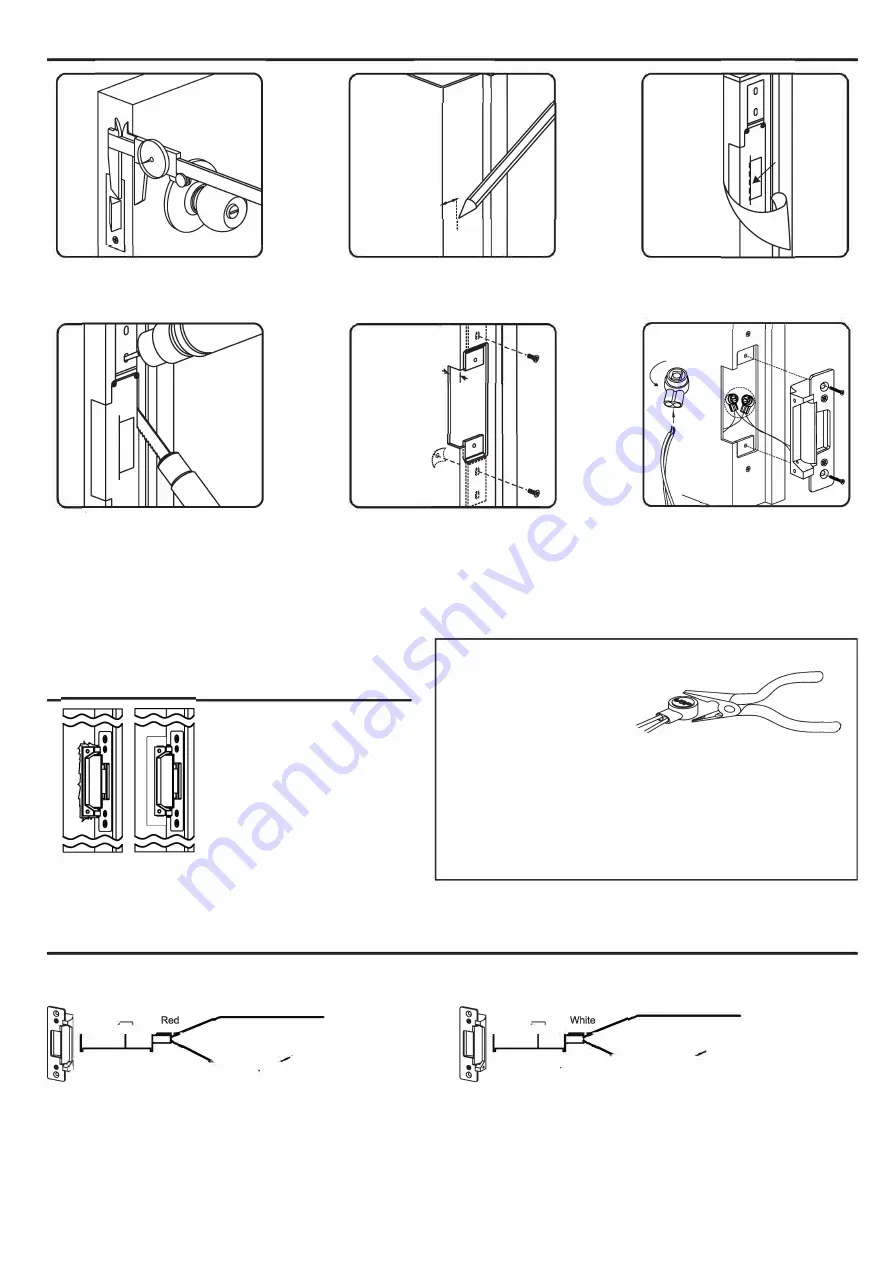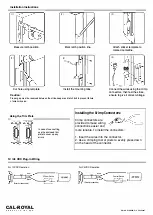
Installation Instructions
( 1)
Measure latch position.
(4)
Cut hole using template.
Caution:
(2)
Mark latch position line.
(5)
11116" (
17tn
tn
)
Install the mounting tabs.
(3)
Attach sticker template to
marked centerline.
(6)
Connect the wires using the crimp
connectors, then test the strike,
ensure to give it correct voltage.
Proper gap must be reserved between the strike keeper and latch bolt to prevent failure
of solenoid valve.
Using the Trim Plate
In case of over-cutting,
use the enclosed trim
plate to cover up any
errors.
12 / 24 VDC Plug-In Wiring
For 12VDC Operation:
' p.--.1.apL---1
'
Black
(Polarity Insensitive)
CAL-ROYAL
P R O D U C T S, I N C. U.S. A.
c;�
1
:�
1
-���:ce -�
..__-+·� --i--- + �
··-------·
Installing the Crimp Connectors:
Crimp connectors are
provided to make wiring
connections easier and
more reliable. To install the connectors:
1. Insert the wires into the connector.
2. Use a crimping tool or pliers to evenly press down
on the head of the connector.
For 24VDC Operation:
'P---�----'I
Black
(Polarity Insensitive)
C�n-1��
1
-�:�'.ce
-r-:::7
.._ __ 4:..---
--+-
+
L.:.::J
··-------·
DWG # ELG8009, P/2 , 20220407


