
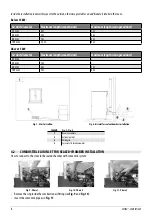


21
ZEFIRO
3
- ZEN AIRTIGHT
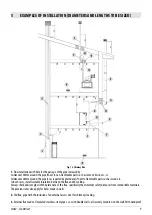
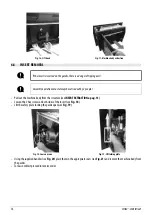
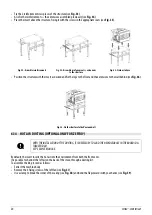
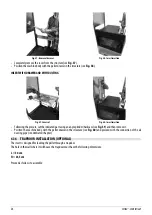
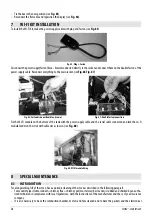
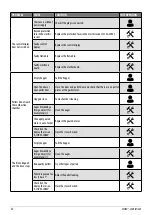
Fig. 37 - Remove the fan
Fig. 38 - Break the corner
Fig. 39 - Fold the flap
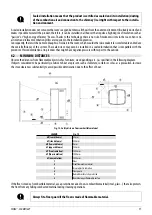
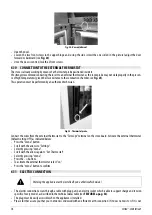
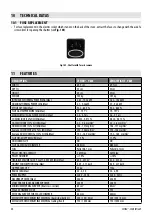
•
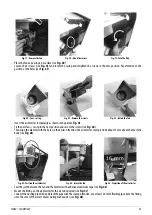
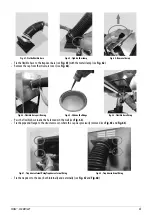
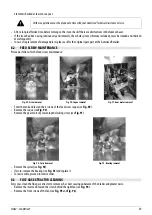
Place the fan and casing on a surface (see
Fig. 40
).
•
Loosen the 4 screws (see
Fig. 41
) and rotate the casing and retighten the screws in the new position. Pay attention to the
position of the holes (see
Fig. 42
).
Fig. 40 - Fan + casing
Fig. 41 - Remove the screws
Fig. 42 - Rotate the fan
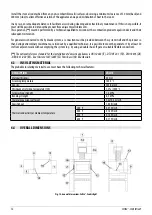
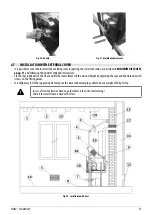
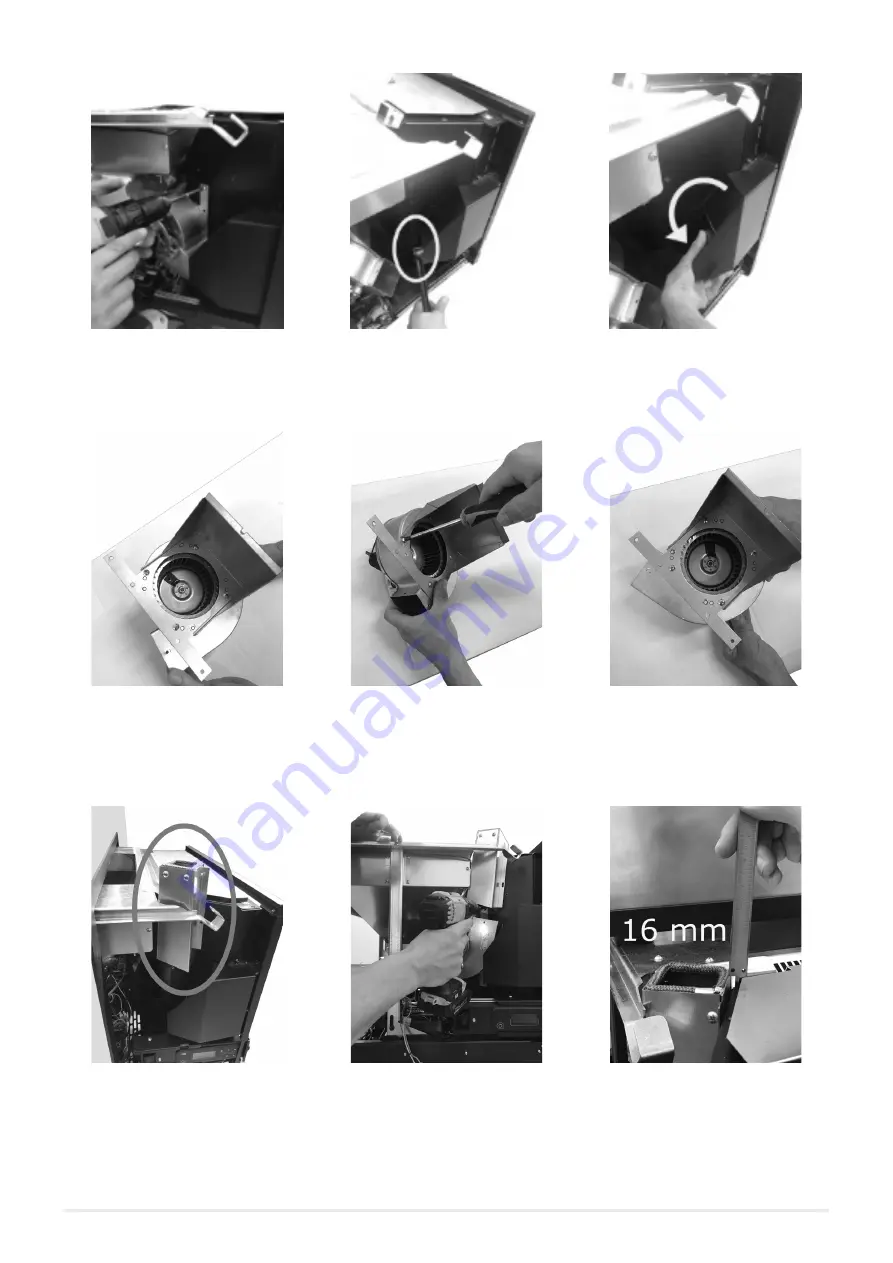
•
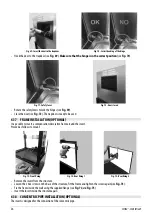
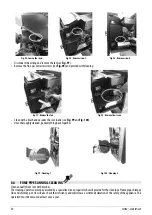
Insert the air diverter temporarily as shown in the picture
Fig. 43
.
•
Fit the new fan + casing in the new position and secure the screws (see
Fig. 44
).
•
Then align the diverter with the holes in the boiler. Attention: the air diverter must protrude about 16 mm above the machine
body (see
Fig. 45
).
Fig. 43 - Position the air diverter
Fig. 44 - Secure the fan
Fig. 45 - Projection of the air diverter
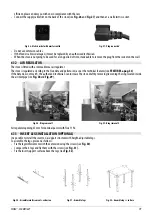
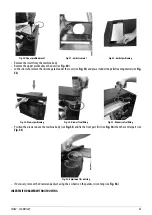
•
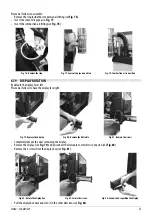
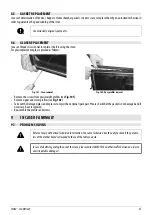
Seal the joint between the fan and the diverter with adhesive aluminium tape (see
Fig. 46
).
•
Mount the fitting on the air diverter for the air to be ducted (see
Fig. 47
).
•
Connect the ducting pipe d.80 and block the pipe with the clamp. Attention: use at least 20 cm of flexible pipe above the fitting
since the cover of the insert moves during manoeuvres (see
Fig. 48
).
Summary of Contents for ZEFIRO3-ZEN AIRTIGHT
Page 35: ...NOTE ...


