BZBGEAR BG-VPTZ-HSU3
PRODUCT MANUAL
NOTE:
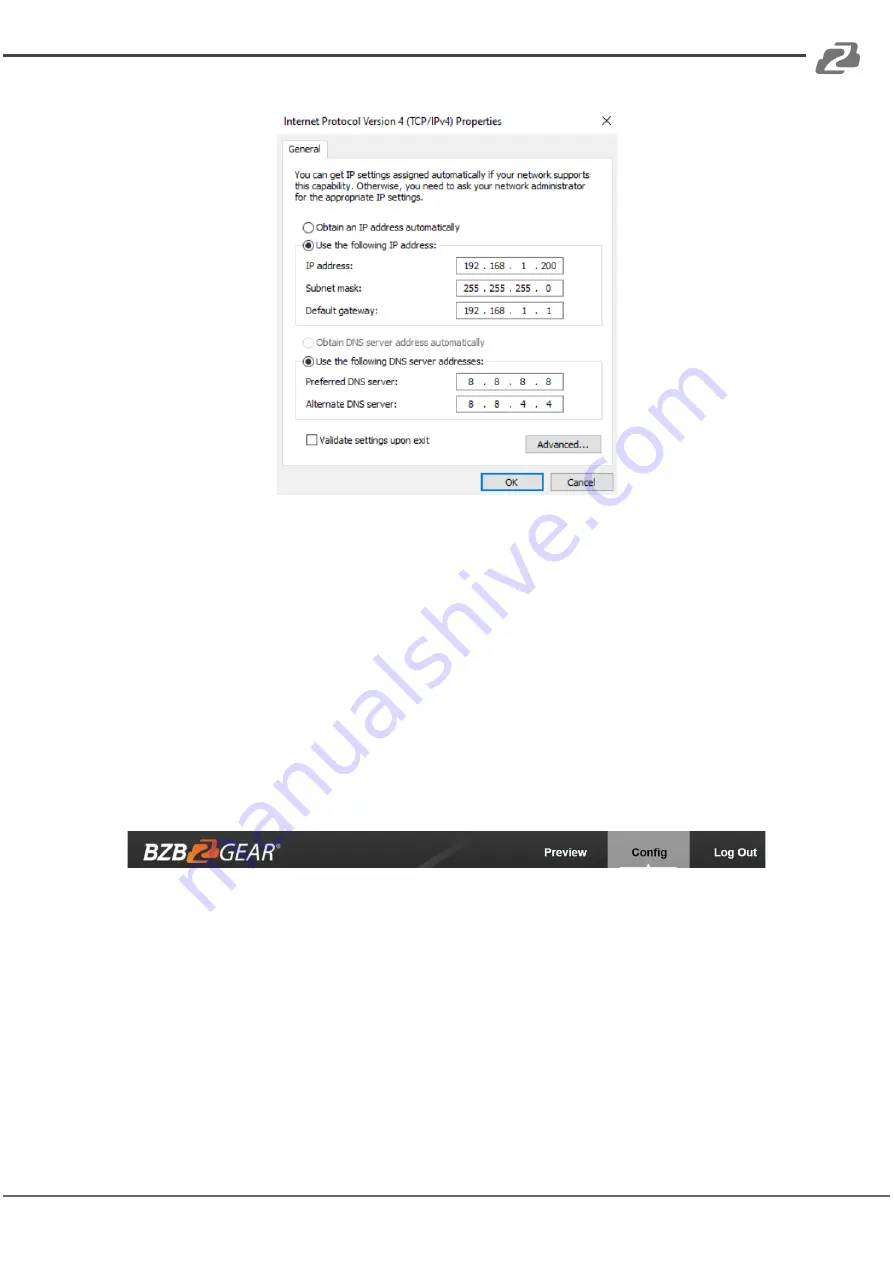
When you are finished configuring the camera you will need to return to this screen
and select ‘Obtain an IP address automatically’ and ‘Obtain DNS server automatically’ to
restore internet connectivity to your computer. Also make sure to reconnect any ethernet
cables you may have unplugged.
• Click OK to apply your settings.
• Click OK to close the network properties screen.
• Once you have applied your settings open your web browser and enter the IP
address of your camera.
• Enter the
login information
to access the interface.
o
User: admin / Password: admin
• At the top left of your screen select ‘Config’.
• On the left side of your screen select ‘Network’. In the IP address field, you will enter
the unused IP address you selected at the beginning. Our example will use an
address of 192.168.20.186.
*This address MUST NOT be in use by any other device on your network
or you will create an IP conflict and be unable to access your camera. *
• In the ‘Subnet Mask’ field enter 255.255.255.0 and enter the IP address of your
Default Gateway in the field below. Double-check your values and click the Save
Button.
• Unless you are given different information by your network administrator you should
enter 8.8.8.8 for DNS1 and 8.8.4.4 for DNS2. Click Save.
Address:
830 National Drive #140, Sacramento, CA 95834, USA
·
Tel:
+1(888)499-9906
·
Email:
20


